
Oh, cheesecake! Just the word brings a smile to my face. For years, I’ve been on a quest for that perfect, creamy, dreamy dessert that feels totally indulgent but isn’t a huge fuss to make. And let me tell you, after countless experiments in my kitchen, I’ve finally cracked the code! This recipe for The Creamiest No-Bake Cheesecake Cups Recipe EVER!! is truly a game-changer. It’s the one I pull out for potlucks, last-minute guests, or just when I need a little sweet pick-me-up. It’s just so simple and wonderfully delicious!
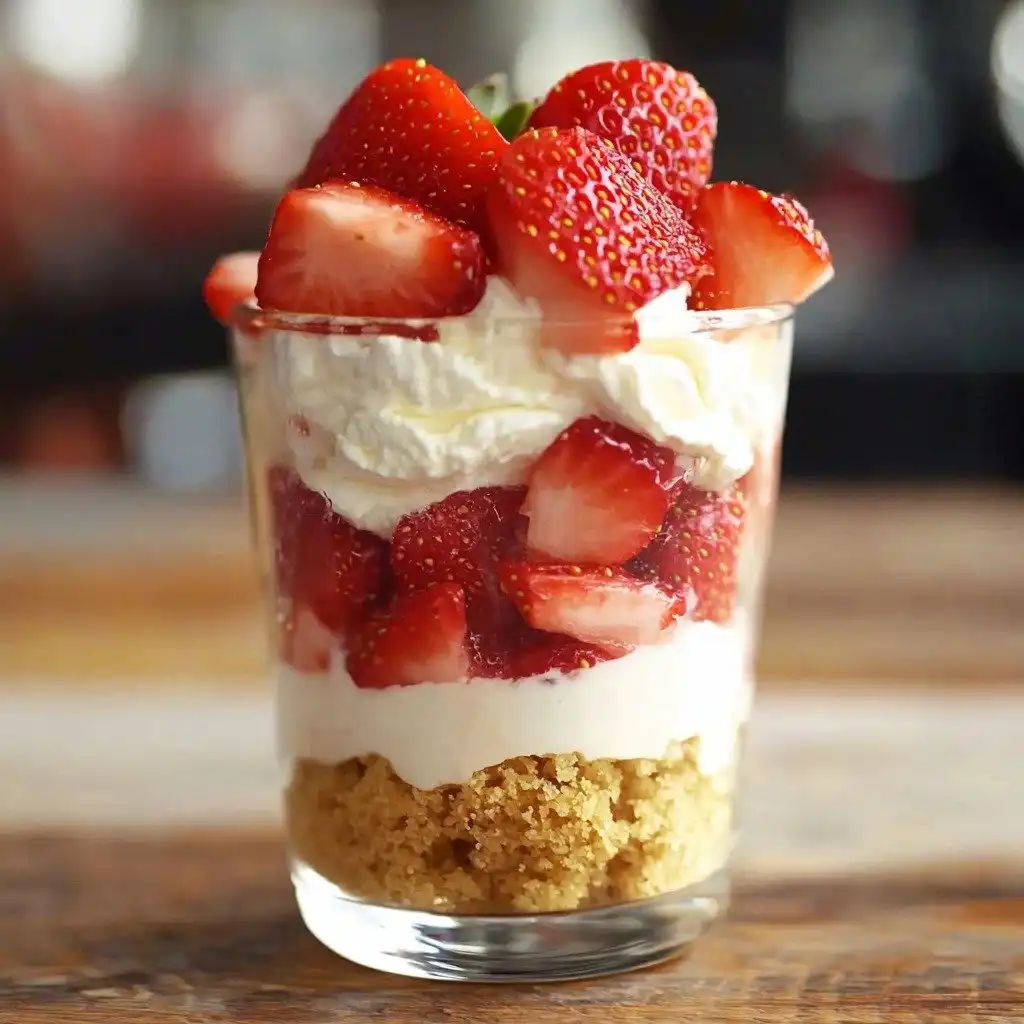
Why You’ll Love This The Creamiest No-Bake Cheesecake Cups Recipe EVER!!
- These cups are unbelievably creamy, with a melt-in-your-mouth texture that’s pure bliss.
- No oven needed! Perfect for hot days or when you just don’t want to turn on the stove.
- They’re super easy to make, even if you’re new to dessert making. You’ll feel like a pro!
- Individual portions mean no slicing, no mess, and they look so pretty for any occasion.
Ingredients You’ll Need
- Graham Cracker Crumbs: These form the delicious, buttery base. You can buy them pre-crushed or crush whole graham crackers yourself.
- Salted Butter: Melted butter binds the crumbs together for a perfect crust. Salted butter adds a nice balance to the sweetness.
- Cream Cheese: Make sure it’s softened to room temperature! This is key for a super smooth, lump-free cheesecake filling.
- Granulated Sugar: Just enough to sweeten the filling without being overly rich.
- Pure Vanilla Extract: A little bit goes a long way to enhance all those lovely flavors. Don’t skip it!
- Heavy Whipping Cream: This is what gives our cheesecake that incredible light and airy, yet still rich, texture when whipped.
How to Make The Creamiest No-Bake Cheesecake Cups Recipe EVER!! Step by Step
First things first, let’s get that delicious crust ready! Grab a small bowl and toss in your graham cracker crumbs. Then, pour in the melted salted butter. Stir it all together really well until every crumb looks moist and buttery. This is where the magic starts! Now, take your serving glasses or dishes and spoon about 2-3 tablespoons of this yummy mixture into the bottom of each one. Gently press it down to form a nice, firm crust. You can use the back of a spoon or your fingers.
Next up is the creamy filling! In a large bowl, or the bowl of your stand mixer, pour in the cold heavy whipping cream. Beat it on high speed until you see lovely, stiff peaks form. This usually takes about a minute, but keep an eye on it – you want it firm but not overbeaten. Once that’s done, gently scrape the whipped cream into a separate bowl and set it aside for a moment. In the same mixer bowl (no need to wash it!), combine your softened cream cheese, granulated sugar, and pure vanilla extract. Mix this until it’s completely smooth and creamy, with no lumps in sight. This step is super important for that signature cheesecake texture!
Now for the grand finale of the filling! Take your beautifully whipped cream and gently fold it into the cream cheese mixture. “Folding” means using a spatula to lightly scoop and turn the mixture, preserving all that lovely air you whipped into the cream. Continue until everything is just combined and wonderfully creamy. You can then spoon this heavenly mixture into a piping bag if you want pretty swirls, or simply divide it evenly among your prepared cups. Top with your favorite fresh fruit like raspberries or strawberries, cover them up, and pop them in the fridge for at least an hour. That chill time is crucial for them to set perfectly. Enjoy!
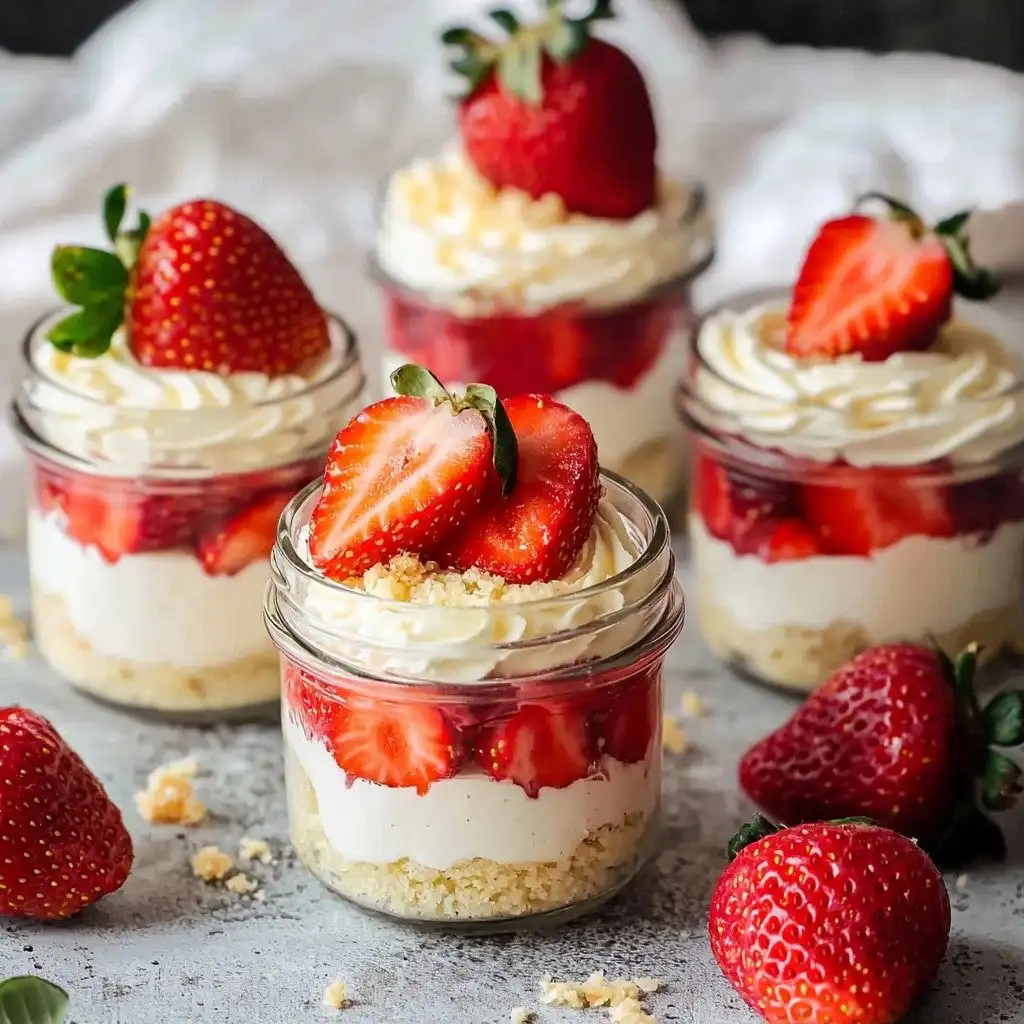
My Top Tips for Success
- I always make sure my cream cheese is truly at room temperature. It makes all the difference for a smooth filling.
- When whipping the cream, watch it closely! Over-whipping can make it grainy; under-whipping won’t give you stiff peaks.
- Trust me on this one: chilling for at least an hour is non-negotiable. It helps the cheesecake set beautifully.
- For easy piping, snip a larger hole in your piping bag. The filling is thick, so a small hole can be frustrating.
- A little pinch of salt in the crust mixture (even if using salted butter) can really enhance the flavor.
Common Mistakes to Avoid
- Using cold cream cheese: This will result in a lumpy filling. Always let it soften on the counter for at least an hour.
- Over-mixing the cream cheese mixture: Once smooth, stop mixing. Over-mixing can incorporate too much air, making it less dense.
- Not chilling long enough: The cheesecake won’t be fully set and might be too soft. Give it the full hour, or even longer if you can!
- Over-folding the whipped cream: Fold gently until just combined. You want to keep the air in the whipped cream for a light texture.
How to Store The Creamiest No-Bake Cheesecake Cups Recipe EVER!!
- Refrigerator: Store covered tightly in the refrigerator for up to 3-4 days.
- Freezer: For longer storage, freeze individual cups (without fresh fruit toppings) for up to 1 month. Thaw in the refrigerator before serving.
Frequently Asked Questions
Can I use a different type of cookie for the crust?
Absolutely! Vanilla wafers, Oreos, or even shortbread cookies would make delicious crusts. Just remember to adjust the butter if needed.
Do I have to use a piping bag?
Not at all! A spoon works perfectly fine. The piping bag is just for a neater presentation.
Can I make these ahead of time?
Yes, these are wonderful for making ahead! You can prepare them a day or two in advance and keep them covered in the refrigerator.
What if my whipped cream won’t form stiff peaks?
Make sure your cream is very cold, and your bowl and whisk are clean and free of any grease. Sometimes chilling the bowl for a few minutes helps too.
I hope you fall head over heels for The Creamiest No-Bake Cheesecake Cups Recipe EVER!! as much as I have. They’re such a joy to make and even more of a joy to eat. Please give them a try and let me know how they turn out in your kitchen!
PrintThe Creamiest No-Bake Cheesecake Cups Recipe EVER!!
These individual no-bake cheesecake cups are incredibly creamy, easy to make, and perfect for any occasion without turning on your oven.
- Prep Time: 15
- Total Time: 75
- Yield: 6-8 cups
- Category: Dessert
- Method: No-Bake
- Cuisine: American
- Diet: Vegetarian
Ingredients
- 3/4 cup graham cracker crumbs
- 2 tbsp salted butter, melted
- 8 oz cream cheese, softened
- 1/2 cup granulated sugar
- 1 teaspoon pure vanilla extract
- 1 cup heavy whipping cream
- Optional toppings: raspberries, strawberries, whipped cream, broken cookies, graham cracker crumbs, etc.
Instructions
- Stir together the melted butter and graham cracker crumbs in a small bowl until evenly distributed.
- Put approximately 2-3 tablespoons of the crumb mixture into the bottom of each glass or serving dish.
- Press the crumb mixture down gently to form a crust.
- Pour the heavy whipping cream into a large bowl or the bowl of a stand mixer.
- Beat the cream on high speed until stiff peaks form, about 1 minute.
- Scrape the whipped cream into a second bowl and set aside.
- Combine the softened cream cheese, granulated sugar, and pure vanilla extract in the same mixer bowl.
- Mix until the cream cheese mixture is completely smooth and creamy.
- Gently fold the whipped cream into the cream cheese mixture until completely combined and creamy.
- Spoon the cheesecake mixture into a piping bag, if desired, or directly into the cups.
- Pipe or spoon the mixture evenly among your prepared cups.
- Top with fresh fruit or other optional toppings.
- Cover the cups and chill in the refrigerator for at least 1 hour before serving.
Notes
Ensure cream cheese is at room temperature for a smooth filling.
Do not overbeat the heavy cream; stop once stiff peaks form.
Chill for at least one hour for the best set.
Use a clean, dry bowl and whisk for whipping cream to ensure success.


