
I remember the first time I tried to make a fancy dessert for a get-together. It was a disaster! The cake sank, the frosting wouldn’t set, and I ended up just buying something from the store. That’s why I absolutely adore this No-Bake Cheesecake recipe. It’s my go-to for impressing friends and family without all the stress, and honestly, it tastes like a dream.
Why You’ll Love This No-Bake Cheesecake
- It’s incredibly easy to make – seriously, no oven required!
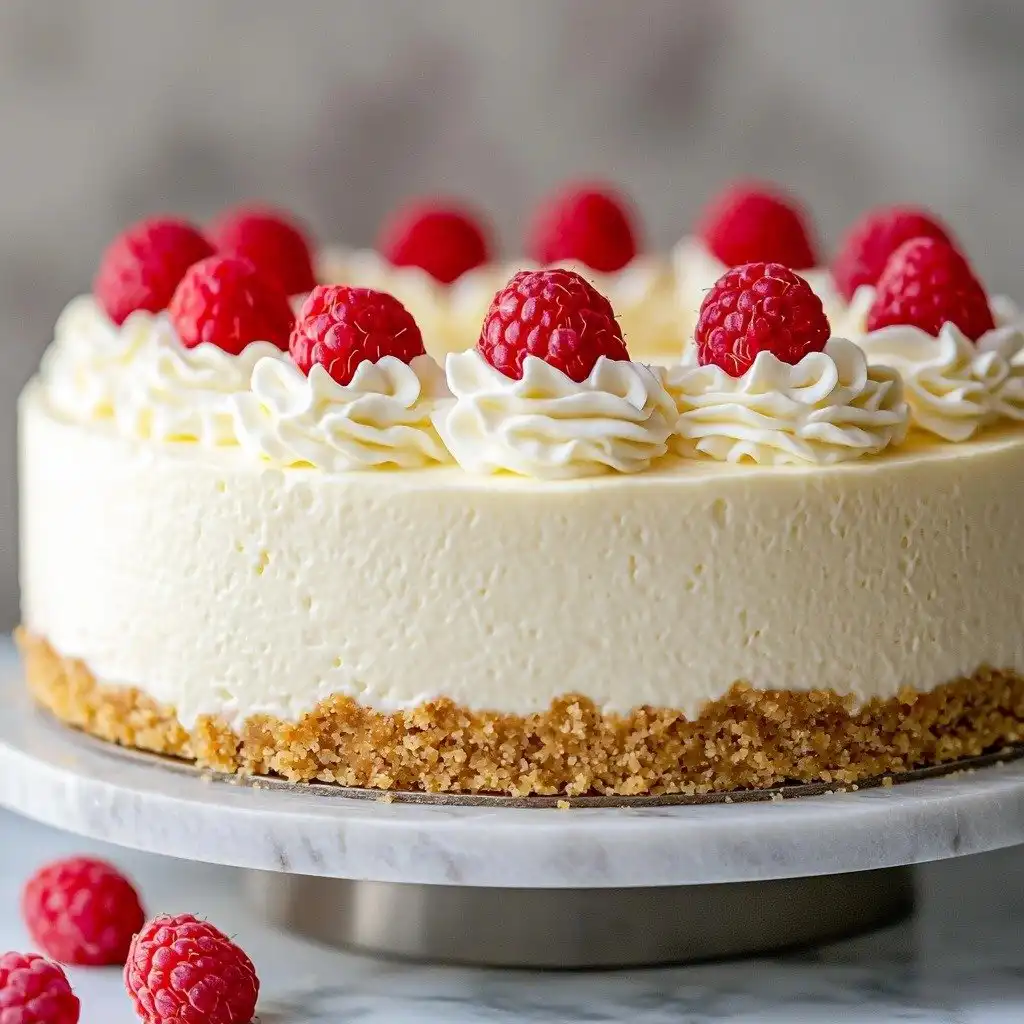
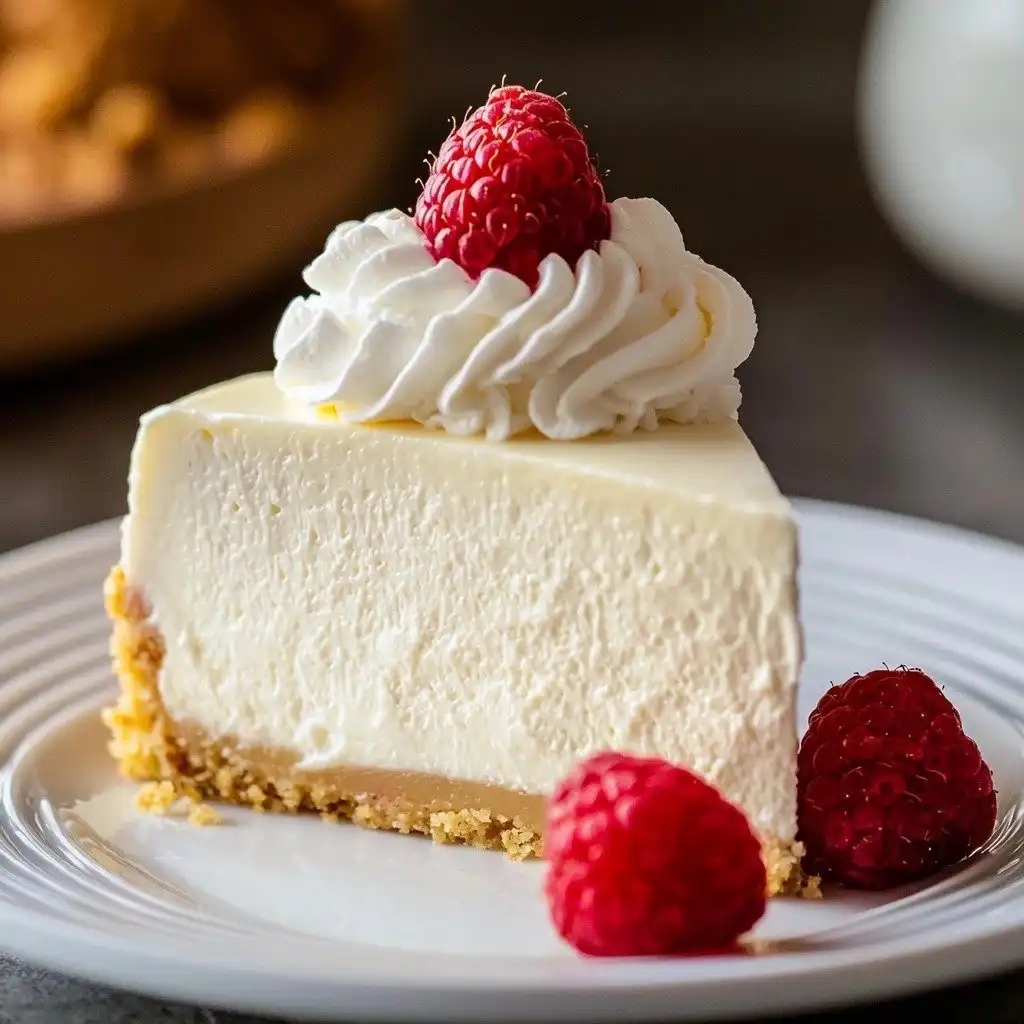
- The texture is so creamy and light, it just melts in your mouth.
- It’s a perfect make-ahead dessert for parties or holidays.
- The bright lemon zest really makes the flavor pop!
Ingredients You’ll Need
- Graham Cracker Crumbs: These form the base of our delicious crust. You can buy them pre-crushed or crush whole graham crackers yourself in a food processor or by hand.
- Granulated Sugar: Just a touch for sweetness in the crust.
- Unsalted Butter: Melted butter binds the crust together. Make sure it’s unsalted so you can control the saltiness of the dessert.
- Brick-Style Cream Cheese: This is the star of our filling! Make sure it’s brick-style, not whipped or spreadable, and ensure it’s softened to room temperature for a smooth, lump-free filling.
- Powdered Sugar: Also known as confectioners’ sugar, this sweetens the filling and helps create that smooth texture.
- Fresh Lemon Juice: A little bit of fresh lemon juice brightens up the whole cheesecake and cuts through the richness. Don’t skip it!
- Pure Vanilla Extract: Essential for that classic, warm cheesecake flavor. Use pure vanilla for the best taste.
- Cold Heavy Whipping Cream: This is what gives our cheesecake its light, airy texture. It absolutely needs to be very cold to whip up properly into stiff peaks.
How to Make No-Bake Cheesecake Step by Step
First things first, we’re going to get our crust ready. Line the bottom of your 9-inch springform pan with parchment paper – this makes it so much easier to get the cheesecake out later. In a bowl, combine your graham cracker crumbs and granulated sugar, then pour in that melted butter. Mix it all until every crumb is moistened, like wet sand.
Now, scoop that buttery crumb mixture into your prepared pan. This is where you get to be a little firm! Press it down really well into the bottom of the pan to create a solid crust. I like to use the bottom of a flat glass or a measuring cup to get it super even. Once it’s pressed, pop it into the fridge to chill while you prepare the filling.
For the filling, you’ll start by beating your softened cream cheese until it’s wonderfully smooth – no lumps allowed! Then, add the powdered sugar, fresh lemon juice, and vanilla extract, mixing until everything is fully combined. Don’t forget to scrape down the sides of the bowl to make sure it’s all incorporated. In a separate, very cold bowl, whip your cold heavy cream until you get beautiful stiff peaks. This is where the magic happens and creates that airy texture!
Now for the gentle part: carefully fold about a third of your whipped cream into the cream cheese mixture. Be gentle here, we want to keep all that lovely air. Once that’s just combined, fold in the rest of the whipped cream until it’s all one harmonious, creamy mixture. Grab your chilled crust from the fridge, scoop the filling on top, and spread it into an even layer. Smooth out the top, cover it tightly, and back into the fridge it goes for at least 6 hours, or even better, overnight. Trust me, the waiting is the hardest part!
My Top Tips for Success
- Soften Cream Cheese Properly: I always take my cream cheese out at least an hour before I start. Room temperature cream cheese beats up smooth without any lumps.
- Cold Cream is Key: In my experience, heavy whipping cream whips best when it’s super cold. I sometimes even chill my mixing bowl and whisk attachment for 10-15 minutes beforehand.
- Don’t Overmix the Cream Cheese: Beat it just until smooth. Overmixing can incorporate too much air, which can make the cheesecake less dense later.
- Fold Gently: When incorporating the whipped cream, be really gentle. This is what keeps your cheesecake light and airy. Use a spatula and a figure-eight motion.
- Chill Time is Crucial: Trust me on this one, don’t rush the chilling! At least 6 hours, but overnight is truly best for a firm, perfectly set No-Bake Cheesecake.
- Parchment Paper is Your Friend: Lining the bottom of the springform pan makes transferring and serving so much easier.
Common Mistakes to Avoid
- Not softening the cream cheese: If your cream cheese is cold, it will be lumpy and hard to incorporate, leading to a textured filling. Let it sit out on the counter for at least an hour before you start.
- Overmixing the cream cheese mixture: Beating the cream cheese and sugar too vigorously or for too long after adding the powdered sugar can incorporate too much air, making the cheesecake less stable. Beat until just combined.
- Not chilling the heavy cream: Warm heavy cream will not whip into stiff peaks, and your filling will be runny. Always use very cold heavy whipping cream.
- Not chilling long enough: This is the most common mistake! If you don’t chill the cheesecake for at least 6 hours (preferably overnight), it won’t be fully set and will be difficult to slice neatly.
How to Store No-Bake Cheesecake
- Refrigerator: Cover the cheesecake tightly with plastic wrap and store it in the refrigerator for up to 3-4 days.
- Freezer: For longer storage, wrap individual slices or the whole cheesecake (after it’s fully set) tightly in plastic wrap, then in aluminum foil. Freeze for up to 1 month. Thaw in the refrigerator overnight before serving.
Frequently Asked Questions
Can I use a different type of crust?
Yes, you can! While graham cracker is classic, you could also use crushed vanilla wafers, shortbread cookies, or even chocolate cookies for a different flavor profile. Just stick to the same quantity of crumbs and butter.
Do I have to use a springform pan?
A springform pan is highly recommended because it makes releasing the cheesecake so easy. If you don’t have one, you could use a pie dish or a regular cake pan, but serving will be more challenging.
Why is my cheesecake filling runny?
This usually happens if your heavy whipping cream wasn’t cold enough to whip into stiff peaks, or if the cream cheese wasn’t softened properly. Ensure all dairy ingredients are at the right temperature for best results.
Can I add fruit to the top?
Absolutely! Fresh berries like strawberries, blueberries, or raspberries are wonderful on top of No-Bake Cheesecake. Add them just before serving for the freshest look and taste.
I really hope you give this No-Bake Cheesecake a try! It’s become such a reliable, delicious dessert in my kitchen, and I know it will be in yours too. Please let me know how it turns out for you!
PrintNo-Bake Cheesecake
A deliciously creamy and light No-Bake Cheesecake with a buttery graham cracker crust, perfect for any occasion without turning on the oven.
- Prep Time: 20
- Total Time: 380
- Yield: 8 servings
- Category: Dessert
- Method: No-Bake
- Cuisine: American
- Diet: Vegetarian
Ingredients
- 1 ½ cups graham cracker crumbs (180 grams)
- ¼ cup granulated sugar (50 grams)
- 6 tablespoons unsalted butter, melted (85 grams)
- 16 ounces brick-style cream cheese (452 grams) softened
- 1 cup powdered sugar (120 grams)
- 2 teaspoons fresh lemon juice
- 1 teaspoon pure vanilla extract
- 1 ½ cups cold heavy whipping cream (360 ml)
Instructions
- Line the bottom of a 9-inch springform pan with parchment paper.
- Combine the graham cracker crumbs and granulated sugar in a medium-sized mixing bowl.
- Stir the crumbs and sugar until well combined.
- Add the melted butter to the crumb mixture.
- Mix until all of the crumbs are moistened.
- Scoop the moistened crumb mixture into the prepared 9-inch springform pan.
- Firmly press the mixture into the bottom of the pan.
- Transfer the pan with the crust to the refrigerator to chill.
- Beat the softened cream cheese in a stand mixer (with paddle attachment) or large bowl (with handheld mixer) for 1-2 minutes until smooth.
- Add the powdered sugar, fresh lemon juice, and vanilla extract to the cream cheese.
- Mix until fully combined, stopping to scrape down the sides of the bowl as needed.
- Add the cold heavy whipping cream to a separate mixing bowl.
- Mix on low-medium speed for 30 seconds to 1 minute using a handheld mixer or stand mixer with whisk attachment.
- Increase the speed to medium-high and continue mixing until stiff peaks form.
- Gently fold one-third of the whipped cream into the cream cheese mixture until just combined.
- Fold in the remaining whipped cream until fully combined.
- Remove the springform pan with the crust from the refrigerator.
- Scoop the cheesecake filling on top of the crust.
- Spread the filling into one even layer.
- Smooth out the top of the filling.
- Cover the pan tightly.
- Transfer to the refrigerator to chill for at least 6 hours or overnight.
- Carefully release the cheesecake from the springform pan (slice a knife around the outside if needed).
- Slice and enjoy!
Notes
Ensure cream cheese is at room temperature for a smooth, lump-free filling.
Use very cold heavy whipping cream for best results when whipping.
Chill the cheesecake for at least 6 hours, or preferably overnight, for a firm set.
Fold the whipped cream gently to maintain the light, airy texture.


