
Oh, cheesecake! It’s one of those desserts that just screams celebration, isn’t it? But sometimes, the thought of turning on the oven, dealing with water baths, and all that fuss just feels like too much. That’s exactly how I felt one sweltering summer day, craving something rich and creamy but wanting to keep my kitchen cool. That’s when I stumbled upon the idea of a no-bake version, and after a little experimenting, this incredible Tasty Greek Yogurt No Bake Cheesecake was born. It’s been a go-to ever since for easy entertaining or just a sweet pick-me-up!
Why You’ll Love This Tasty Greek Yogurt No Bake Cheesecake
- It’s ridiculously easy! No oven needed, which is perfect for hot days or when you just don’t feel like baking.
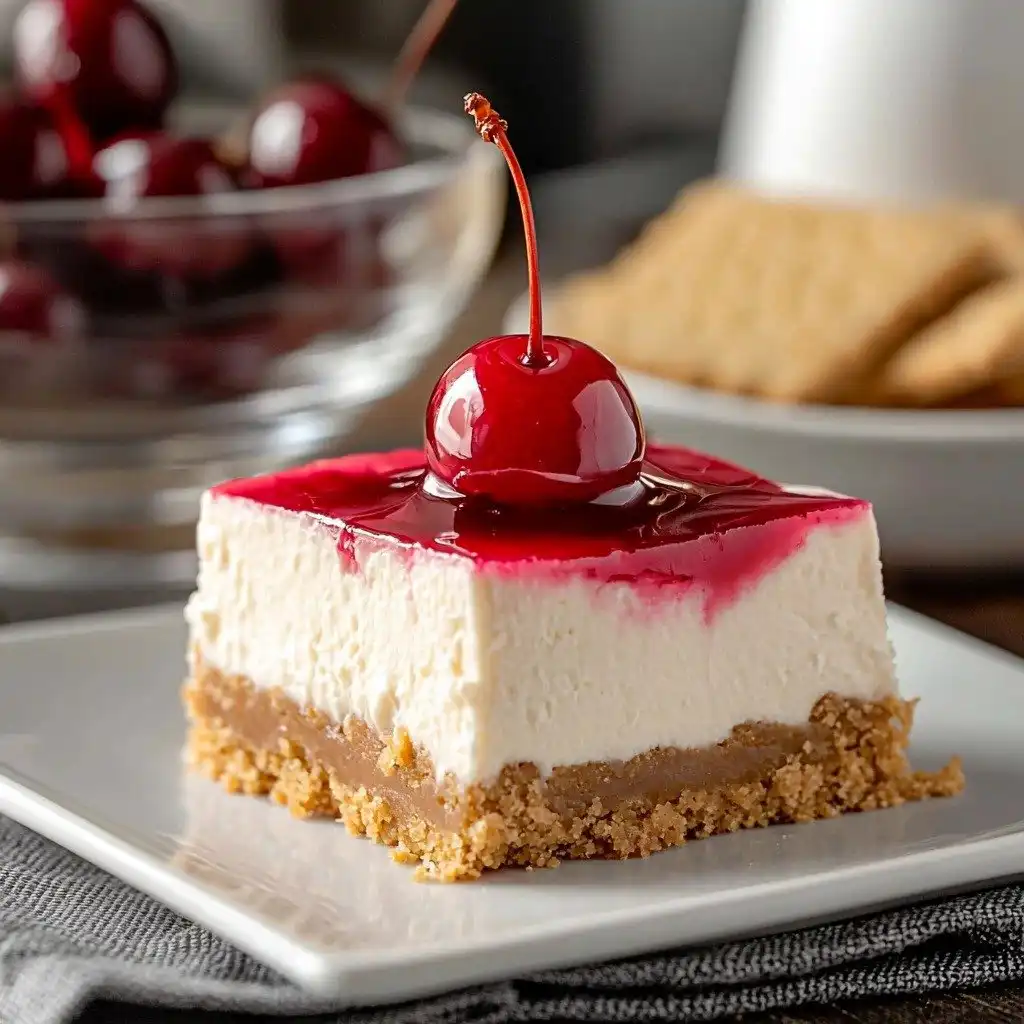
- The texture is divine – creamy, smooth, and perfectly set, with a lovely crunch from the graham cracker crust.
- It’s bursting with fresh, tangy flavor from the Greek yogurt and a hint of lemon, balanced by sweet honey.
- You can whip it up for any occasion, from a casual weeknight treat to a special gathering.
Ingredients You’ll Need
- Graham Cracker Crumbs: I swear by Honey Maid for that classic, slightly sweet honey flavor that makes the best crust.
- Coconut Oil: Make sure it’s melted and then cooled a bit. It acts as the binder for our crust, giving it a great texture.
- Cream Cheese: Softened cream cheese is your best friend here! It’s essential for a super smooth, lump-free filling.
- Greek Yogurt: I always reach for Fage 5% because it’s wonderfully thick and creamy, which gives the cheesecake its luxurious texture.
- Honey: This adds a lovely natural sweetness and a beautiful depth of flavor that complements the tang of the yogurt.
- Lemon Juice: Just a touch brightens up the whole cheesecake and cuts through the richness. Don’t skip it!
How to Make Tasty Greek Yogurt No Bake Cheesecake Step by Step
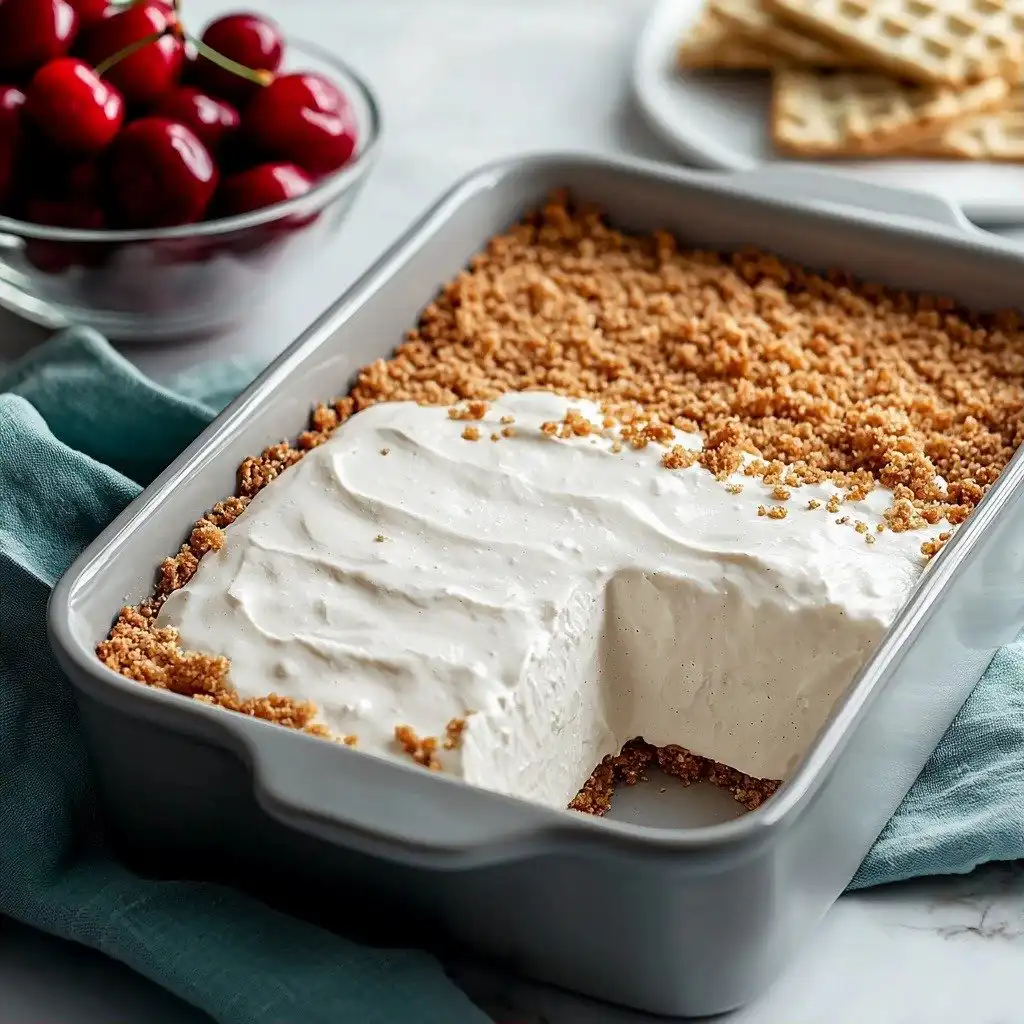
First things first, let’s get that crust ready! You’ll combine your graham cracker crumbs, melted and cooled coconut oil, and sugar in a bowl. Stir it really well until it looks like wet sand – you want to make sure there are no dry spots. Then, press this mixture firmly into your springform pan or baking dish. I like to use the bottom of a measuring cup to get a super even and compact layer. This is going to be the sturdy foundation for your delicious cheesecake, so give it a good press!
Now for the magical filling! In a separate bowl, you’ll whisk together your softened cream cheese, Greek yogurt, honey, lemon juice, vanilla, and a tiny pinch of salt. My secret for a truly lump-free filling is to beat the cream cheese on its own for about 30 seconds first; it really helps break it down. Then, gradually add the Greek yogurt while you keep whisking. This is where the magic happens and everything comes together into a wonderfully smooth, creamy mixture. The lemon juice adds that lovely brightness, and the honey gives a subtle sweetness that really enhances the yogurt’s tang.
Once your filling is silky smooth, pour it evenly over your prepared graham cracker crust. Use a spatula to smooth out the top – we want it to look pretty! Then, cover the pan with plastic wrap. This is the hardest part: waiting! Pop it in the fridge for at least 2 hours, but honestly, I find that letting it chill overnight gives the best texture and allows all those yummy flavors to really meld together. When it’s time to serve, carefully run a thin knife around the edge to loosen it, especially if you’re using a springform pan. Top with a generous dollop of whipped cream and some bright maraschino cherries. Remember to wipe your knife between each slice with a warm, damp cloth for those picture-perfect pieces!
My Top Tips for Success
- I always make sure my cream cheese is at room temperature (around 70°F). It makes a huge difference in getting a super smooth, lump-free filling.
- In my experience, chilling the cheesecake overnight really does make it taste better and gives it the best set texture. Plan ahead if you can!
- Trust me on this one: use a good quality, thick Greek yogurt like Fage 5%. It contributes so much to the luxurious creaminess.
- When pressing the crust, really get in there and compact it firmly. This prevents it from crumbling when you slice it.
- For clean slices, always wipe your knife with a warm, damp cloth between each cut. It makes a big difference!
Common Mistakes to Avoid
- Not softening the cream cheese: If your cream cheese is cold, you’ll end up with lumps in your filling. Always let it come to room temperature first.
- Not chilling long enough: Pulling the cheesecake out too soon means it might not be fully set, leading to a runny texture. Patience is key!
- Overmixing the filling: While you want it smooth, don’t go crazy with the whisking once everything is combined, as it can sometimes incorporate too much air.
- Using thin yogurt: A thinner yogurt won’t give you the same creamy, firm set. Opt for a thick, full-fat Greek yogurt.
How to Store Tasty Greek Yogurt No Bake Cheesecake
- Refrigerator: Store covered with plastic wrap for up to 3-4 days.
- Freezer: For longer storage, freeze individual slices (without toppings) on a baking sheet until firm, then wrap tightly in plastic wrap and foil. It will keep for up to 1 month. Thaw in the refrigerator before serving.
Frequently Asked Questions
Can I use a different type of cracker for the crust?
Yes, you can! Digestive biscuits, vanilla wafers, or even chocolate wafers would make delicious alternatives for the crust.
Do I have to use Greek yogurt?
For the best texture and tang, Greek yogurt is highly recommended. Regular yogurt is too thin and won’t set properly.
Can I make this cheesecake ahead of time?
Absolutely! This cheesecake is perfect for making a day or even two in advance, as the flavors deepen and it sets beautifully in the fridge.
What can I use instead of coconut oil for the crust?
Melted unsalted butter can be used as a direct substitute for coconut oil in the crust mixture.
Can I add other flavorings to the filling?
Yes, feel free to experiment! A little lemon zest, orange zest, or even a touch of almond extract could be lovely additions.
I hope this Tasty Greek Yogurt No Bake Cheesecake brings a little slice of easy, creamy heaven to your table! It’s truly one of my favorite fuss-free desserts. If you make it, I’d absolutely love to hear how it turned out for you in the comments below!
PrintTasty Greek Yogurt No Bake Cheesecake

Indulge in this effortlessly delicious no-bake cheesecake featuring a tangy Greek yogurt filling and a classic graham cracker crust.
- Prep Time: 20
- Total Time: 140
- Yield: 8 servings
- Category: Dessert
- Method: No-Bake
- Cuisine: American
- Diet: Vegetarian
Ingredients
- 1.25 cup graham cracker crumbs
- 1/4 cup coconut oil (melted and cooled to room temperature)
- 2 tbsp sugar
- 8 oz cream cheese (softened to room temperature)
- 3/4 cup greek yogurt (Fage 5% recommended)
- 4 tbsp honey
- 1 tbsp lemon juice
- 1.25 tsp vanilla
- Pinch of salt
- Whipped cream (for topping)
- Maraschino cherries (for topping)
Instructions
- Combine the graham cracker crumbs, melted and cooled coconut oil, and sugar in a bowl.
- Stir until the mixture resembles wet sand with no dry pockets.
- Press this mixture firmly and evenly into the bottom of a 9-inch springform pan or 8×8 inch baking dish.
- Use the bottom of a measuring cup to create an even, compact layer for the crust.
- In a separate bowl, beat the softened cream cheese alone for 30 seconds to break up any lumps.
- Add the greek yogurt, honey, lemon juice, vanilla, and salt to the cream cheese.
- Whisk until completely smooth and well combined, ensuring a lump-free texture.
- Pour the creamy filling mixture evenly over the graham cracker crust.
- Smooth the top with a spatula for an even surface.
- Cover the pan with plastic wrap.
- Refrigerate for at least 2 hours, or preferably overnight, until the filling is set and chilled through.
- Remove the cheesecake from the refrigerator.
- Carefully run a thin knife around the edges to loosen it from the pan (if using a springform).
- Remove the springform ring (if using).
- Top with a generous dollop of whipped cream.
- Garnish with maraschino cherries.
- Slice and serve immediately.
- Wipe your knife between cuts with a warm, damp cloth for clean slices.
Notes
Ensure cream cheese is at room temperature for a lump-free filling.
For best results, chill the cheesecake overnight so flavors meld and it sets perfectly.
Use a thick, full-fat Greek yogurt for the creamiest texture.
Press the crust firmly to prevent crumbling when slicing.
Wipe your knife with a warm, damp cloth between slices for clean cuts.


