
There’s just something magical about chocolate, isn’t there? For me, it’s a comfort food, a celebration food, and honestly, sometimes it’s just a Tuesday food! I’ve been making these Death-By-Chocolate No Bake Cheesecake Bars for years, and they always disappear in a flash. They’re my go-to when I need a showstopper dessert without turning on the oven. It’s the perfect treat for any chocolate lover!
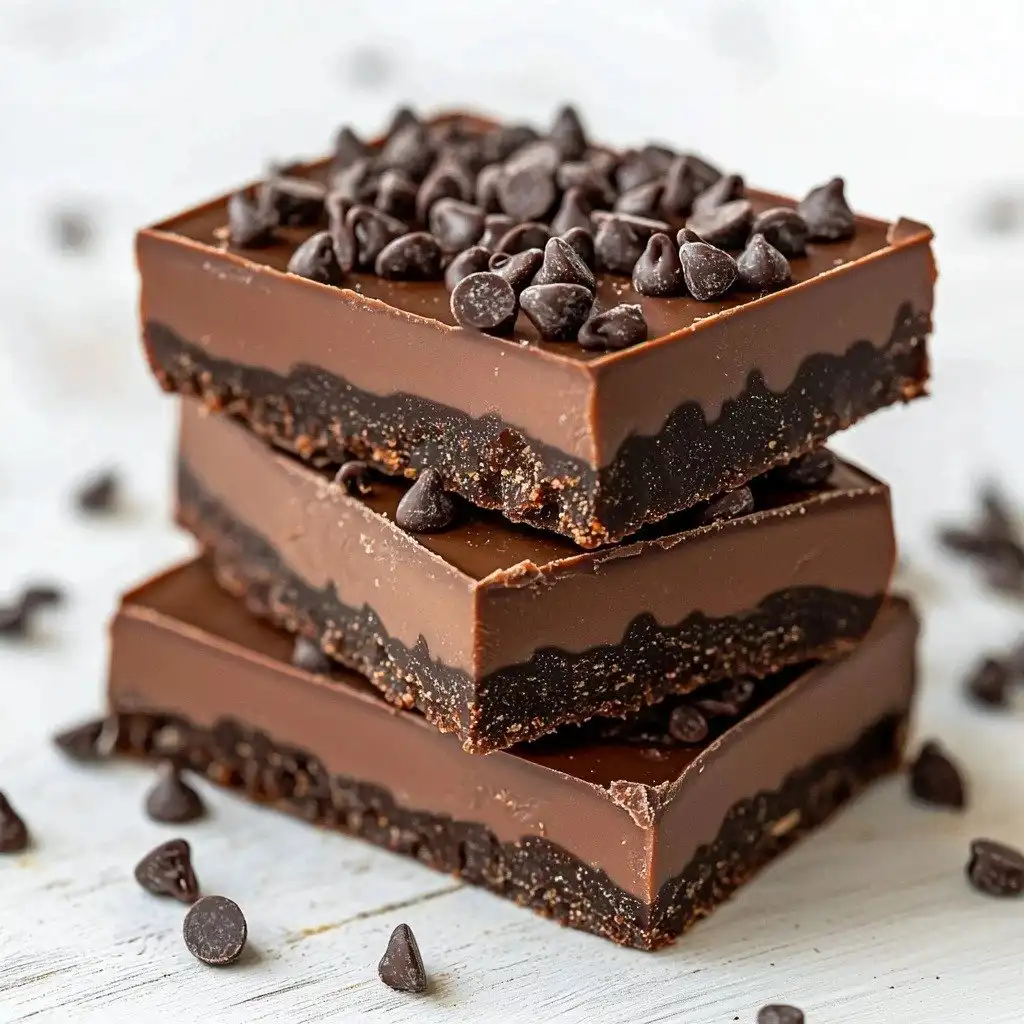
Why You’ll Love This Death-By-Chocolate No Bake Cheesecake Bars
- These bars are so incredibly rich and chocolatey, it’s like a dream come true for chocolate lovers.
- No baking required! Seriously, just a few simple steps and you’re chilling your way to dessert heaven.
- The texture is divine – a crunchy Oreo crust topped with a silky smooth, decadent chocolate cheesecake.
- They’re perfect for entertaining because you can make them ahead of time and just pull them out when you’re ready.
Ingredients You’ll Need
- Oreo cookies: These are the star of our crust! You’ll want the classic sandwich cookies, and we’re using them whole, cream filling and all.
- Unsalted butter: Melting this down helps bind our Oreo crumbs together for a perfect, sturdy crust.
- Dark chocolate: We use this twice! A little in the crust for extra richness, and then a generous amount for the creamy cheesecake layer. Chopping it finely helps it melt smoothly.
- Brick-style cream cheese: Make sure it’s softened to room temperature! This is key for a smooth, lump-free cheesecake filling.
- Heavy whipping cream: This combines with the dark chocolate to create that luxurious, silky ganache-like base for our filling.
- Baileys Irish Cream or Kahlua (optional): A little splash of liquor really enhances the chocolate flavor and adds a touch of sophistication. Don’t worry, you can skip it if you prefer!
- Salt (optional): Trust me on this one! A tiny bit of salt doesn’t make it taste salty, but it truly makes the chocolate flavors pop and balances the richness.
- Mini semi-sweet chocolate chips: These are for sprinkling on top, adding another layer of chocolatey goodness and a slight textural contrast.
How to Make Death-By-Chocolate No Bake Cheesecake Bars Step by Step
First things first, let’s get our pan ready. Grab a 9×9-inch pan and line it with aluminum foil – this makes cleanup a breeze later! Give the foil a quick spray with cooking spray and set it aside.
Now, for the crust! Toss your whole Oreo cookies into a food processor. Process them on high speed until they’re super fine crumbs, like sand. In a small microwave-safe bowl, melt your butter and that extra tablespoon of dark chocolate together. Heat it in short bursts until it’s smooth and stirable. Pour this melted chocolatey butter into your Oreo crumbs in the food processor and process again until it’s all combined. Then, press that mixture firmly into your prepared pan to form an even, flat crust. This is where the magic starts!
Next, we’ll make the decadent filling. In a large mixing bowl, beat your softened cream cheese with a handheld electric mixer until it’s light and fluffy. Set that aside. In a separate, large, microwave-safe bowl, combine your chopped dark chocolate and heavy cream. Microwave this in 30-second bursts, stirring well after each, until the chocolate is completely melted and the mixture is silky smooth. It usually takes about 90 seconds total, but watch it carefully so it doesn’t scorch! Pour this warm, creamy chocolate mixture into your bowl with the fluffy cream cheese and beat it on high speed until everything is perfectly smooth and combined. This is where you can also beat in your optional liquor and salt – I really recommend the salt for flavor!
Finally, spread this glorious chocolate cheesecake mixture evenly over your chilled Oreo crust. Sprinkle those mini chocolate chips all over the top. Now comes the hard part: waiting! Pop the pan into the refrigerator for at least 3 hours, or even better, overnight. You want them well chilled so they set up beautifully for slicing. Once they’re chilled, you can cover them with foil to prevent condensation. Enjoy your amazing Death-By-Chocolate No Bake Cheesecake Bars!
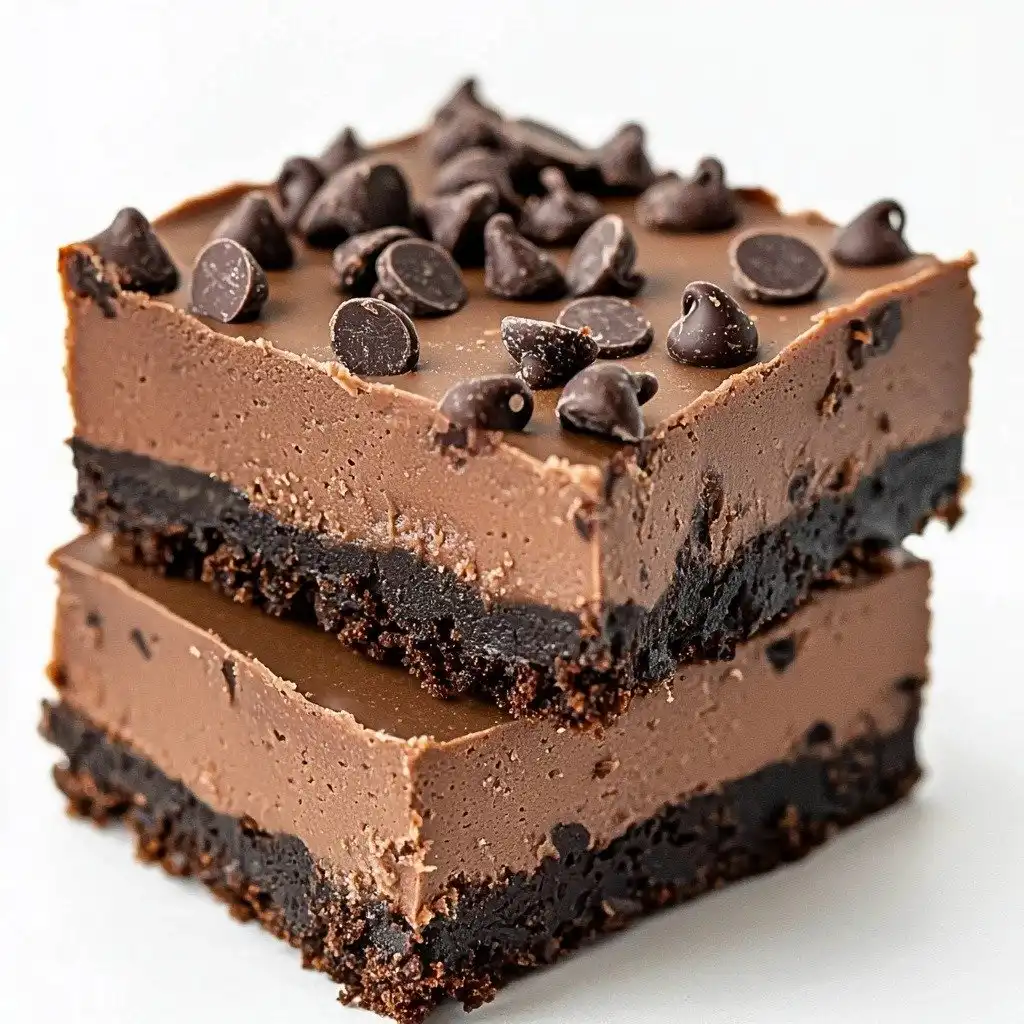
My Top Tips for Success
- I always make sure my cream cheese is truly at room temperature; it makes a huge difference in getting a smooth, lump-free filling.
- In my experience, finely chopping the dark chocolate for the filling helps it melt more evenly and quickly into the cream.
- Trust me on this one: don’t skip the salt in the filling! It really enhances the chocolate flavor without making it taste salty.
- For the best slices, make sure the bars are thoroughly chilled, ideally overnight. A warm knife dipped in hot water and wiped clean between cuts also helps.
- Don’t over-process the Oreos for the crust; you want fine crumbs, not a paste.
Common Mistakes to Avoid
- Not softening cream cheese: This will lead to a lumpy filling. Make sure your cream cheese is at room temperature before beating it.
- Overheating chocolate and cream: This can cause the chocolate to seize or burn. Heat in short increments and stir well.
- Not packing the crust firmly enough: A loose crust will crumble when sliced. Press it down very firmly into the pan.
- Slicing before fully chilled: The bars won’t hold their shape and will be messy. Allow at least 3 hours, or preferably overnight, for proper setting.
- Covering warm bars with foil: This creates condensation and can make the top watery. Wait until fully chilled before covering.
How to Store Death-By-Chocolate No Bake Cheesecake Bars
- Refrigerator: Up to 5 days, covered with foil or plastic wrap once fully chilled.
- Freezer (whole): Up to 1 month, tightly wrapped in plastic wrap and then foil. Thaw in the refrigerator overnight.
- Freezer (individual slices): Up to 1 month, wrap each slice individually in plastic wrap, then place in an airtight container or freezer bag. Thaw in the refrigerator or at room temperature for a quick treat.
Can I use a different type of cookie for the crust?
Yes, absolutely! While Oreos give that classic dark chocolate flavor, you could try graham crackers, chocolate wafers, or even digestive biscuits. Just keep the proportions of crumbs to melted butter similar.
Do I have to use liquor in the filling?
No, the liquor is completely optional! It does enhance the chocolate flavor, but the bars will still be incredibly delicious without it. You can omit it entirely or add a little extra vanilla extract instead.
Why is my cheesecake filling lumpy?
This usually happens if your cream cheese wasn’t soft enough when you started. Make sure it’s at room temperature before you beat it. If it’s already lumpy, you can try beating it for longer, but it’s best to start with soft cream cheese.
How can I make sure my slices are clean?
Ensure the bars are thoroughly chilled, preferably overnight. For super clean cuts, use a sharp knife dipped in hot water and wiped clean between each slice. This helps prevent sticking and dragging.
Can I use milk chocolate instead of dark chocolate?
You can, but it will result in a much sweeter bar and a different flavor profile. The “Death-By-Chocolate” really comes from that rich, intense dark chocolate. If you prefer milk chocolate, you might want to reduce the sugar in the recipe slightly, though this recipe doesn’t add extra sugar to the filling itself.
I hope these Death-By-Chocolate No Bake Cheesecake Bars bring as much joy and deliciousness to your kitchen as they do to mine. They are truly a chocolate lover’s dream come true, and so easy to whip up! Give them a try, and let me know how much you love them!
PrintDeath-By-Chocolate No Bake Cheesecake Bars
Rich, decadent, and incredibly easy Death-By-Chocolate No Bake Cheesecake Bars feature an Oreo crust and a silky smooth chocolate cheesecake filling.
- Prep Time: 25
- Cook Time: 2
- Total Time: 207
- Yield: 9 servings
- Category: Dessert
- Method: No-Bake
- Cuisine: American
Ingredients
- 18 Oreo cookies
- ¼ cup unsalted butter melted
- 1 tablespoon dark chocolate melted
- 4 ounces brick-style cream cheese softened
- 8 ounces dark chocolate chopped
- ¾ cup heavy whipping cream
- 1 tablespoon Baileys Irish Cream or Kahlua optional
- ½ teaspoon salt optional and to taste but recommended
- ½ cup mini semi-sweet chocolate chips
Instructions
- Line a 9×9-inch pan with aluminum foil and spray with cooking spray; set aside.
- Add the whole Oreos to a food processor.
- Process on high speed until you have fine crumbs.
- Add the butter and 1 tablespoon dark chocolate to a small microwave-safe bowl.
- Heat on high power in 30-second increments until the chocolate and butter have melted and can be stirred smooth.
- Pour the melted chocolate and butter mixture into the food processor with the Oreo crumbs.
- Process on high speed to incorporate.
- Turn the crumb mixture out into the prepared pan.
- Hard-pack the mixture to form an even, flat crust layer; set aside.
- Add the softened cream cheese to a large mixing bowl.
- Beat with a handheld electric mixer on high speed until fluffy; set aside.
- Add the 8 ounces chopped dark chocolate and heavy cream to a separate, large, microwave-safe bowl.
- Heat in 30-second increments until the chocolate has melted and can be stirred smooth into the cream, and the mixture is silky (about 90 seconds total).
- Transfer the creamy chocolate mixture into the bowl with the cream cheese.
- Beat on high power until smooth and combined.
- Optionally, add the liquor and/or salt and beat to combine.
- Evenly spread the mixture over the crust.
- Evenly sprinkle with the mini chocolate chips.
- Refrigerate for at least 3 hours, or overnight, before slicing and serving.
- After the 3-hour point and once well chilled, cover with foil when the dessert is in the fridge.
Notes
Ensure cream cheese is at room temperature for a smooth filling.
Finely chop dark chocolate for easier, even melting.
A pinch of salt in the filling enhances chocolate flavor, don’t skip it!
For clean slices, chill bars thoroughly and use a hot, wiped knife.


