
Oh my goodness, do I have a treat for you today! There’s something so wonderfully nostalgic about a crunch bar, isn’t there? It takes me right back to being a kid, that first satisfying snap and then the chewy, chocolatey goodness. But let me tell you, store-bought doesn’t even come close to the magic of homemade. I’ve been perfecting this recipe, and I’m so excited to share what I truly believe are The BEST Homemade Crunch Bars you’ll ever make!
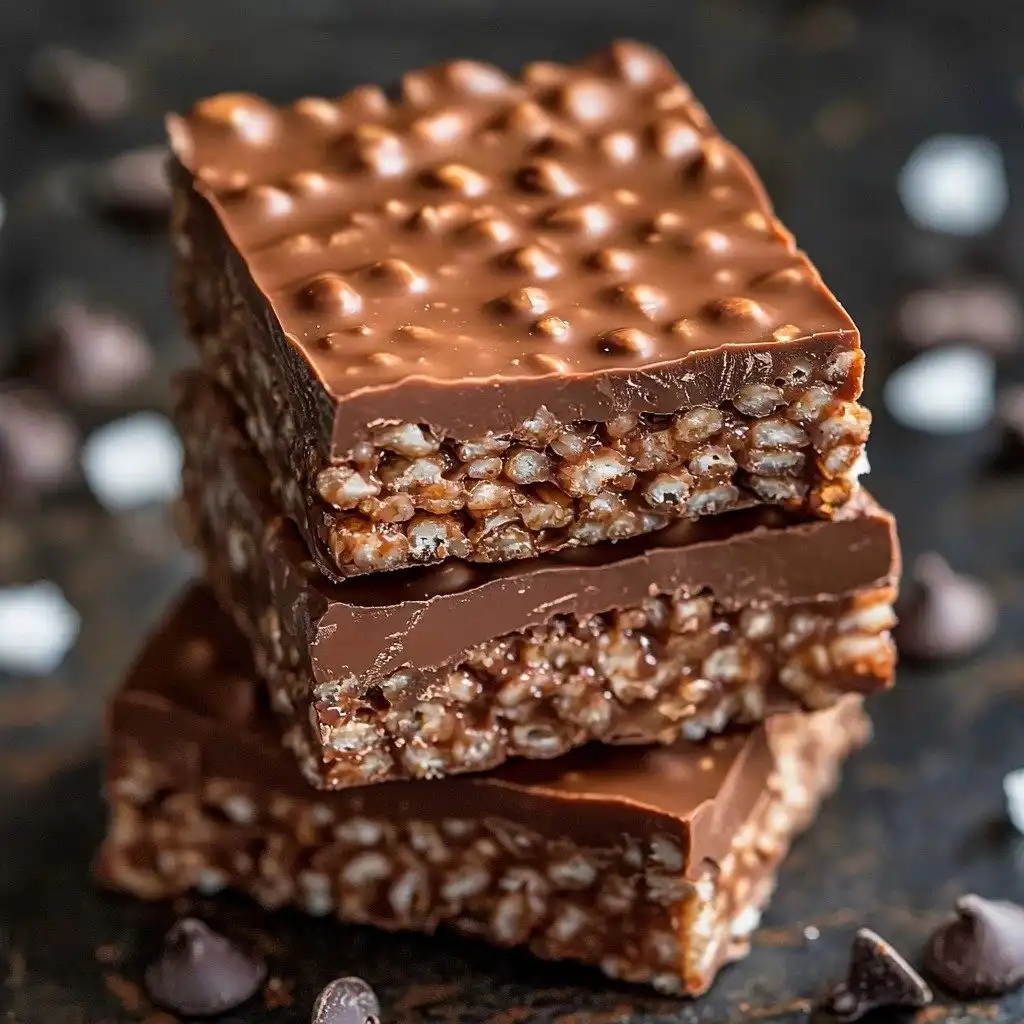
Why You’ll Love This The BEST Homemade Crunch Bars
- They’re incredibly easy to make – seriously, no baking required!
- That satisfying crispy-chewy texture is just irresistible.
- You only need a handful of simple ingredients you probably already have.
- Perfect for a quick dessert, an afternoon snack, or a lunchbox surprise!
Ingredients You’ll Need
- Crispy Rice Cereal: This is the star of the show for that signature crunch! Don’t skimp on it; it’s what gives these bars their name.
- Chocolate Chips: I love using semi-sweet, but feel free to use milk, dark, or a mix depending on your preference. They’ll melt down to create that rich chocolate base.
- Peanut Butter: This adds a wonderful depth of flavor and helps bind everything together. You can absolutely use any nut or seed butter you prefer, like almond butter or sunflower seed butter, for dietary needs or different tastes!
- Maple Syrup: Our natural sweetener! It also helps with the texture and gives a lovely, subtle sweetness.
- Coconut Oil: This helps the chocolate mixture melt smoothly and set up nicely. If you don’t have coconut oil, grass-fed butter works beautifully too.
How to Make The BEST Homemade Crunch Bars Step by Step
First things first, let’s get our pan ready. Grab an 8×8-inch baking dish. If you have a slightly deeper baking tray, that works too! Line it with parchment paper – this is super important, trust me, it makes lifting the bars out so much easier. Once that’s ready, set it aside.
Now, let’s get our crispy rice cereal into a large mixing bowl. Just pour it in and set it next to your prepared dish. Next, we’re going to create the delicious chocolatey binder. In a microwave-safe bowl (or a saucepan if you’re using the stovetop), combine your chocolate chips, peanut butter, maple syrup, and coconut oil. Heat this mixture gently until everything is melted. This is where the magic happens!
Once melted, remove it from the heat and whisk it really well until it’s super smooth and all the ingredients are completely combined. You want it to look like a silky, glossy chocolate sauce. Pour this gorgeous mixture right over your crispy rice cereal. Now, gently mix it all together until every single flake of cereal is coated in that chocolate peanut butter goodness. Don’t worry if it looks a little messy at first; just keep stirring until it’s evenly coated!
Pour the entire mixture into your parchment-lined baking dish. Press it down firmly and evenly with the back of a spoon or your hands. Pop the dish into the refrigerator and let it chill until it’s completely firm. This usually takes at least an hour, but sometimes a little longer depending on your fridge. Once firm, lift the whole thing out using the parchment paper and cut it into bars. Enjoy!
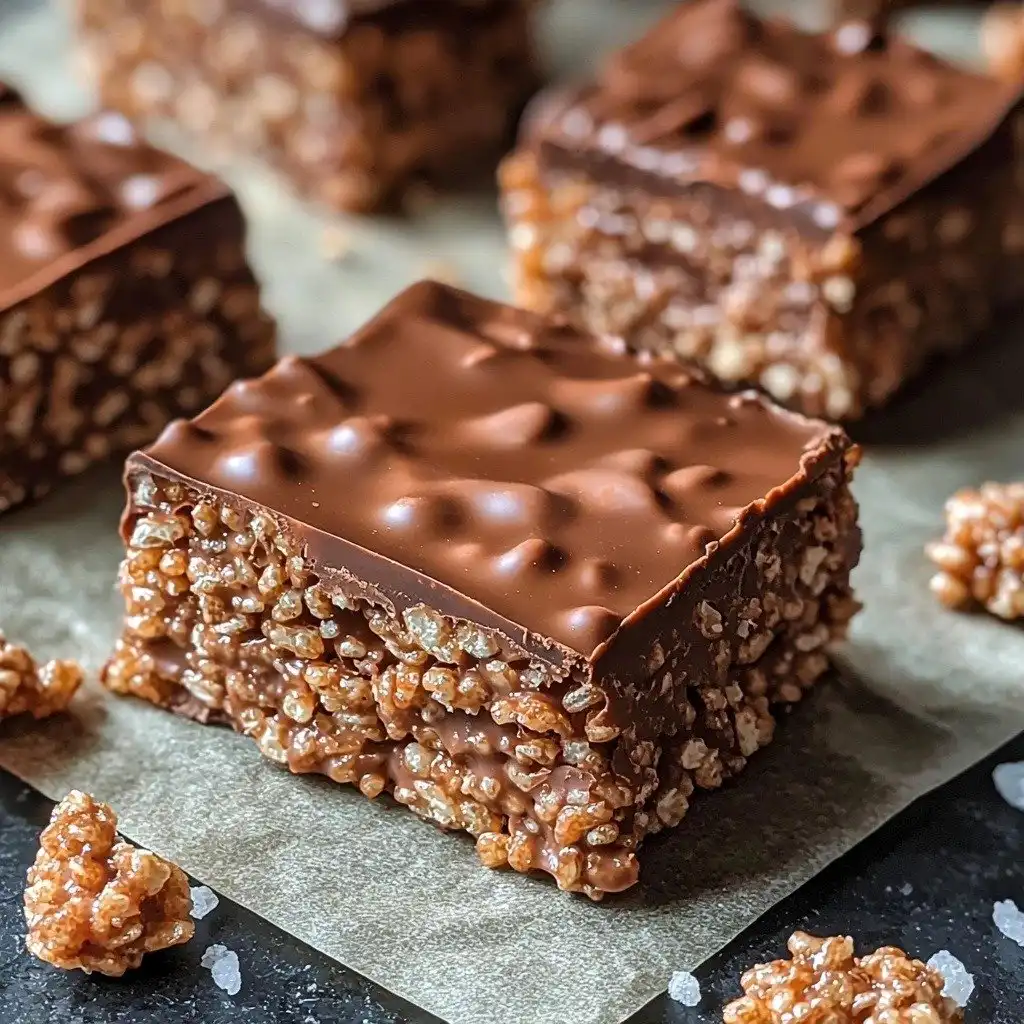
My Top Tips for Success
- I always make sure to line my baking dish with parchment paper with a little overhang; it makes removing the set bars so much easier.
- In my experience, melting the chocolate mixture slowly and gently prevents it from seizing or burning.
- Trust me on this one: press the mixture down really firmly into the pan. This helps the bars hold together better.
- For clean cuts, I like to use a sharp knife that I’ve run under hot water and then wiped dry.
- If your bars are too sticky, they might need a little more time in the fridge to firm up completely.
Common Mistakes to Avoid
- Overheating the chocolate mixture: This can cause the chocolate to seize or get grainy. Heat gently and stir frequently.
- Not mixing thoroughly enough: If the cereal isn’t fully coated, your bars won’t hold together well and you’ll have dry spots. Mix until every piece is glistening!
- Cutting before fully chilled: The bars will be too soft and fall apart. Be patient and let them get nice and firm in the fridge.
- Using a pan that’s too big: This will result in very thin bars. Stick to an 8×8-inch dish for the perfect thickness.
How to Store The BEST Homemade Crunch Bars
- At room temperature: Store in an airtight container for up to 3-4 days.
- In the refrigerator: Store in an airtight container for up to 1 week. This is my preferred method, especially if your kitchen is warm, as it keeps them nice and firm.
- In the freezer: Wrap individual bars tightly in plastic wrap, then place in a freezer-safe bag or container for up to 2-3 months. Thaw at room temperature for a few minutes before eating.
Frequently Asked Questions
Can I use a different type of cereal?
Yes, you can! While crispy rice cereal gives that classic crunch, you could experiment with corn flakes or even crushed graham crackers for a different texture.
Do I have to use coconut oil?
No, you don’t. Grass-fed butter is a great substitute for coconut oil and will work just as well in this recipe.
Can I make these vegan?
Absolutely! Ensure your chocolate chips are dairy-free, and you’re good to go. The other ingredients are typically vegan.
How do I prevent the bars from sticking to the pan?
Lining your baking dish with parchment paper, making sure some hangs over the edges, is key. This allows you to easily lift the entire slab out before cutting.
My bars are too soft, what did I do wrong?
They likely need more time to chill and firm up in the refrigerator. Make sure they are completely firm before attempting to cut them.
I hope these The BEST Homemade Crunch Bars bring a smile to your face and a happy memory to your kitchen! They’re truly a joy to make and even more fun to eat. If you give them a try, please let me know how they turn out – I’d love to hear from you!
PrintThe BEST Homemade Crunch Bars
These simple no-bake crunch bars are packed with crispy cereal and a rich chocolate peanut butter coating, perfect for a quick, satisfying treat.
- Prep Time: 15
- Cook Time: 5
- Total Time: 75
- Yield: 12-16 bars
- Category: Dessert
- Method: No-Bake
- Cuisine: American
- Diet: Vegetarian
Ingredients
- 3 cups crispy rice cereal
- 1 1/2 cups chocolate chips
- 1 cup peanut butter
- 1/2 cup maple syrup
- 1/4 cup coconut oil
Instructions
- Line an 8×8-inch baking dish with parchment paper.
- Set the lined dish aside.
- Add crispy rice cereal into a large mixing bowl.
- Set the mixing bowl aside.
- In a microwave-safe bowl, combine chocolate chips, peanut butter, maple syrup, and coconut oil.
- Heat the mixture in the microwave until melted.
- Alternatively, combine ingredients in a saucepan and heat on the stovetop until melted.
- Remove the melted mixture from the heat.
- Whisk the mixture until completely smooth and incorporated.
- Pour the chocolate/peanut butter mixture over the crispy rice cereal.
- Mix until all the cereal is evenly coated.
- Pour the combined mixture into the lined baking dish.
- Press the mixture down firmly and evenly into the dish.
- Refrigerate the dish until the bars are firm (at least 1 hour).
- Remove the firm slab from the dish using the parchment paper.
- Cut the slab into bars.
Notes
Ensure your parchment paper overhangs the dish for easy removal.
Press the mixture firmly into the pan for well-structured bars.
Use a sharp, warm knife for clean cuts.
Store bars in the fridge for the best texture and firmness.


