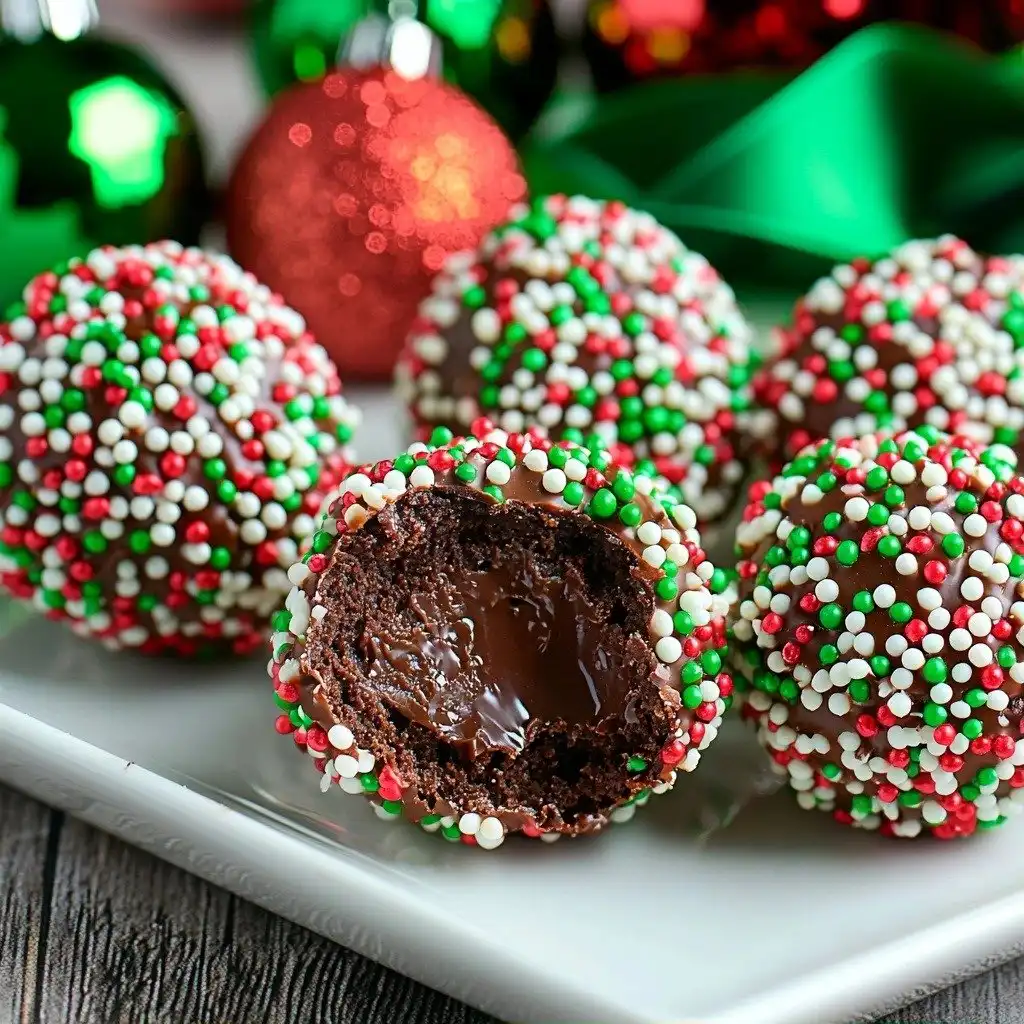
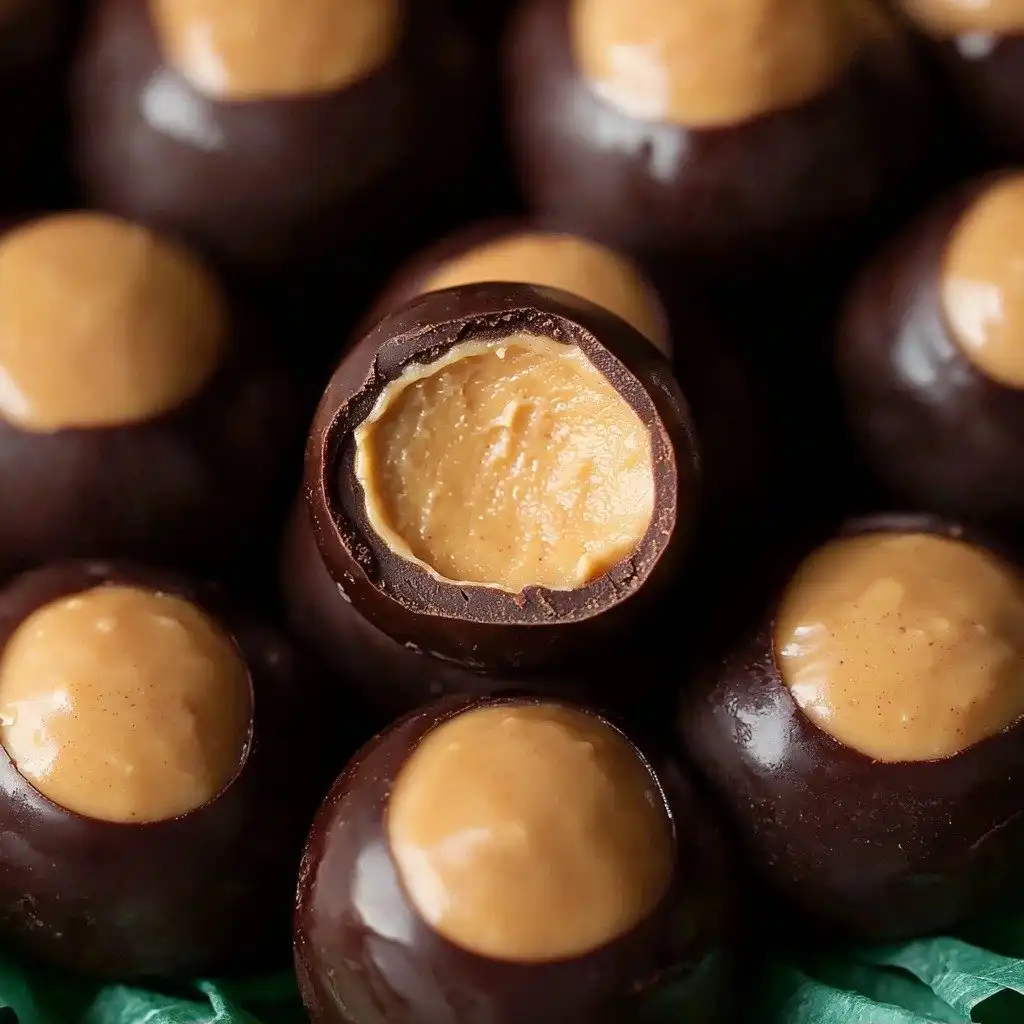
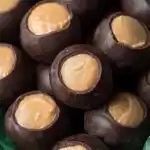
Every holiday season, there’s one treat that absolutely has to make an appearance in my kitchen: Homemade Peanut Butter Balls (Buckeye Balls). It’s not just a recipe; it’s a tradition! The moment that sweet, salty peanut butter mixes with rich chocolate, it brings back memories of sharing platters with family and friends. These little bites of heaven are so much fun to make and even more fun to eat, and I just know you’re going to adore them too.
Why You’ll Love This Homemade Peanut Butter Balls (Buckeye Balls)
- They’re incredibly easy to make with just a few simple ingredients you likely already have.
- That perfect balance of creamy peanut butter and rich, slightly bitter chocolate is absolutely irresistible.
- No baking required! Just a little mixing, chilling, and dipping, and you’re good to go.
- They’re a fantastic make-ahead treat, perfect for holidays, parties, or just a sweet craving.
Ingredients You’ll Need
- Unsalted Butter: Using unsalted butter gives you control over the saltiness. Make sure it’s softened, not melted, so it blends smoothly with the peanut butter.
- Creamy Peanut Butter: This is the star! Stick with creamy for that smooth texture. Natural peanut butter (the kind that separates) can make the mixture too oily, so I recommend regular creamy peanut butter.
- Vanilla Extract: Just a touch of vanilla really enhances all the other flavors.
- Powdered Sugar: This is what gives our peanut butter mixture its sweet, firm, and melt-in-your-mouth texture. Don’t substitute with granulated sugar, or your balls will be grainy.
- Semi-Sweet Chocolate Chips: Semi-sweet balances the sweetness of the peanut butter perfectly. You can use milk chocolate if you prefer a sweeter treat, but semi-sweet is classic.
- Shortening or Coconut Oil: This is key for a smooth, dippable chocolate coating that sets up nicely. It helps prevent the chocolate from being too thick or cracking.
How to Make Homemade Peanut Butter Balls (Buckeye Balls) Step by Step
First things first, grab your softened butter and creamy peanut butter. Pop them into a large mixing bowl and use your electric mixer to beat them until they’re super smooth and perfectly combined. This is where the magic starts!
Next, it’s time to add the vanilla extract and all that powdered sugar. Start beating on low speed; the mixture will look a little crumbly at first, but keep going. It’s going to get really thick – don’t worry, that’s exactly what we want! If your mixer is struggling, you can even switch to using your hands to knead it together until it forms a cohesive, firm dough.
Now for the fun part: shaping! Use a cookie dough scoop, or even just a tablespoon, to portion out the mixture. Then, roll each portion between your hands to form perfect little balls. If it starts getting sticky, just rub a tiny bit of butter on your hands – trust me, it works wonders! Place these beauties on a baking sheet lined with parchment paper or a silicone mat, and then they get a nice chill in the fridge for an hour, or the freezer for 20 minutes. This step is super important for firm balls that won’t fall apart when you dip them.
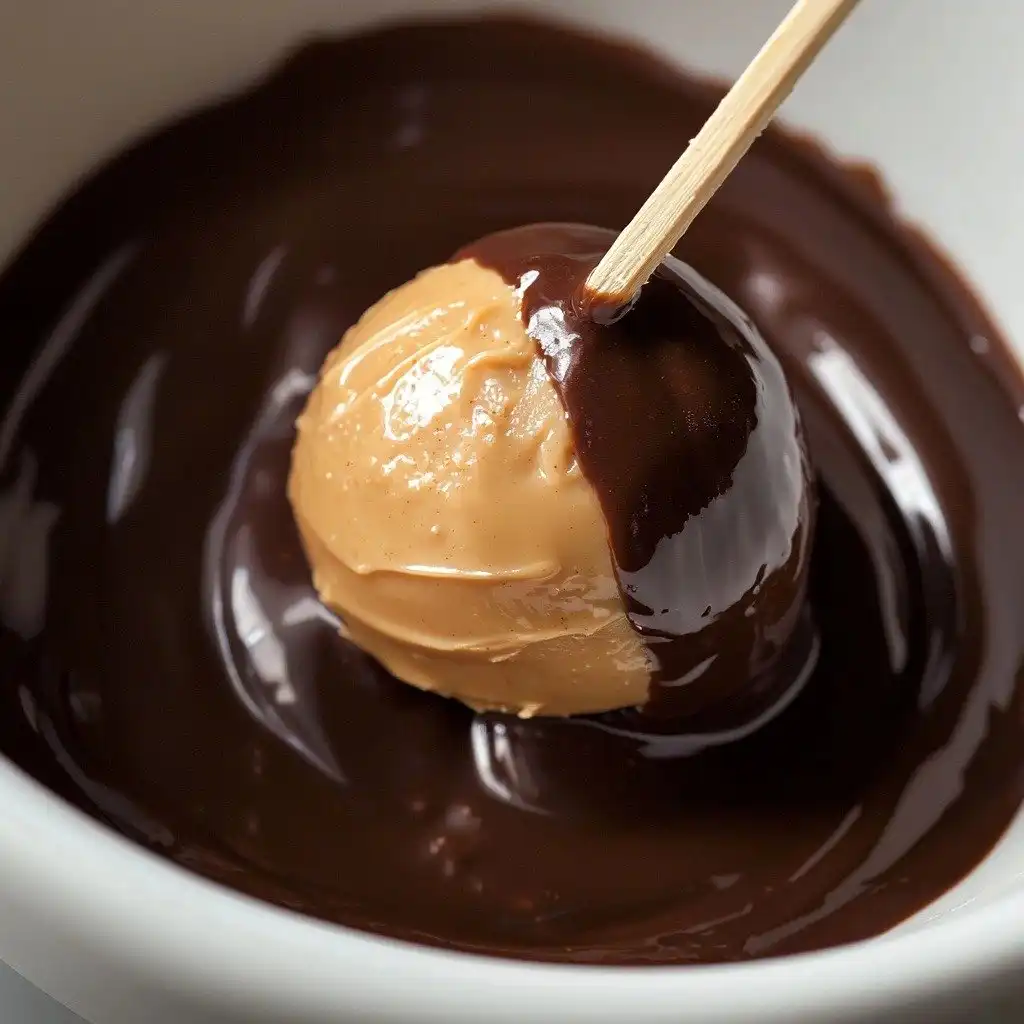
Once your peanut butter balls are perfectly chilled, it’s chocolate time! In a small pot, gently melt your semi-sweet chocolate chips and shortening (or coconut oil) over low heat. Stir it occasionally until it’s completely smooth and glossy – this might take about 10 minutes, so be patient. I like to take just 5 balls out of the fridge at a time to dip; this keeps the others nice and cold while you work. Stick a toothpick halfway into a ball, dip it into the melted chocolate, leaving a little “eye” of peanut butter showing, and then gently scrape off any excess chocolate on the edge of the pot. Place it on your lined baking sheet and use a second toothpick to help slide the first one out. Once all your balls are dipped, back into the fridge they go for another 30 minutes to let that chocolate set up beautifully!
My Top Tips for Success
- I always make sure my butter is truly softened, not melted, for the best texture in the peanut butter mixture.
- In my experience, chilling the peanut butter balls thoroughly is non-negotiable. It makes dipping so much easier and cleaner.
- Trust me on this one: melt your chocolate slowly over low heat. Rushing it can cause the chocolate to seize or burn.
- When dipping, work in small batches of 5-6 balls at a time. This keeps the remaining balls cold and firm.
- If your hands get sticky while rolling, a tiny bit of butter rubbed on them helps immensely.
Common Mistakes to Avoid
- Not chilling the peanut butter balls enough: If your balls are too warm, they’ll be soft and fall apart in the warm chocolate, making a mess. Make sure they’re firm from adequate chilling.
- Using natural or oily peanut butter: This can make your peanut butter mixture too soft and greasy, preventing it from holding its shape. Stick to processed creamy peanut butter.
- Overheating the chocolate: If the chocolate gets too hot, it can seize up and become clumpy. Melt it slowly over low heat, stirring often.
- Skipping the shortening/coconut oil in the chocolate: Without it, your chocolate coating might be too thick, difficult to dip, and prone to cracking when it sets.
- Dipping all the balls at once: If you take all the balls out of the fridge at once, they’ll warm up before you can dip them all. Work in small batches.
How to Store Homemade Peanut Butter Balls (Buckeye Balls)
- Refrigerator: Store in an airtight container for up to 2 weeks.
- Freezer: Place in a single layer on a baking sheet to freeze solid, then transfer to an airtight freezer-safe bag or container for up to 3 months. Thaw in the refrigerator before serving.
Frequently Asked Questions
H3: Why are my peanut butter balls too soft?
This usually happens if you didn’t add enough powdered sugar or didn’t chill them long enough. Make sure to use the full amount of powdered sugar and give them at least an hour in the fridge or 20 minutes in the freezer.
H3: Can I use crunchy peanut butter?
While you technically can, creamy peanut butter is recommended for the classic smooth texture of Homemade Peanut Butter Balls (Buckeye Balls). Crunchy peanut butter will give them a different, lumpier consistency.
H3: My chocolate is too thick for dipping. What can I do?
This often means it’s not quite warm enough or you might need a tiny bit more shortening/coconut oil. You can gently reheat it over low heat, stirring constantly, or add another half teaspoon of shortening/coconut oil until it’s smooth and dippable.
H3: How do I get the chocolate to set quickly?
After dipping, place the balls back on the baking sheet and return them to the refrigerator for about 30 minutes. The cold temperature will help the chocolate firm up nicely and quickly.
H3: Can I make these ahead of time?
Absolutely! Homemade Peanut Butter Balls (Buckeye Balls) are a fantastic make-ahead treat. You can store them in the refrigerator for up to two weeks, or freeze them for up to three months.
There you have it! These Homemade Peanut Butter Balls (Buckeye Balls) are such a joy to make and eat. I hope you give them a try and that they bring a little extra sweetness to your day. If you make them, I’d absolutely love to hear how they turned out in the comments!
PrintHomemade Peanut Butter Balls (Buckeye Balls)
Classic no-bake peanut butter balls dipped in rich chocolate, perfect for holidays or any sweet craving.
- Prep Time: 20
- Cook Time: 10
- Total Time: 100
- Yield: About 40 balls
- Category: Dessert
- Method: No-Bake
- Cuisine: American
- Diet: Vegetarian
Ingredients
- ½ cup (113g) unsalted butter softened, 1 stick
- 1 ½ cups (405g) creamy peanut butter
- 1 tsp vanilla extract
- 3 cups (339g) powdered sugar
- 1 ½ cups (255g) semi-sweet chocolate chips
- 1 Tbsp shortening or coconut oil
Instructions
- In a large mixing bowl, add the softened unsalted butter and creamy peanut butter.
- Beat with an electric mixer until combined and smooth.
- Add the vanilla extract to the mixture.
- Add the powdered sugar to the mixture.
- Beat on low speed until the mixture comes together and is thick.
- Alternatively, knead the mixture together with your hands if it's too thick for the mixer.
- Use a cookie dough scoop (or tablespoon) to portion out the dough.
- Roll the mixture between your hands to form balls.
- If the mixture becomes sticky, rub a small amount of butter between your hands.
- Place the formed balls on a baking sheet lined with a silicone mat or parchment paper.
- Place the baking sheet in the fridge for 1 hour to chill.
- Alternatively, place the baking sheet in the freezer for 20 minutes to chill.
- After chilling, in a small pot, add the semi-sweet chocolate chips and shortening (or coconut oil).
- Melt over low heat on the stove.
- Stir occasionally until the chocolate is fully melted and smooth; this may take up to 10 minutes.
- Remove 5 peanut butter balls from the fridge/freezer at a time for dipping.
- Stick a toothpick halfway into a peanut butter ball.
- Leave a small portion of the peanut butter exposed at the top, like an 'eye'.
- Gently scrape the bottom of the dipped ball on the edge of the pot to remove excess chocolate.
- Place the dipped ball on a silicone baking mat.
- Use a second toothpick resting on top of the dipped ball to help remove the toothpick that's inserted.
- Repeat for the remaining balls, working in small batches.
- Once all balls are dipped, return them to the fridge for 30 minutes to set the chocolate.
Notes
Always use softened (not melted) butter for the best peanut butter mixture texture.
Thoroughly chill the peanut butter balls before dipping to prevent them from falling apart.
Melt chocolate slowly over low heat to avoid seizing or burning.
Work in small batches when dipping to keep the remaining balls cold and firm.
If your hands get sticky while rolling, rub a tiny bit of butter on them.