
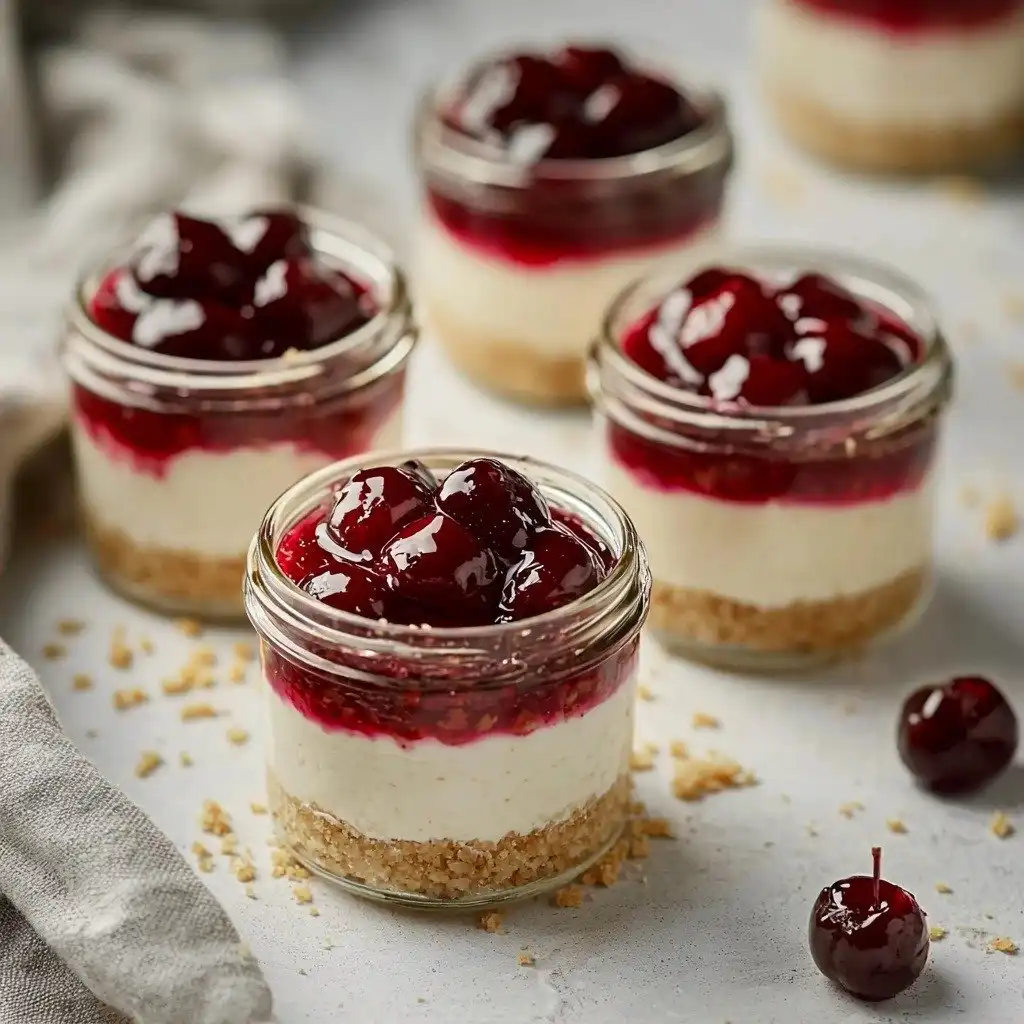
Oh, these little jars! They take me right back to warm summer evenings, sitting on the porch swing, and wishing for something sweet but not too heavy. Sometimes you just crave that creamy, tangy cheesecake goodness without all the fuss and a mountain of dishes, right? That’s exactly why I fell head over heels for this Healthier No Bake Cheesecake in a Jar. It’s my go-to for a quick dessert that feels a little fancy, a little indulgent, but is secretly so simple and fresh.
Why You’ll Love This Healthier No Bake Cheesecake in a Jar
- No oven needed! Perfect for hot days or when you just don’t want to turn on the oven.
- Creamy dreamy texture: That classic cheesecake tang and smoothness in every bite.
- Portion controlled perfection: Individual jars mean easy serving and no over-indulging.
- Fresh and fruity: The homemade cherry topping adds a burst of bright, natural sweetness.
Ingredients You’ll Need
- Cream Cheese: Make sure it’s full-fat and softened! This is key for a super smooth, lump-free filling. Don’t try to use low-fat; it won’t set as well.
- Plain Full-Fat Greek Yogurt: This is our secret to a healthier, lighter cheesecake while still keeping that amazing creamy texture and a lovely tang. Again, full-fat is important here for consistency.
- Pure Maple Syrup: We’re using this as our natural sweetener for both the filling and the cherry topping. It adds a wonderful depth of flavor.
- Fresh Lemon Juice: Brightens everything up! It balances the sweetness and brings out that classic cheesecake flavor.
- Pitted Cherries: Fresh or frozen (thawed) work wonderfully here. Halving them helps them break down into a beautiful sauce.
- Corn Starch: Just a tiny bit helps thicken our cherry topping into a lovely, spoonable sauce.
- Graham Cracker Crumbs: The classic cheesecake crust base! You can buy them pre-crushed or crush your own graham crackers.
- Butter: Melted butter binds the graham cracker crumbs together for a perfect crust.
How to Make Healthier No Bake Cheesecake in a Jar Step by Step
First things first, let’s get that gorgeous cherry topping going. Grab your pitted, halved cherries, maple syrup, lemon juice, water, and cornstarch. Pop them all into a medium saucepan. Now, set your stove to medium heat and just let them gently simmer and cook down. Stir them every couple of minutes – you’ll see them start to break down and become saucy. This usually takes about 5 to 10 minutes. If you like a chunkier sauce, leave some cherry pieces whole; for a smoother one, gently mash them with your spoon. Once it’s nice and thick, take it off the heat and let it cool completely while you work on the rest.
Next up is our creamy cheesecake filling! In a medium mixing bowl, combine your softened cream cheese, plain full-fat Greek yogurt, maple syrup, and lemon juice. This is where the magic happens! Grab your electric hand mixer or stand mixer and beat everything together on high for about 2 to 3 minutes. You want it super smooth, though don’t worry if you see a few tiny lumps – that’s totally normal. Once it’s beautifully blended, pop that bowl into the fridge to chill while we make the crust.
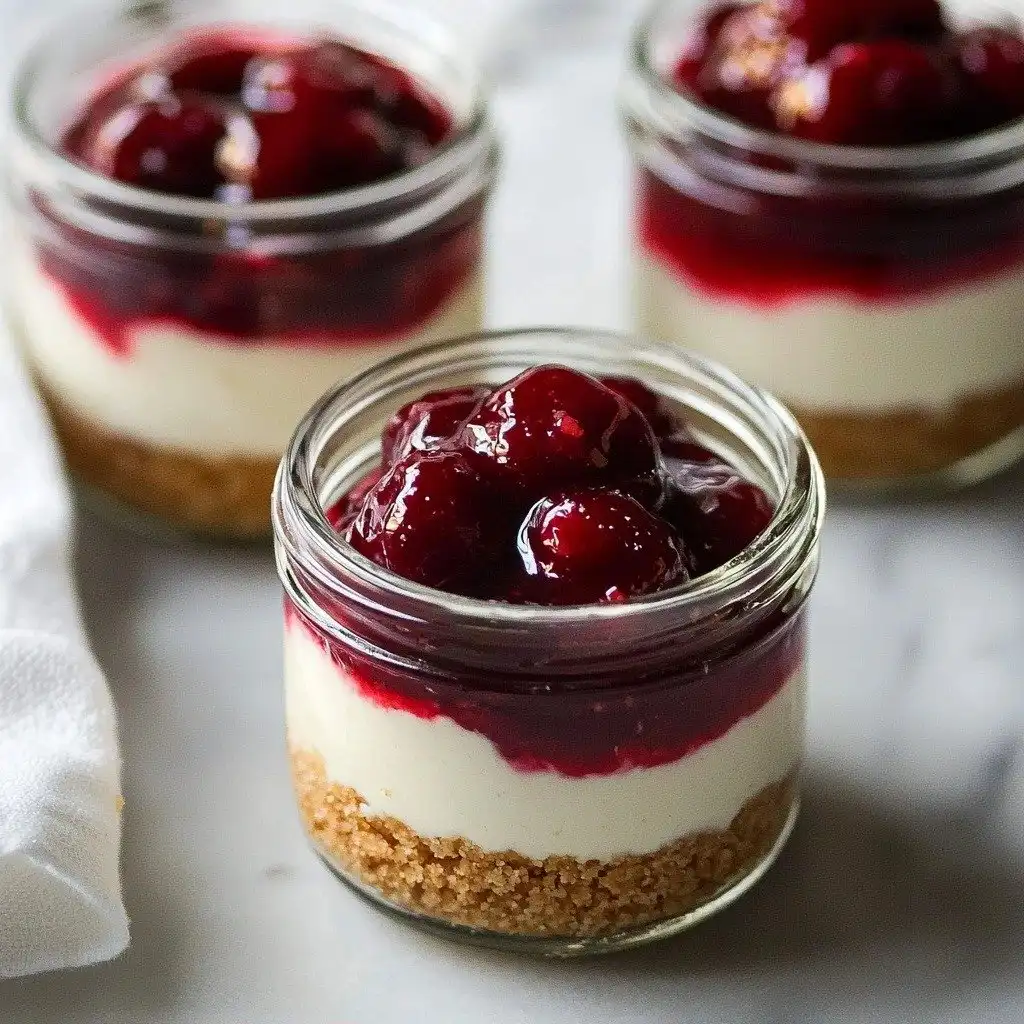
Last but not least, the delicious graham cracker crust! Melt your butter in the microwave. Then, in a small bowl, add your graham cracker crumbs and drizzle the melted butter over them. Stir it all together until every crumb is coated. Now for assembly: grab your six 125mL jars. Distribute the crumb mixture evenly among them, then gently press it down with your fingertips to form the crust. Spoon the chilled cheesecake filling evenly over the crusts. Gently tap each jar on your countertop a few times; this helps settle the filling and get rid of any air bubbles. Finally, spoon that lovely cooled cherry topping over each jar. You can serve them right away, but I always recommend chilling them for at least an hour in the fridge. This really helps the cheesecake set beautifully and makes for an even better bite. Enjoy!
My Top Tips for Success
- I always make sure my cream cheese is truly at room temperature. It makes all the difference for a smooth, lump-free filling.
- In my experience, full-fat Greek yogurt gives the best texture for this no-bake cheesecake. Don’t skimp on the fat here!
- Trust me on this one: let the cherry topping cool completely. Warm topping will melt your cheesecake filling.
- Don’t overmix the crust ingredients once the butter is added; just mix until combined.
- Chilling for at least an hour is non-negotiable for a properly set cheesecake.
Common Mistakes to Avoid
- Using cold cream cheese: This will lead to a lumpy filling. Always soften your cream cheese completely before mixing.
- Not cooling the cherry topping: If the topping is warm, it will melt into the cheesecake filling and create a messy presentation.
- Not chilling the assembled jars: The cheesecake needs time to firm up. Skipping this step will result in a runny dessert.
- Using low-fat dairy products: Low-fat cream cheese or yogurt won’t give you the same creamy texture and might not set as well.
How to Store Healthier No Bake Cheesecake in a Jar
- Refrigerator: Keep covered in the refrigerator for up to 3-4 days.
- Freezer: For longer storage, you can freeze the assembled jars (without the cherry topping, add that fresh) for up to 1 month. Thaw in the refrigerator before serving.
Frequently Asked Questions
Can I use frozen cherries for the topping?
Absolutely! Just make sure to thaw them first and drain any excess liquid before adding them to the saucepan.
Do I have to use mason jars?
Nope! Any small, individual serving dishes or ramekins will work perfectly. Just make sure they’re about 125mL in size.
Can I make this dairy-free?
You can try using dairy-free cream cheese and yogurt, but results may vary in terms of texture and setting. I haven’t personally tested it.
How far in advance can I make these?
You can assemble these up to 2 days in advance. The crust might soften slightly, but they’ll still be delicious.
What if my cherry topping doesn’t thicken?
Make sure your heat isn’t too low and that you’ve given it enough time. You can also mix a tiny bit more cornstarch with a teaspoon of water and stir it in, cooking for another minute.
I genuinely hope you give this Healthier No Bake Cheesecake in a Jar a try! It’s such a delightful, easy treat that always brings a smile. If you whip up a batch, please let me know how much you loved them!
PrintHealthier No Bake Cheesecake in a Jar
These individual no-bake cheesecakes are light, creamy, and topped with a fresh cherry sauce, perfect for a guilt-free sweet treat.
- Prep Time: 20
- Cook Time: 10
- Total Time: 30
- Yield: 6 servings
- Category: Dessert
- Method: No-Bake
- Cuisine: American
- Diet: Vegetarian
Ingredients
- FOR THE CHERRY TOPPING
- 1 cup pitted cherries, halved
- 1 tbsp pure maple syrup
- 1 tbsp fresh lemon juice
- 1 tsp water
- 1 tsp corn starch
- FOR THE NO-BAKE CHEESECAKE FILLING
- 4 ounces cream cheese, softened
- 2/3 cup plain full-fat greek yogurt
- 2 tbsp pure maple syrup
- 1 tbsp fresh lemon juice
- FOR THE GRAHAM CRACKER CRUST
- 1/2 cup graham cracker crumbs
- 2-3 tbsp butter, melted
Instructions
- FOR THE CHERRY TOPPING:
- Add pitted cherries, 1 tbsp pure maple syrup, 1 tbsp fresh lemon juice, 1 tsp water, and 1 tsp corn starch to a medium saucepan.
- Place saucepan over medium heat.
- Sauté the mixture for 5-10 minutes, stirring gently every couple of minutes.
- Watch for the mixture to begin to thicken and form a sauce.
- Mash some of the cherries if you prefer a smoother sauce.
- Remove the saucepan from heat.
- Allow the cherry topping to cool completely while you prepare the cheesecake filling.
- FOR THE CHEESECAKE FILLING:
- Add softened cream cheese, 2/3 cup plain full-fat Greek yogurt, 2 tbsp pure maple syrup, and 1 tbsp fresh lemon juice to a medium mixing bowl.
- Mix together using an electric hand or stand mixer.
- Beat on high speed for 2-3 minutes until the mixture is smooth.
- Place the cheesecake filling in the fridge while you prepare the crust.
- FOR THE GRAHAM CRACKER CRUST:
- Melt 2-3 tbsp butter in the microwave.
- Add 1/2 cup graham cracker crumbs to a small bowl.
- Drizzle the melted butter over the graham cracker crumbs.
- Stir until the crumbs are completely mixed together and coated.
- TO ASSEMBLE MINI CHEESECAKE JARS:
- Distribute the graham cracker crust mixture evenly into six 125mL mason/jam jars.
- Pack the crust down gently with your fingertips in each jar.
- Divide the cheesecake filling evenly amongst the jars.
- Gently tap each jar down on your countertop to help settle the cheesecake layer.
- Top each jar with the cooled cherry topping.
- Serve immediately, or refrigerate for at least 1 hour before enjoying to allow the cheesecake to set further.
Notes
Ensure cream cheese is at room temperature for a smooth filling.
Full-fat Greek yogurt gives the best creamy texture.
Allow the cherry topping to cool completely before adding to the cheesecake.
Chilling the assembled jars for at least an hour helps the cheesecake set properly.


