
Oh, how I love the smell of fresh bread baking! There’s just something so comforting and homey about it, isn’t there? For years, I thought those moments were a thing of the past for me after going gluten-free. But then, after a lot of experimenting (and a few less-than-perfect loaves!), I finally cracked the code to making the most amazing Gluten Free White Bread. This isn’t just “good for gluten-free” bread; it’s just plain good bread, period. It brings back all those warm, cozy feelings of childhood sandwiches and toast with jam, and honestly, it makes my heart (and my tummy!) so happy.
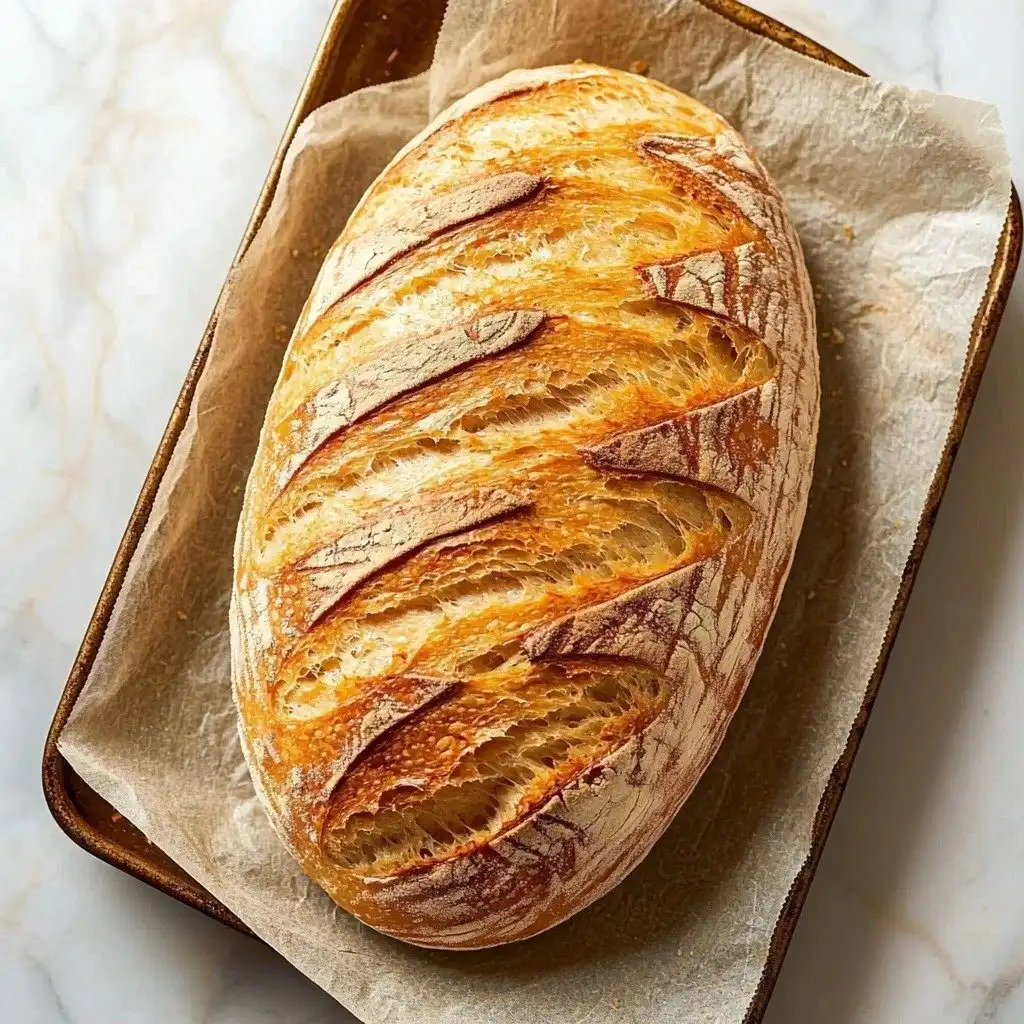
Why You’ll Love This Gluten Free White Bread
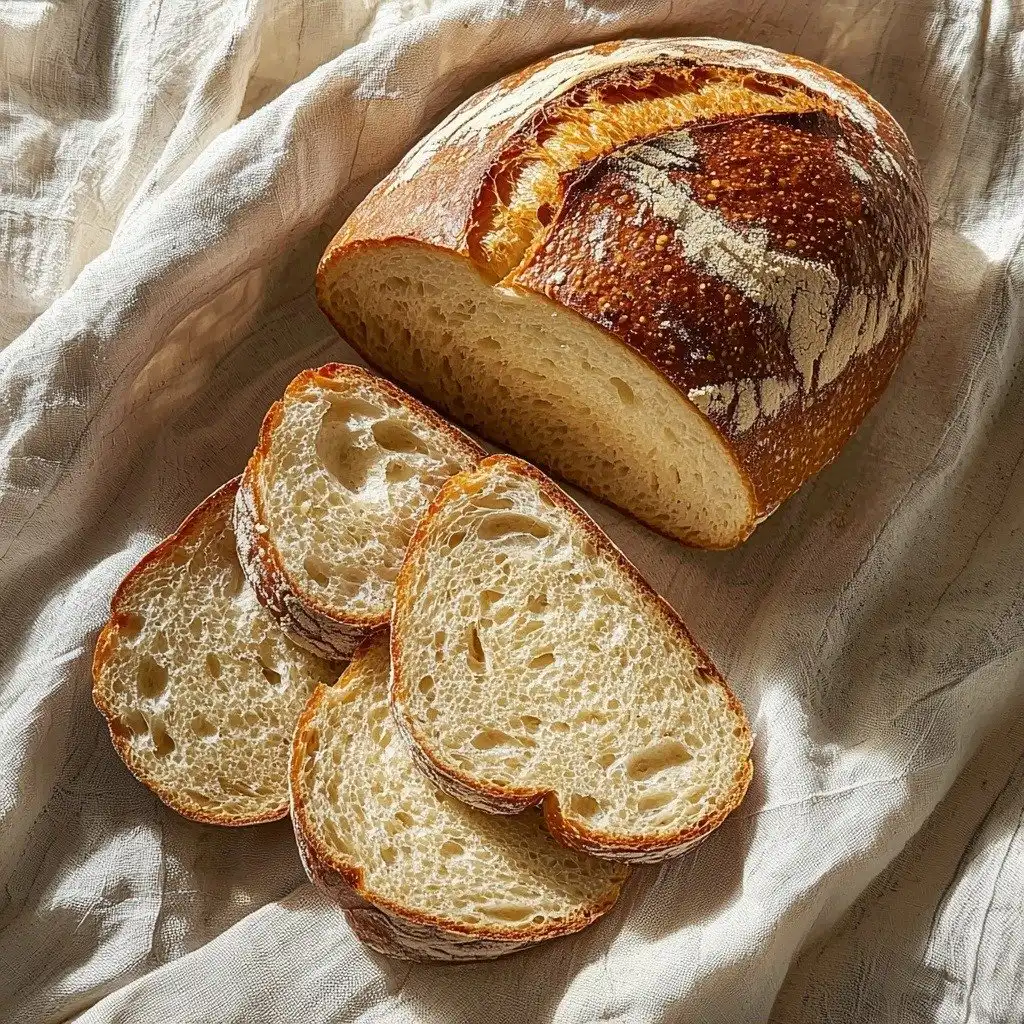
- It’s incredibly soft and fluffy, just like traditional white bread.
- The crust is beautifully golden and perfectly chewy.
- It’s super easy to slice and perfect for sandwiches or toast.
- No weird gummy texture here – just pure bread bliss!
Ingredients You’ll Need
- Whole/Rough Psyllium Husk: This is a superstar ingredient! It acts as a binder and helps give gluten-free bread its structure, mimicking gluten. If you only have psyllium husk powder, use a little less, about 17g.
- Tapioca Starch: This gives our bread a lovely chewiness and helps with that soft texture. You can swap it out for an equal weight of cornstarch, potato starch, or arrowroot starch.
- Millet Flour: A fantastic gluten-free flour that contributes to a light and tender crumb. Finely milled brown rice flour works beautifully as a substitute.
- Sorghum Flour: This adds a subtle sweetness and a tender texture. You could use light buckwheat flour, white teff flour, or even oat flour if you’re not sensitive to oats.
- Instant Yeast: This makes our bread rise beautifully! If you’re using active dry yeast, you’ll need to activate it first with a little sugar and water before adding it to the dry ingredients.
- Egg White: Brushing the loaf with egg white before baking gives it that gorgeous, shiny, golden crust.
How to Make Gluten Free White Bread Step by Step
First things first, we’re going to create a magical psyllium gel. Just mix your psyllium husk with lukewarm water in a bowl. Give it about 30-45 seconds, and you’ll see it transform into a thick, jelly-like substance. This is where a lot of the magic happens for our gluten-free texture!
Next, grab a large bowl or your stand mixer. Whisk together all your dry ingredients – the tapioca starch, millet flour, sorghum flour, sugar, salt, and instant yeast. Make a little well in the middle, like a volcano, and pour in your psyllium gel, olive oil, and apple cider vinegar. Now, it’s time to knead! Whether you’re using a stand mixer with a dough hook or your own two hands, knead the dough until everything is super smooth and well combined. Don’t worry if it sticks to your hands a bit at first; just keep scraping down the sides of the bowl with a rubber spatula to make sure there are no dry spots. You’re looking for a smooth, supple dough that pulls away from the bowl.
Once your dough is lovely and smooth, turn it out onto a very lightly floured surface. You want just a tiny dusting of flour here. Roll it into a rectangle, about 11 inches long and 7-8 inches wide. Now, gently fold the dough over itself, starting from the wider end, and press down to seal. Keep rolling and pressing until you have a nice log shape. Pinch that seam together tightly! Transfer your beautiful log, seam-side down, onto a baking sheet lined with parchment paper. Lightly cover it with plastic wrap and let it proof in a warm spot for about an hour, until it’s doubled in size. This is where the yeast does its work, making your bread light and airy!
My Top Tips for Success
- I always make sure my psyllium gel forms properly; it’s key for the texture.
- In my experience, don’t add extra flour to the dough, even if it feels a little sticky – it can make the bread dry.
- Trust me on this one: preheating your oven thoroughly, especially with the cast iron skillet inside, makes a huge difference for a great crust.
- I like to create a warm proofing environment by putting a cup of boiling water in my turned-off oven if my kitchen is cool.
- Cool the bread completely on a wire rack before slicing. It’s so tempting, but it really helps the crumb set!
Common Mistakes to Avoid
- Adding too much flour: This will make your gluten-free bread dense and dry. Resist the urge to add more flour to the dough if it feels a little sticky during kneading.
- Not letting the psyllium gel set: If the psyllium hasn’t fully gelled, your dough won’t have the right structure. Make sure it becomes thick and gel-like.
- Cutting into the bread too soon: If you slice the bread while it’s still hot, the crumb will be sticky and gummy. Always let it cool until at least lukewarm.
- Not preheating the oven and baking tray enough: A hot oven and tray are crucial for a good oven spring and a crispy crust. Make sure your oven is fully preheated for at least 30 minutes after placing the tray inside.
How to Store Gluten Free White Bread
- Countertop/Bread Box: 3-4 days in a cool, dry place, wrapped in a clean dish towel or paper bag.
- Toasting: For days 3 and 4, I highly recommend toasting slices for the best texture.
Frequently Asked Questions
What if my kitchen is cold and the dough isn’t rising?
You can create a warm, humid environment for proofing by placing a cup of boiling water in your turned-off oven. Then, place your covered dough inside the oven to rise.
Can I use active dry yeast instead of instant yeast?
Yes, you can! Just remember to activate it first by mixing it with the sugar and 120g (½ cup) of the lukewarm water from the recipe. Let it sit for 5-10 minutes until it froths, then add it to your dry ingredients with the psyllium gel, oil, and vinegar.
Why can’t I use a glass baking tray for steam?
Glass baking trays can shatter when exposed to drastic temperature changes, like adding ice cubes to a very hot tray. It’s much safer to use a cast iron skillet or a sturdy metal baking tray instead.
Why is my gluten-free bread gummy?
The most common reason for gummy bread is cutting into it before it’s fully cooled. The crumb needs time to set properly, so always wait until it’s at least lukewarm.
I truly hope you give this Gluten Free White Bread a try! It’s such a game-changer for anyone missing that classic white bread experience. I can’t wait to hear how your loaves turn out!
PrintGluten Free White Bread

A deliciously soft and fluffy gluten-free white bread that’s perfect for sandwiches, toast, or alongside your favorite meal.
- Prep Time: 25
- Cook Time: 45
- Total Time: 130
- Yield: 1 loaf (approx. 10 slices)
- Category: Baking
- Method: Baking
- Cuisine: American
- Diet: Gluten-Free
Ingredients
- 20 g (4 tbsp) whole/rough psyllium husk
- 360 g (1½ cups) lukewarm water
- 145 g (1¼ cups) tapioca starch
- 145 g (1 cup + 1 tbsp) millet flour
- 50 g (⅓ cup + 1 tbsp) sorghum flour
- 15 g (1 tbsp) caster/superfine or granulated sugar
- 8 g (1½ tsp) salt
- 6 g (2 tsp) instant yeast
- 15 g (1 tbsp) olive oil
- 8 g (1½ tsp) apple cider vinegar
- 1 US large/UK medium egg white, whisked, for brushing the bread before baking
Instructions
- Prepare the psyllium gel: In a bowl, mix together the psyllium husk and lukewarm water.
- Allow the mixture to sit for 30-45 seconds until a gel forms.
- In a large bowl or the bowl of a stand mixer, whisk together the tapioca starch, millet flour, sorghum flour, sugar, salt, and instant yeast.
- Create a well in the center of the dry ingredients.
- Add the prepared psyllium gel, olive oil, and apple cider vinegar to the well.
- Knead the dough until it is smooth and all ingredients are evenly incorporated.
- Use a rubber spatula to scrape the sides and bottom of the bowl occasionally to prevent dry spots.
- The dough should be smooth, supple, and come away from the sides of the mixing bowl.
- Lightly flour a clean work surface.
- Turn the dough out onto the lightly floured surface.
- Roll the dough into a rough rectangle, approximately 11 inches (28cm) long and 7-8 inches (18-20cm) wide.
- Working along the wider end, fold the dough over itself.
- Press down gently to seal the fold.
- Continue folding the dough over itself, pressing down to seal each fold, to roll it into a log shape.
- Pinch the seam together firmly to seal it.
- Transfer the rolled-up dough, seam side down, to a large baking sheet lined with parchment paper.
- Lightly cover the loaf with a sheet of plastic wrap to prevent drying.
- Proof the loaf in a warm spot until it has doubled in size, which should take about 1 hour.
- Adjust the oven rack to the lower middle position.
- Place a cast iron skillet or heavy-duty baking tray (not glass!) on the bottom of the oven.
- Preheat the oven to 425ºF (220ºC).
- Start preheating the oven after the bread has been proofing for about 30 minutes.
- Once the loaf has doubled in size, gently brush it with the whisked egg white.
- Use a bread lame or a sharp knife to score the loaf with 5-7 diagonal slashes.
- Place the loaf into the oven on the lower middle oven rack.
- Place 5-6 ice cubes into the bottom skillet or baking tray.
- Immediately close the oven door.
- Reduce the oven temperature to 400ºF (200ºC).
- Bake the loaf at 400ºF (200ºC) with steam for 15 minutes.
- Do not open the oven door during this time.
- After 15 minutes, open the oven door to release the steam.
- Carefully remove the bottom skillet or baking tray.
- Close the oven door.
- Continue baking for 25-30 minutes longer, or until the bread is golden brown.
- Remove the bread from the oven.
- Cool the bread on a wire rack until it is at least lukewarm before cutting into it.
Notes
Always allow the bread to cool completely before slicing to prevent a gummy texture.
If using active dry yeast, activate it first with 120g (½ cup) of the recipe’s water and sugar.
Do not add extra flour during kneading, as this can make the bread dry.
Use a cast iron or metal tray for steam, never glass, to avoid shattering.


