
There’s just something magical about a homemade pie, isn’t there? For me, it brings back memories of summer days, fresh berries from the market, and the simple joy of sharing something truly delicious with loved ones. This Easy Strawberry Pie From Scratch is exactly that – pure, unadulterated summer joy in a slice. It’s a recipe I come back to year after year because it’s surprisingly simple to make and always, always a crowd-pleaser.
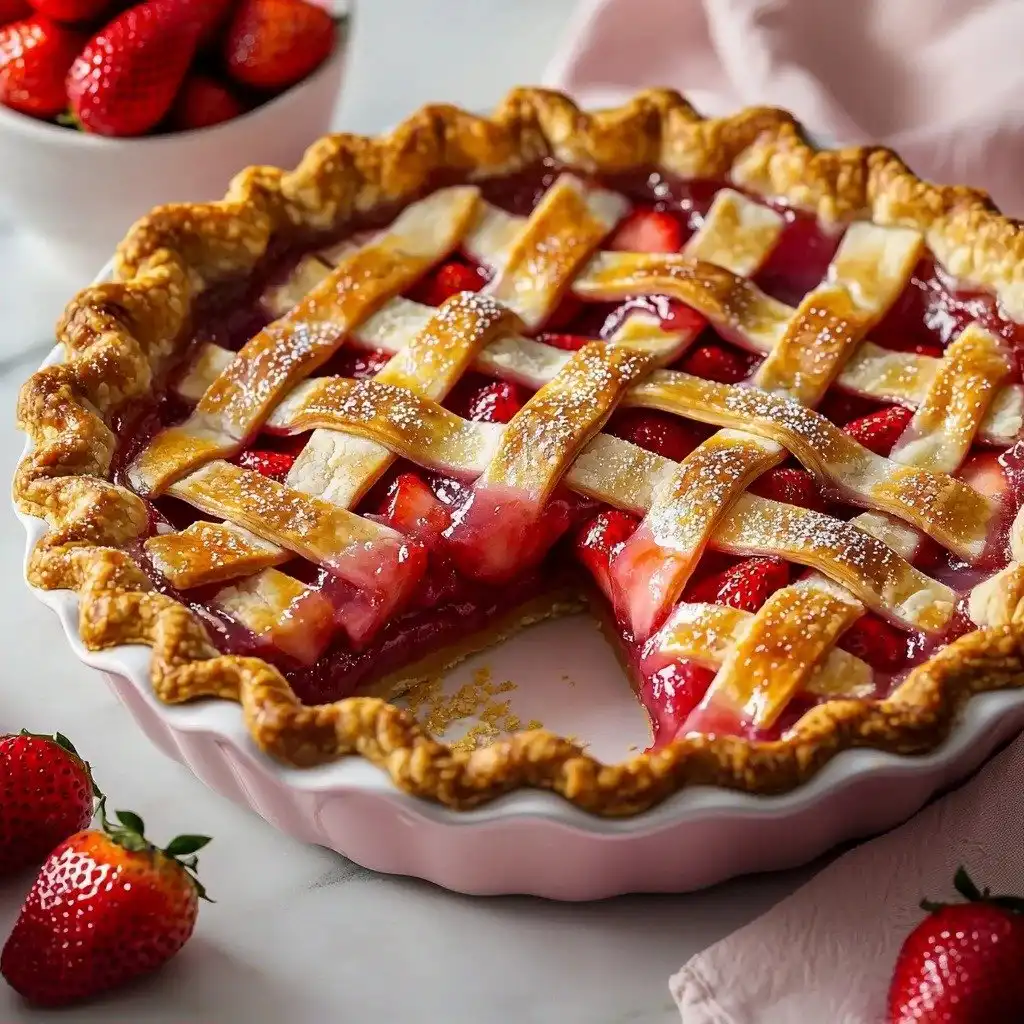
Why You’ll Love This Easy Strawberry Pie From Scratch
- It’s bursting with fresh strawberry flavor, not overly sweet.
- The crust is incredibly flaky and buttery, a perfect contrast to the juicy filling.
- Even though it’s from scratch, it’s designed to be approachable for home bakers.
- It’s the perfect dessert for any occasion, from a casual family dinner to a special gathering.
Ingredients You’ll Need
- All-Purpose Flour: I always reach for King Arthur flour because it gives a consistent, tender crust. Any good quality all-purpose flour will work beautifully here.
- Butter: Cold, unsalted butter is key for a flaky crust! I love Kerrygold for its rich flavor. Make sure it’s cut into small cubes and stays cold.
- Ice Water: This helps keep the butter cold and prevents the dough from getting tough. The colder the better!
- Strawberries: Fresh, ripe strawberries are the star. Hull them and slice them evenly so they cook consistently.
- Tapioca: This is my secret weapon for a perfectly set, non-soggy filling. It thickens the juices beautifully without making the filling gummy. You can find it as “tapioca starch” or “instant tapioca.”
- Lemon Juice: A little squeeze brightens the flavor of the strawberries and balances the sweetness.
- Vanilla and Almond Extracts: These add wonderful depth and complexity to the berry flavor. Don’t skip them!
- Egg Yolk and Cream: This creates a gorgeous, golden-brown crust. Full-fat cream gives the best color.
How to Make Easy Strawberry Pie From Scratch Step by Step
Let’s get started on this delicious journey! First, we’ll make our pie dough. In your food processor, combine the flour, salt, and sugar. Give it a few pulses to mix everything. Then, add your cold, cubed butter. Pulse the processor until the mixture looks like coarse breadcrumbs, but make sure you can still see some pea-sized pieces of butter – this is where all that flakiness comes from! Now, slowly drizzle in the ice-cold water, pulsing just until the dough starts to come together. Be careful not to overmix; we want a tender crust.
Once your dough is ready, divide it in half and gently shape each piece into a flat disk. Wrap them up tightly in plastic wrap and pop them into the fridge for at least an hour. I often let mine chill overnight because it makes the dough much easier to roll out and prevents it from shrinking in the oven. While your dough is chilling, you can get the filling ready! Hull and slice your beautiful strawberries into nice, even 1/4-inch rounds and put them in a big bowl. In a separate small bowl, whisk together the sugar, tapioca, and salt.
Add the lemon juice, vanilla extract, and almond extract to your sliced strawberries and gently toss them to coat. Pour the sugar mixture over the fruit and carefully stir until everything is combined. Let this sit at room temperature for about 15-20 minutes. This little rest time is important because it allows the tapioca to start absorbing those delicious berry juices, which is our secret to avoiding a soggy pie bottom! Preheat your oven to 400°F. When you’re ready to assemble, take one disk of dough out of the fridge and let it sit for about 5 minutes to soften just a tiny bit. This makes it easier to roll. On a lightly floured surface, roll the dough into a 12-inch circle and carefully transfer it to your 9-inch pie plate. Don’t worry if it’s not perfect! Pour your strawberry filling into the crust, mounding it slightly in the center. Roll out your second dough disk into a 10-inch circle. You can either lay it whole over the filling for a classic look or cut it into strips for a beautiful lattice design. Trim any excess dough and crimp the edges to seal the two crusts together. In a small bowl, whisk an egg yolk with cream – this will be our egg wash. Brush it all over the top crust for a gorgeous golden finish. Finally, cover the edges of your pie with foil strips to prevent them from browning too quickly.
Place your pie on the lowest rack of the preheated 400°F oven and bake for 20 minutes. This initial burst of high heat is a little trick to help set the bottom crust and keep it from getting soggy. After 20 minutes, lower the oven temperature to 350°F, remove the foil from the edges, and continue baking for another 35-45 minutes. You’ll know it’s done when the crust is a deep golden brown and you can see the filling bubbling gently at the edges. If the top starts browning too fast, you can loosely tent it with foil. Once it’s baked to perfection, take it out of the oven and let it cool completely on a wire rack for at least 3 hours. I know it’s hard to wait, but this cooling time is essential for the filling to set up beautifully so your slices hold their shape. Enjoy your delicious Easy Strawberry Pie From Scratch at room temperature or slightly chilled!
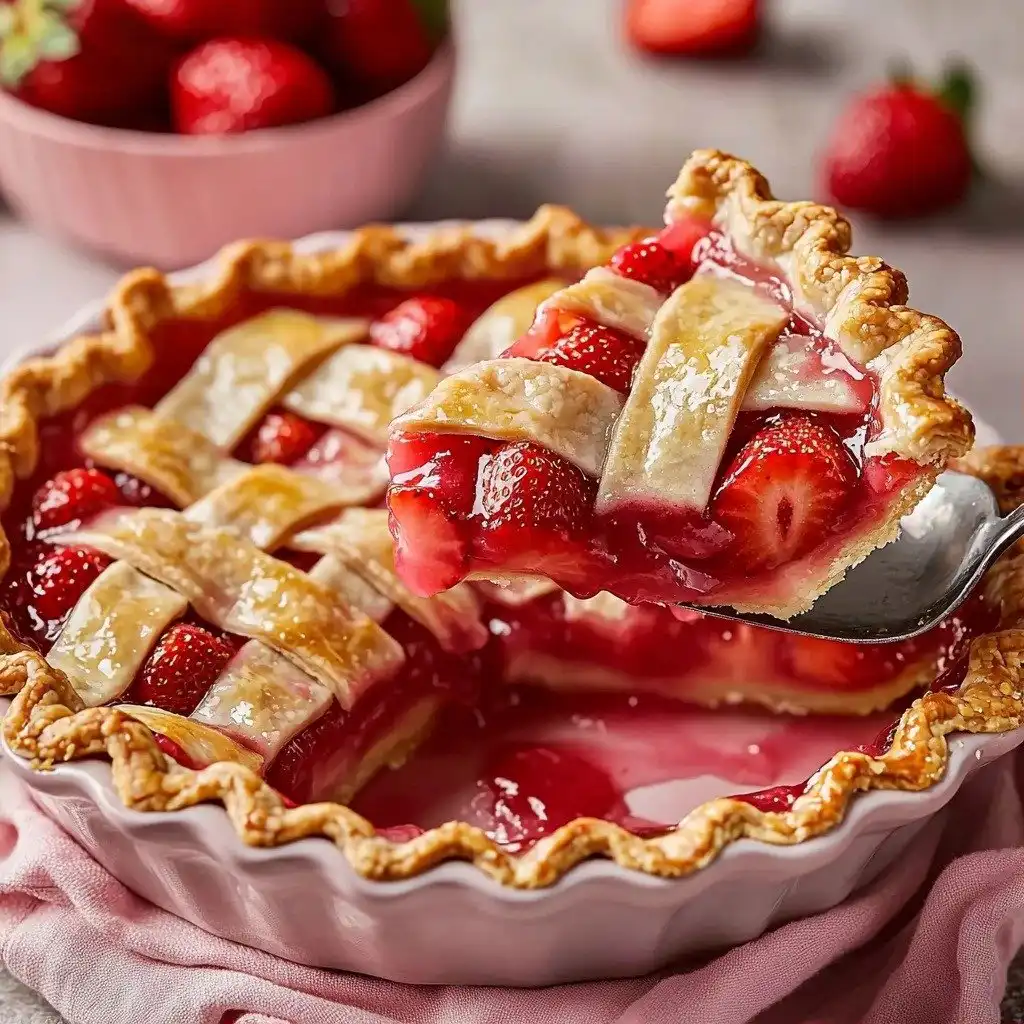
My Top Tips for Success
- Keep your butter cold: I always cube my butter and pop it back in the fridge for a few minutes before adding it to the flour. Cold butter is essential for a flaky crust!
- Don’t overwork the dough: Trust me on this one. The less you handle the dough, the more tender your crust will be. Pulse just until it comes together.
- Let the dough chill: I always aim for at least an hour, but overnight is even better. It makes the dough easier to roll and prevents shrinkage.
- Don’t skip the tapioca: This ingredient is a game-changer for a perfectly set, non-soggy fruit pie filling.
- Patience is a virtue for cooling: It’s hard, but letting the pie cool for at least 3 hours ensures the filling sets up beautifully for clean slices.
- Use foil to protect the crust: Those foil strips are your best friends in preventing the edges from burning while the rest of the pie bakes.
Common Mistakes to Avoid
- Overworking the pie dough: This develops the gluten too much, leading to a tough, chewy crust instead of a tender, flaky one. Pulse just until combined.
- Not chilling the dough enough: Insufficient chilling makes the dough difficult to roll and prone to shrinking during baking. Always chill for at least an hour.
- Forgetting the tapioca: Without a thickener, your strawberry pie filling will be too watery and result in a soggy bottom crust.
- Cutting into the pie too soon: If you slice the pie before it’s fully cooled and set, the filling will run out, and your slices won’t hold their shape.
- Skipping the egg wash: The egg wash provides that beautiful golden-brown color and a lovely sheen to your crust.
How to Store Easy Strawberry Pie From Scratch
- Countertop: 1-2 days, loosely covered.
- Refrigerator: 3-4 days, covered tightly with plastic wrap.
- Freezer (baked pie): Up to 3 months, wrap cooled pie tightly in plastic wrap and then foil. Thaw overnight in the refrigerator.
Frequently Asked Questions
What kind of strawberries are best for pie?
Fresh, ripe, in-season strawberries are always best for this pie. Look for berries that are bright red and firm.
Can I use frozen strawberries?
While fresh is preferred, you can use frozen strawberries. Thaw them completely and drain off any excess liquid before using them in the filling.
Why is my pie crust soggy?
A soggy crust is often due to not pre-baking your crust, not using a thickener like tapioca, or cutting into the pie before it’s fully cooled and set.
Can I make the pie dough ahead of time?
Absolutely! You can make the pie dough up to 2 days in advance and keep it wrapped tightly in the refrigerator. You can also freeze it for up to 3 months.
How do I know when the pie is done baking?
The pie is done when the crust is a deep golden brown, and the filling is visibly bubbling around the edges. A thermometer inserted into the center should read around 200°F.
I hope you give this Easy Strawberry Pie From Scratch a try! It’s truly a labor of love that pays off in every sweet, juicy bite. If you make it, I’d love to hear how it turned out and what you thought in the comments below!
PrintEasy Strawberry Pie From Scratch

A delightful homemade strawberry pie with a flaky, buttery crust and a perfectly set, juicy fresh strawberry filling.
- Prep Time: 45
- Cook Time: 65
- Total Time: 250
- Yield: 8 servings
- Category: Dessert
- Method: Baking
- Cuisine: American
- Diet: Vegetarian
Ingredients
- 2 3/4 cups flour
- 1 tsp salt
- 2 tbsp sugar
- 1 1/4 cups butter
- 1/2 cup water (ice cold)
- 6 cups strawberries (hulled and sliced into 1/4-inch thick rounds)
- 3/4 cup sugar
- 1/4 cup tapioca
- 1 tbsp lemon juice
- 1 tsp vanilla
- 1/4 tsp almond extract
- 1/8 tsp salt
- 1 egg yolk
- 1 1/2 tbsp cream
Instructions
- Combine flour, 1 tsp salt, and 2 tbsp sugar in a food processor.
- Pulse a few times to blend these dry ingredients.
- Cut 1 1/4 cups cold butter into small cubes.
- Add butter cubes to the food processor.
- Pulse until the mixture resembles coarse breadcrumbs with some pea-sized butter pieces still visible.
- Add 1/2 cup ice-cold water gradually while pulsing.
- Pulse just until the dough begins to come together.
- Avoid overworking the dough.
- Divide the dough in half.
- Shape each dough portion into a disk.
- Wrap each disk in plastic wrap.
- Refrigerate the dough for at least 1 hour (or up to overnight).
- Hull 6 cups of strawberries.
- Slice strawberries into 1/4-inch thick rounds.
- Place sliced strawberries in a large bowl.
- In a separate small bowl, whisk together 3/4 cup sugar, 1/4 cup tapioca, and 1/8 tsp salt.
- Add 1 tbsp lemon juice, 1 tsp vanilla, and 1/4 tsp almond extract to the strawberries.
- Gently toss the strawberries to coat them.
- Pour the sugar mixture over the fruit.
- Stir carefully until the fruit and sugar mixture are evenly combined.
- Let the strawberry filling sit at room temperature for about 15-20 minutes.
- Preheat your oven to 400°F.
- Remove one dough disk from the refrigerator.
- Let the dough disk sit for 5 minutes to soften slightly.
- On a lightly floured surface, roll the dough into a 12-inch circle.
- Transfer the rolled dough to a 9-inch pie plate.
- Let the excess dough hang over the edge of the pie plate.
- Pour the strawberry filling into the crust, mounding it slightly in the center.
- Roll out the second dough disk into a 10-inch circle.
- Drape the second dough circle whole over the filling for a traditional top crust, or cut it into strips for a lattice pattern.
- Trim any excess dough from the edges.
- Crimp the edges to seal the two crusts together.
- In a small bowl, whisk together 1 egg yolk and 1 1/2 tbsp cream.
- Brush the egg wash generously over the top crust.
- Cover the edges of the pie with foil strips to prevent over-browning.
- Place the pie on the lowest rack of the 400°F oven.
- Bake for 20 minutes.
- After 20 minutes, lower the oven temperature to 350°F.
- Remove the foil from the edges of the pie.
- Continue baking for 35-45 minutes.
- Bake until the crust is deep golden brown and the filling is bubbling slightly at the edges.
- If the top crust browns too quickly, loosely tent the pie with foil.
- Remove the pie from the oven.
- Let it cool on a wire rack for at least 3 hours before slicing.
- Serve at room temperature or slightly chilled, with whipped cream or vanilla ice cream if desired.
Notes
Always use cold butter for the flakiest crust.
Do not overwork the pie dough; pulse just until it comes together.
Allow the pie to cool completely for at least 3 hours for a set filling.
Use foil strips to prevent the pie crust edges from burning.


