
There’s something truly magical about a cookie that tastes exactly like a brownie. For me, it brings back memories of sneaking warm brownies straight from the pan after school, the edges perfectly crispy and the middle wonderfully fudgy. These Brownie Cookies capture all that deliciousness in a neat, portable package. They’ve become my go-to when I want that rich, intense chocolate craving satisfied without baking a whole pan!
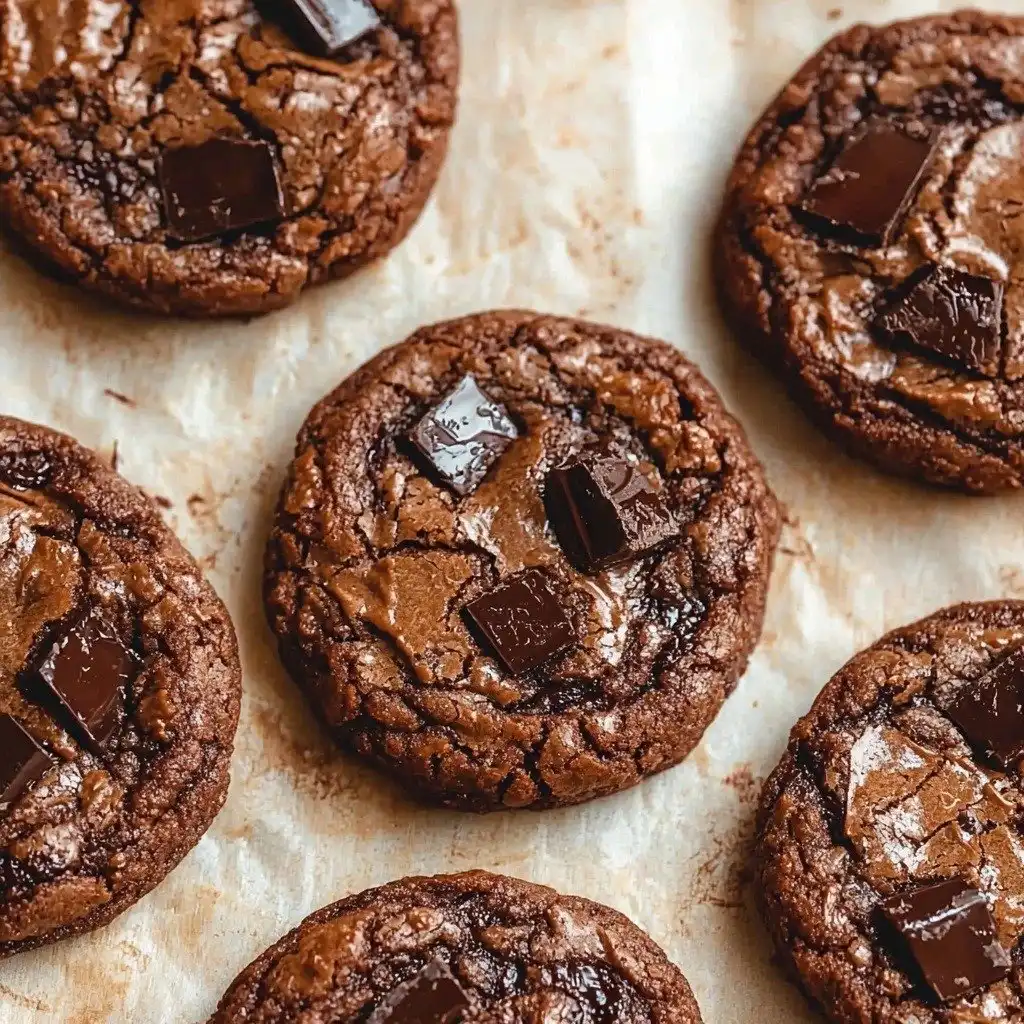
Why You’ll Love These Brownie Cookies
- They’re incredibly fudgy and chewy, just like your favorite brownie.
- You get those gorgeous, crinkly tops that scream “homemade goodness.”
- The intense chocolate flavor is absolutely irresistible.
- They’re surprisingly easy to make and perfect for any occasion!
Ingredients You’ll Need
- Dark/Bittersweet Chocolate: This is the star of the show! Using a good quality chocolate with at least 60% cocoa solids will give you the deepest, richest flavor.
- Unsalted Butter: Butter adds richness and helps create that wonderful fudgy texture. Unsalted is best so you can control the salt content.
- All-Purpose Flour: Just enough to bind everything together without making the cookies cakey.
- Cocoa Powder: I love using Dutch-processed cocoa here because it gives a darker color and a smoother chocolate flavor.
- Baking Powder: This helps give the cookies a little lift and contributes to those beautiful crinkly tops.
- Salt: Don’t skip the salt! It balances the sweetness and really makes the chocolate flavor pop.
- Large Eggs: Eggs provide structure and moisture, contributing to the chewy texture.
- Light or Dark Brown Sugar: Brown sugar adds moisture and a lovely caramel note, which is essential for that fudgy brownie texture.
How to Make Brownie Cookies Step by Step
First things first, grab a heat-proof bowl and melt your chopped dark chocolate and butter together. You can do this in the microwave in short bursts, stirring often, until it’s smooth and glossy. This is where the magic starts to happen, creating that rich chocolate base!
While your chocolate cools just a tiny bit, whisk together your dry ingredients: flour, cocoa powder, baking powder, and salt. Then, in your stand mixer (or with a hand mixer), beat the eggs and brown sugar on high speed. You want this mixture to get light and fluffy, almost like a ribbon, which takes about 4-5 minutes. Don’t worry if it looks super thick – that’s what we want!
Now, gently add the melted chocolate mixture to the egg and sugar, mixing on low speed just until it’s combined. Then, carefully fold in the dry ingredients, mixing only until you no longer see streaks of flour. The dough will be soft, so pop it into the fridge for 20-30 minutes. This chilling time is super important for those shiny, crackly tops!
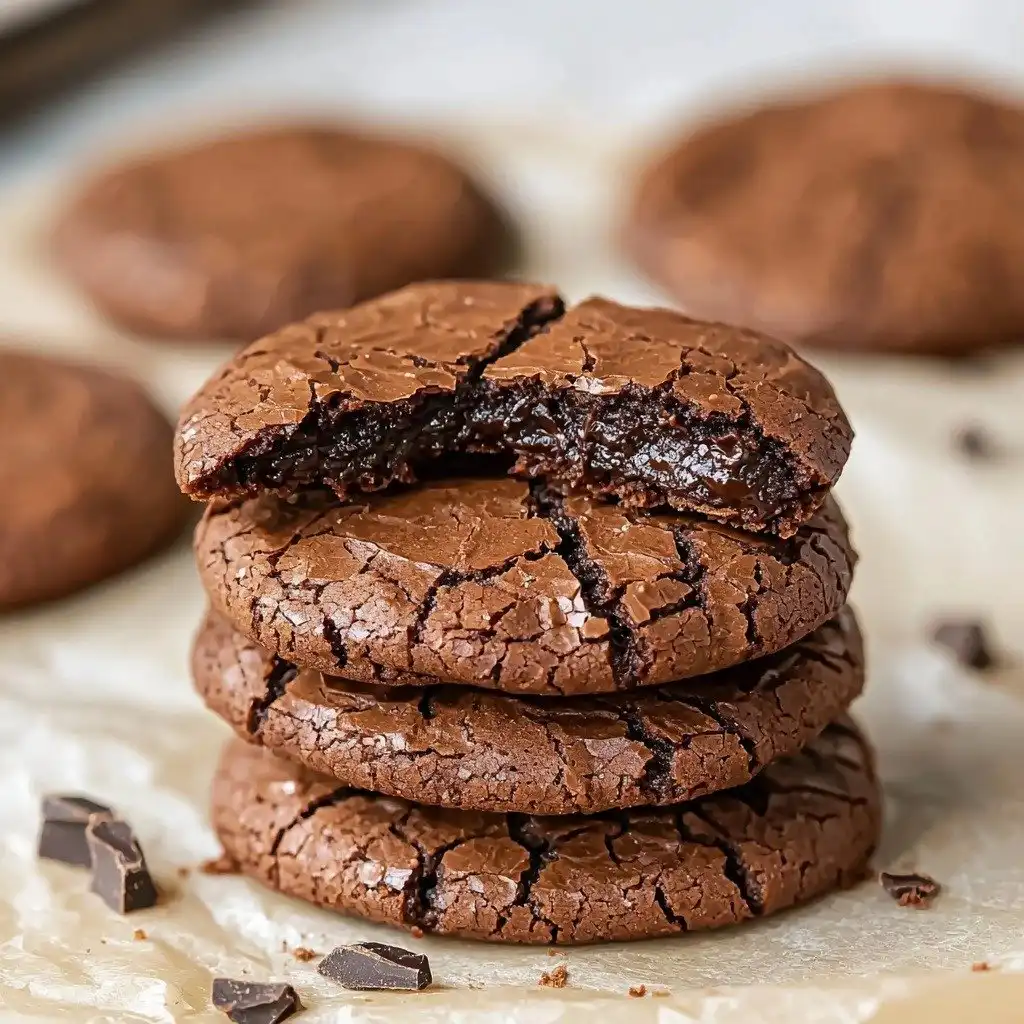
My Top Tips for Success
- I always use good quality dark chocolate; it truly makes a difference in flavor.
- In my experience, thoroughly whisking the eggs and brown sugar until light and fluffy creates the best crackly tops.
- Don’t skip chilling the dough! It helps the cookies hold their shape and develop that signature crackle.
- Trust me on this one: don’t overbake! They might seem soft when you pull them out, but they’ll set up as they cool.
- Bake the pans separately for even cooking.
- Allow them to cool on the baking sheet for at least 20 minutes before moving — they’re delicate when warm.
Common Mistakes to Avoid
- Over-mixing the dough: This can lead to tough cookies. Mix just until ingredients are combined.
- Not chilling the dough: If you skip this, your cookies might spread too much and won’t have those lovely crackly tops.
- Overbaking: This is the biggest culprit for dry, cakey cookies. Pull them out when the centers are still soft.
- Moving cookies too soon: They are very soft when warm. Let them cool on the baking sheet to firm up.
How to Store Brownie Cookies
- Room Temperature: Store in an airtight container for up to 2 days.
- Refrigerator: Store in an airtight container for up to 5 days.
- Freezer: Freeze in an airtight container or freezer bag for up to 2 months. Thaw on the counter (still covered) or overnight in the fridge.
Frequently Asked Questions
Can I use milk chocolate instead of dark chocolate?
While you can, I highly recommend sticking to dark or bittersweet chocolate as specified. Milk chocolate will make the cookies much sweeter and change the rich brownie flavor. The higher cocoa content is key here.
Why are my cookies not crackly?
The crackly tops usually come from properly whisking the eggs and brown sugar and chilling the dough. Make sure you beat the egg mixture until it’s light and fluffy, and don’t skip the chilling step!
Can I add mix-ins to the dough?
Absolutely! Chocolate chips, nuts, or even a sprinkle of espresso powder would be delicious additions. Just fold them in gently with the flour mixture.
How do I know when the cookies are done?
The cookies are done when the edges are set and crackly, but the centers still look soft and slightly underbaked. They will continue to cook and firm up as they cool on the baking sheet.
My dough is too sticky to scoop. What should I do?
If your dough is too sticky, it likely needs more chilling time. Pop it back in the fridge for another 15-30 minutes. A lightly greased scoop can also help.
I really hope you give these amazing Brownie Cookies a try! They’re such a perfect treat for satisfying that deep chocolate craving. If you bake them up, I’d absolutely love to hear how they turned out for you!
PrintBrownie Cookies
Fudgy, chewy cookies with crinkly tops that taste just like your favorite homemade brownies.
- Prep Time: 20
- Cook Time: 12
- Total Time: 52
- Yield: 20 cookies
- Category: Dessert
- Method: Baking
- Cuisine: American
- Diet: Vegetarian
Ingredients
- 9 oz. (250g) dark/bittersweet chocolate, chopped (60% cocoa solids)
- ½ stick (55g) unsalted butter
- ⅓ cup (48g) all-purpose flour
- 2 tablespoons (13g) cocoa powder (Dutch processed)
- ½ teaspoon baking powder
- ½ teaspoon salt
- 2 large eggs
- 1 cup (200g) light or dark brown sugar
Instructions
- Place butter and chopped chocolate in a heat-proof bowl.
- Microwave in 30-second increments, stirring between each, until completely melted and smooth.
- In a separate bowl, whisk together flour, cocoa powder, baking powder, and salt.
- Set the dry ingredient mixture aside.
- Using a stand mixer with a whisk attachment or a hand mixer, whisk eggs and brown sugar on high speed for 4-5 minutes, until light and fluffy.
- Add the melted chocolate mixture to the egg and sugar mixture.
- Mix on low speed just until combined.
- Add the flour mixture to the wet ingredients.
- Mix just until combined, being careful not to overmix.
- Use a rubber spatula to scrape down the sides and bottom of the bowl to ensure everything is incorporated.
- Place the soft dough mixture in the fridge for 20-30 minutes to firm up.
- Preheat your oven to 350°F (180°C).
- Line 2 baking sheets with parchment paper.
- Using an ice cream scoop or a 1.5 tablespoon measure, drop rounded balls of dough onto the prepared baking sheets.
- Leave about 3 inches between each cookie to allow for spreading.
- If desired, sprinkle each cookie with a little flaked sea salt.
- Bake one pan at a time for 10-12 minutes, until the cookies are crackly on top and still soft in the centers.
- Allow cookies to cool on the baking sheets for at least 20 minutes, until they are firm enough to handle.
- Transfer the cooled cookies to a wire rack to cool completely.
Notes
Do not overmix the dough once flour is added.
Do not skip the chilling step; it’s crucial for texture and crackly tops.
Do not overbake; cookies should be soft in the center.
Let cookies cool on the baking sheet for at least 20 minutes before moving.


