
There’s just something magical about combining two amazing desserts into one, isn’t there? For me, it started with a craving – a serious craving for both a chewy chocolate chip cookie and a rich, fudgy brownie. One afternoon, while experimenting in my kitchen, the idea struck me: why not bring them together? That’s how my love affair with these incredible Brown Butter Brookies began, and trust me, they’ve been a family favorite ever since.
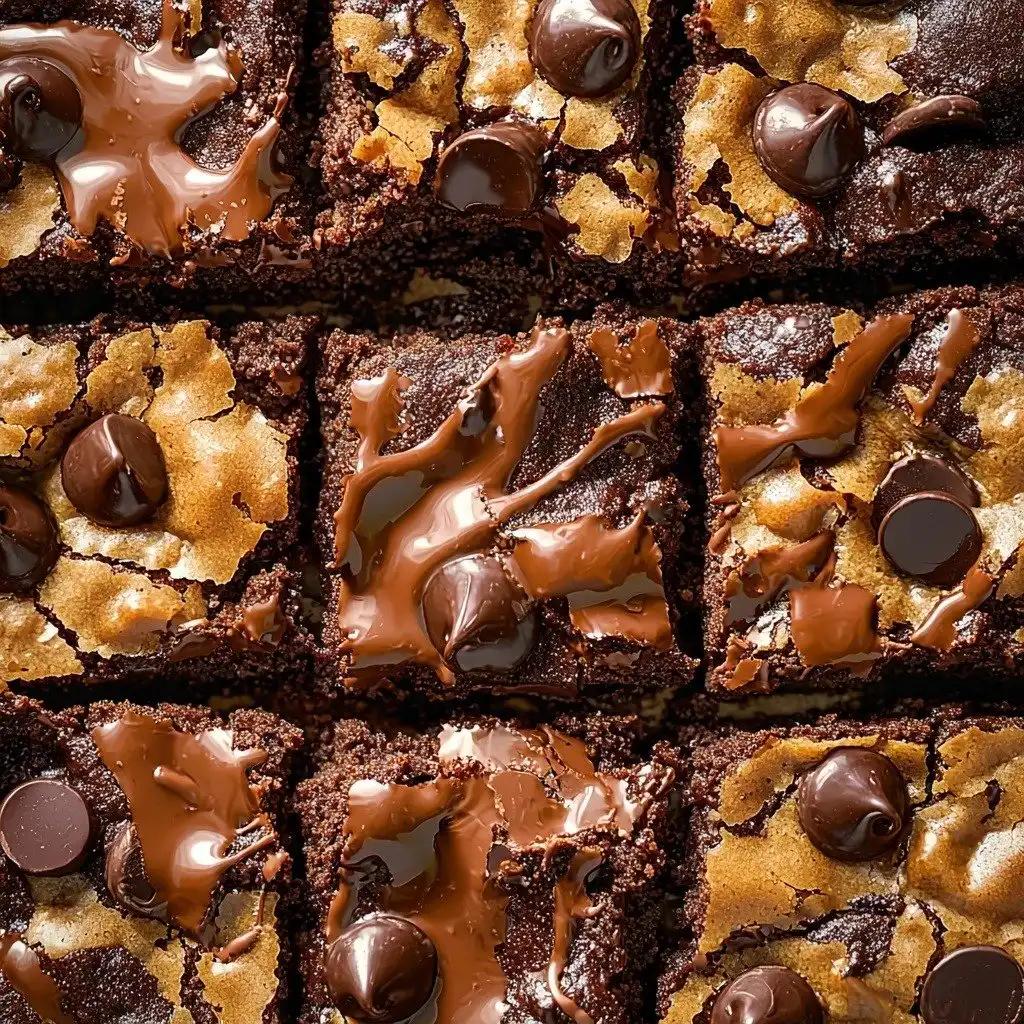
Why You’ll Love These Brown Butter Brookies
- These brookies are the perfect blend of chewy chocolate chip cookie and rich, fudgy brownie in every bite.
- The brown butter adds an incredible depth of flavor that takes these beyond your average cookie bar.
- They’re surprisingly easy to make, even though they look super impressive!
- Perfect for sharing at parties, potlucks, or just enjoying with a cold glass of milk.
Ingredients You’ll Need
- Unsalted Butter: We’re browning this for both layers, and it’s key for that nutty, rich flavor. Using unsalted butter lets you control the salt content in the recipe.
- Granulated Sugar & Light Brown Sugar: The combination gives us the perfect balance of sweetness and moisture. Brown sugar adds chewiness and a lovely molasses note.
- Large Egg & Egg Yolk: Eggs are binders and add richness. The extra egg yolk in the brownie layer makes it extra fudgy. Make sure they’re at room temperature for better mixing!
- Vanilla: Don’t skip the vanilla! It enhances all the other flavors beautifully.
- All-Purpose Flour: Make sure to spoon and level your flour to avoid adding too much, which can make your brookies dry.
- Baking Soda & Baking Powder: These are our leavening agents. Baking soda helps with spread and tenderness in the cookie, while baking powder gives the brownies a little lift.
- Kosher Salt: Salt balances the sweetness and brings out all the flavors.
- Chocolate Chips: I love a mix of bittersweet and semi-sweet for different levels of chocolatey goodness. Use good quality chips!
- Bittersweet Chocolate (60% Cacao): This is for the brownie layer. The higher cacao percentage gives a deep, rich chocolate flavor without being overly sweet.
- Dutch Process Cocoa: Sifting this is important to avoid lumps and ensure a smooth brownie batter. It provides that classic deep chocolate brownie color and flavor.
How to Make Brown Butter Brookies Step by Step
First things first, we’re going to brown some butter for the cookie layer. This is where the magic happens and it adds so much flavor! Place your butter in a medium saucepan and stir it over medium heat. It’ll melt, then foam, then start to crackle. Keep stirring! After about 4-5 minutes, you’ll see golden brown bits at the bottom, and it will smell wonderfully nutty. Remove it from the heat and pour it into a heat-safe bowl, then chill it in the fridge for about an hour until it’s firm. You can pop it in the freezer for the last 30 minutes to speed things up if you’re impatient like me!
While your butter is chilling, you can get started on the brownie layer. Preheat your oven to 350°F and prepare an 8×8 inch pan with non-stick spray and parchment paper – make sure the parchment hangs over the sides for easy lifting later! In a saucepan over low heat, melt your bittersweet chocolate and butter together until smooth. Let it cool slightly. Then, in your stand mixer, beat the egg, egg yolk, sugars, and vanilla on high for 4-5 minutes until pale and thick. Reduce the speed, add the cooled chocolate mixture, and mix until combined. Finally, gently fold in your dry ingredients (flour, cocoa, baking powder, salt) until just barely combined. Don’t overmix!
Once your brown butter is firm, spoon it into your stand mixer. Add the sugars and beat on medium-high for 2-3 minutes until light and fluffy. Now add the egg and vanilla and mix until just combined. In a separate bowl, whisk your flour, baking soda, and salt. With the mixer on low, gradually add the flour mixture in three parts, scraping down the sides. Stop mixing when there are still a few streaks of flour – we don’t want tough cookies! Fold in the chocolate chips by hand. Now for assembly: spoon about a third of the brownie batter into your prepared pan and spread it out. Then, alternate spoonfuls of cookie dough and brownie batter, creating a beautiful marbled effect. Gently press down the top with an offset spatula. Bake at 350°F for about 25 minutes until the edges are golden and the center is set. If they start to brown too quickly, loosely tent with foil. Cool completely before slicing!
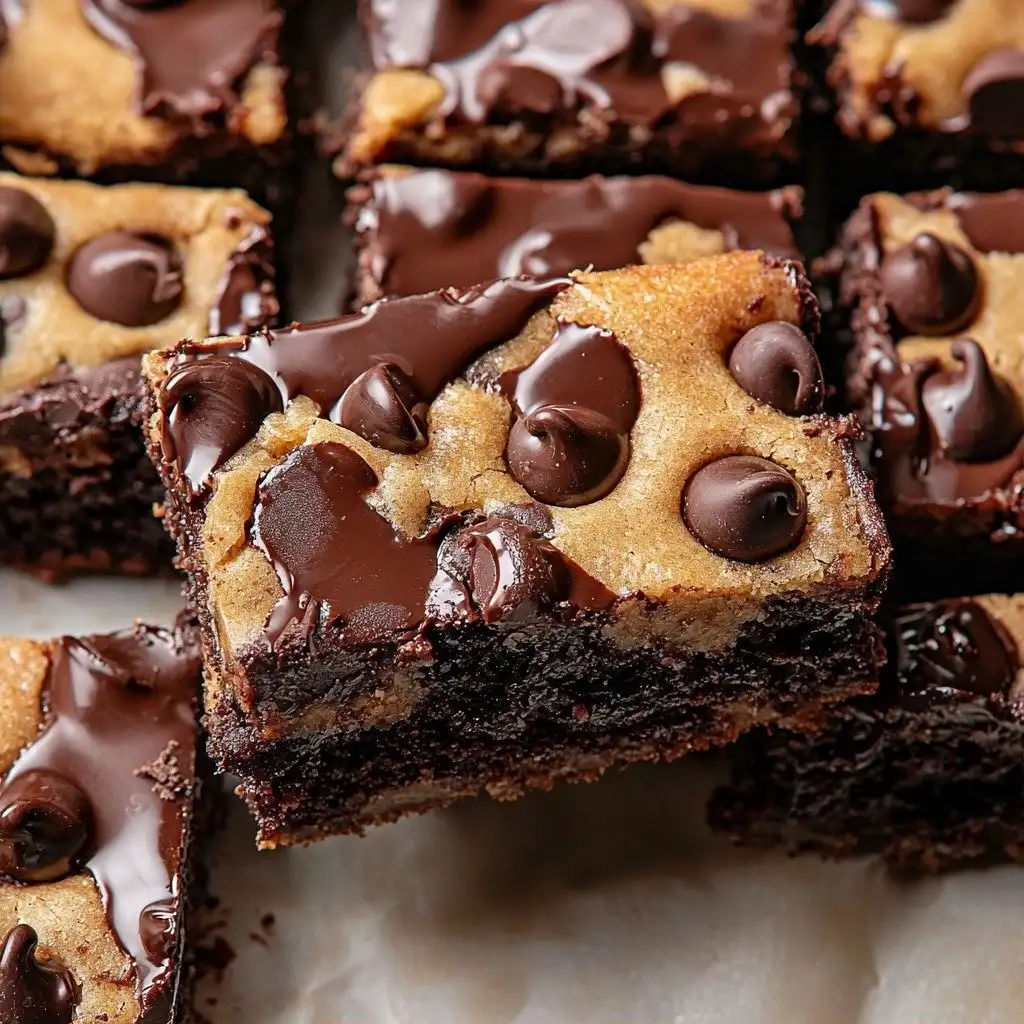
My Top Tips for Success
- Brown Butter is Key: Trust me on this one, don’t skip browning the butter for the cookie layer. It adds an incredible depth of nutty flavor that makes these Brown Butter Brookies truly special.
- Chill That Butter: I always make sure my browned butter is firm before creaming it with the sugars. This helps create the right texture for the cookie dough.
- Room Temperature Eggs: In my experience, room temperature eggs emulsify much better with the other ingredients, leading to a smoother batter and better rise.
- Don’t Overmix: This is crucial for both layers! Overmixing develops gluten, which can lead to tough brookies. Mix until just combined.
- Cool Completely: I know it’s hard to wait, but allowing the brookies to cool completely (and even chill) before slicing will give you those clean, beautiful edges.
- Use Good Quality Chocolate: Since chocolate is a star in both layers, using chocolate chips and bittersweet chocolate that you genuinely enjoy eating will make a big difference in the final taste.
Common Mistakes to Avoid
- Not browning the butter enough: If your butter isn’t amber with nutty bits, you’ll miss out on that amazing flavor. Keep stirring until it smells fragrant and looks golden brown.
- Not chilling the browned butter: If you use warm or even soft browned butter for the cookie dough, your cookies will spread too much and be greasy. Make sure it’s firm!
- Overmixing the batter: For both the cookie and brownie layers, overmixing the flour will develop too much gluten, resulting in tough brookies instead of tender, chewy ones. Mix until just combined.
- Overbaking: If you bake them too long, your brookies will be dry. Keep an eye on them; the center should be just set, and the edges golden. Remember, they continue to cook a little after they come out of the oven.
- Slicing too soon: Trying to slice warm brookies will result in a crumbly mess. Patience is a virtue here! Let them cool completely for clean, sharp slices.
How to Store Brown Butter Brookies
- Countertop: Store cooled brookies in an airtight container at room temperature for up to 3-4 days.
- Refrigerator: For longer storage, or if you prefer them firm, store in an airtight container in the refrigerator for up to 1 week.
- Freezer (Individual): Once completely cooled, wrap individual brookies tightly in plastic wrap, then place in a freezer-safe bag or container for up to 2-3 months. Thaw at room temperature.
- Freezer (Whole Pan): After cooling completely, you can wrap the entire pan (if using a disposable foil pan) or transfer the whole slab of brookies, tightly wrapped, to the freezer for up to 2-3 months. Thaw in the refrigerator overnight.
Frequently Asked Questions
What is brown butter and why is it used?
Brown butter is unsalted butter that has been cooked past its melting point until the milk solids toast and turn amber, giving it a rich, nutty, caramel-like flavor. It adds an incredible depth of flavor to baked goods that regular butter just can’t achieve.
Can I make these ahead of time?
Absolutely! Brown Butter Brookies hold up beautifully. You can bake them a day or two in advance and store them at room temperature, or freeze them for longer storage.
What kind of chocolate chips should I use?
I recommend a mix of bittersweet and semi-sweet chocolate chips for the best flavor balance. You can also use milk chocolate chips if you prefer a sweeter cookie layer.
My brookies are crumbly, what went wrong?
This usually happens if they were overbaked or if you tried to slice them before they were fully cooled. Make sure not to overbake and always let them cool completely before cutting.
Can I use a different size pan?
You can, but baking times will vary. An 8×8 inch pan is ideal for the thickness and fudginess intended. If you use a larger pan, they will be thinner and bake faster; a smaller pan will make them thicker and require more baking time.
I really hope you give these Brown Butter Brookies a try! They’re such a delightful treat and truly bring the best of both worlds together. If you whip up a batch, I’d absolutely love to hear how they turn out in your kitchen. Happy baking, friends!
PrintBrown Butter Brookies
Indulge in the best of both worlds with these irresistible Brown Butter Brookies, featuring a rich, nutty brown butter chocolate chip cookie layer and a fudgy, decadent brownie layer.
- Prep Time: 30
- Cook Time: 25
- Total Time: 115
- Yield: 16 servings
- Category: Dessert
- Method: Baking
- Cuisine: American
Ingredients
- For Chocolate Chip Cookie Layer
- 1/2 cup (113 g) unsalted butter, browned and chilled for one hour
- 1/4 cup (50 g) granulated sugar
- 1/3 cup (66 g) light brown sugar, packed
- 1 large egg, room temperature
- 3/4 teaspoon vanilla
- 1 cup plus 2 tablespoons (143 g) all-purpose flour, spooned and leveled
- 1/2 teaspoon baking soda
- 1/4 teaspoon kosher salt
- 3/4 cup (120 g) chocolate chips
- For Brownie Layer
- 5 ounces bittersweet chocolate (60% cocao)
- 1/4 cup (57 g) unsalted butter
- 1 large egg plus one egg yolk, room temperature
- 1/3 cup (66 g) granulated sugar
- 1/4 cup (50 g) light brown sugar, packed
- 1 teaspoon vanilla
- 1/4 teaspoon baking powder
- 1/3 cup (42 g) all purpose flour, spooned and leveled
- 3 tablespoons (23 g) Dutch process cocoa, sifted
- 1/4 teaspoon kosher salt
Instructions
- Brown the butter for the chocolate chip cookie layer first. Place unsalted butter in a medium saucepan over medium heat.
- Stir occasionally until the butter has melted.
- Continue stirring often as the butter begins to foam and crackle.
- Stir the butter as it sizzles until about 4-5 minutes, when bits of golden brown butter fall to the bottom of the pan; the crackling sound will stop, and the butter will be aromatic and amber in color.
- Remove the browned butter from the heat and pour it into a heat-safe bowl.
- Place the bowl of brown butter in the refrigerator for about 60 minutes, or until cooled and firm to the touch.
- To speed this up, place the bowl in the freezer after about 30 minutes.
- Preheat oven to 350°F.
- Spray an 8×8 inch pan with non-stick baking spray.
- Line the bottom and sides with parchment paper, allowing the edges to extend over the sides for easy removal.
- For the Brownie Layer: In a medium saucepan over low heat, melt the bittersweet chocolate and unsalted butter together.
- Stir often until the butter is melted and the chocolate is smooth and shiny.
- Remove the pan from the heat and set aside to cool slightly.
- In the bowl of a stand mixer fitted with the whisk attachment, beat together the large egg, egg yolk, granulated sugar, light brown sugar, and vanilla on high speed for 4 to 5 minutes until the mixture is thick and pale in color.
- Reduce the speed to low and add in the cooled, melted chocolate and butter mixture.
- Mix until incorporated.
- Remove the bowl from the mixer and use a spatula or wooden spoon to fold in the dry ingredients until just barely combined. Do not over mix.
- For the Chocolate Chip Cookie Dough: Once cooled, spoon the firm brown butter into the bowl of a stand mixer fitted with the paddle attachment.
- Add the granulated sugar and light brown sugar and beat on medium-high speed for 2 to 3 minutes until light and fluffy.
- Add the large egg and vanilla and mix until well combined.
- In a separate bowl, whisk together the all-purpose flour, baking soda, and kosher salt.
- With the mixer on low speed, gradually add the flour mixture in 3 additions.
- Scrape down the sides of the bowl as needed. Do not over mix; a few streaks of flour remaining is ideal.
- Remove the bowl from the stand mixer and use a spatula to fold in the chocolate chips.
- To assemble: Spoon about 1/3 of the brownie mixture into the bottom of the prepared pan.
- Use an offset spatula to roughly smooth it evenly across the bottom of the pan.
- Alternate spoonfuls of chocolate chip cookie dough and brownie batter across the pan, creating a marbled look. Continue until all of the cookie dough and brownie batter are used.
- Gently press the mixture down with an offset spatula, leveling the top just slightly. Do not overwork the dough or flatten the brookies too much.
- Bake at 350°F for about 25 minutes or until the edges are golden brown and the center is set.
- If the cookie dough begins to brown too quickly, place a piece of aluminum foil loosely across the top and continue baking.
- For firmer brookies, bake for closer to 30 to 35 minutes.
- For gooey brookies, bake for less time.
- Remove the pan from the oven and cool completely before slicing.
- For sharp edges and even slices, chill the brookies for one hour before slicing with a sharp knife.
Notes
Ensure your browned butter is firm before creaming for the cookie layer; this prevents excessive spreading.
Do not overmix either batter once flour is added to keep the brookies tender and chewy.
Always allow the brookies to cool completely before slicing for clean, neat edges.
For best results, use good quality chocolate chips and bittersweet chocolate.


