
There’s just something magical about a dessert that feels fancy but is secretly a breeze to make, isn’t there? For me, this No-Bake Cheesecake Recipe is that dessert. It’s my go-to when I want a showstopper without turning on the oven, especially on those hot summer days or when I’m short on time but still want to bring something special to the table. It always brings a smile to everyone’s face, and honestly, it’s just pure joy in every bite. It truly feels like a little indulgence without all the fuss.
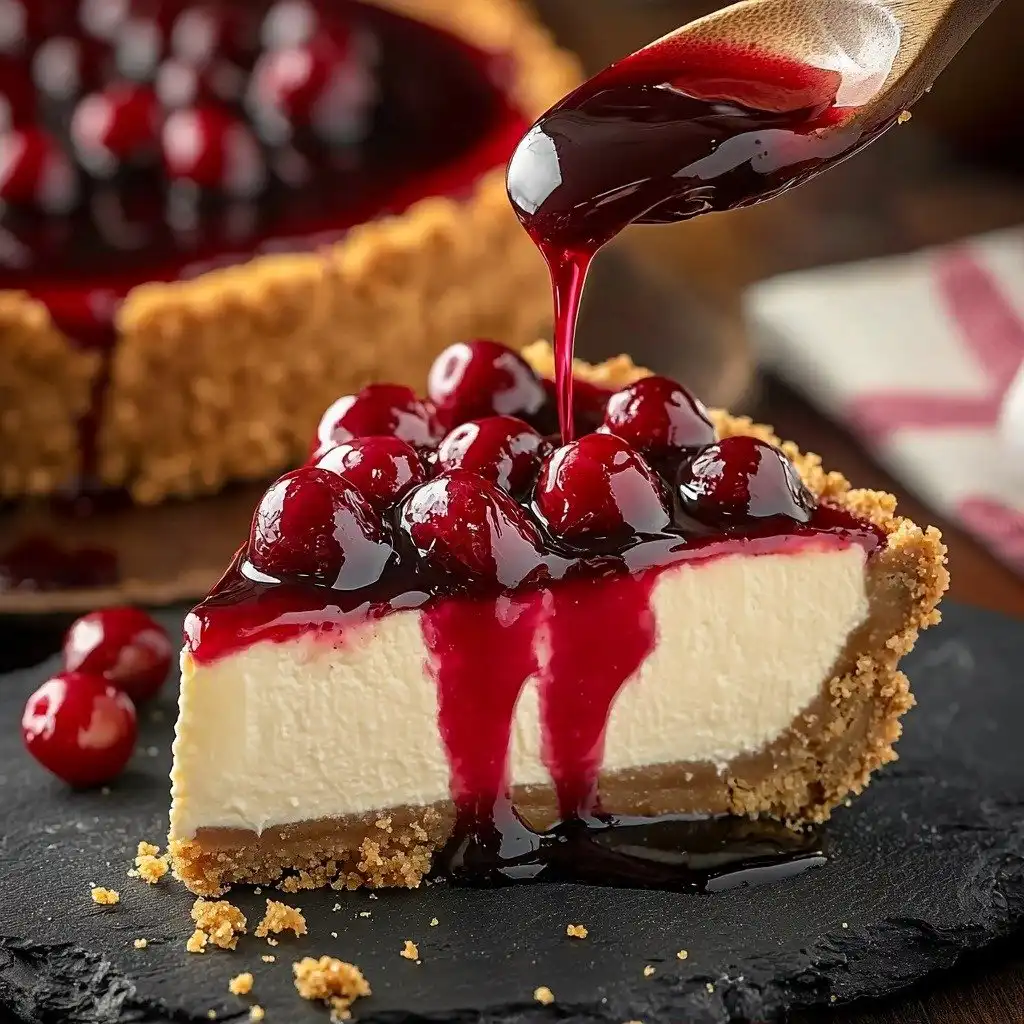
Why You’ll Love This No-Bake Cheesecake Recipe
- It’s incredibly light and creamy, a perfect contrast to the buttery crust.
- No oven required! Seriously, it’s the ultimate warm-weather dessert.
- The flavor is completely customizable with your favorite pie filling or topping.
- It’s super easy to make, even if you’re new to baking (or non-baking!).
Ingredients You’ll Need
- Graham Cracker Crumbs: These form the classic, buttery base. You can buy them pre-crushed or crush whole graham crackers yourself.
- Butter: Melted butter binds the graham cracker crumbs together for a sturdy crust. Unsalted is usually best for baking, but salted works too if that’s what you have.
- Cream Cheese: Make sure it’s softened! This is crucial for a smooth, lump-free filling. I always take it out of the fridge at least an hour before I start.
- Granulated Sugar: Just enough to sweeten the cream cheese filling without making it overly sweet.
- Vanilla Extract: This enhances all the flavors and adds a lovely warmth. Use good quality vanilla!
- Heavy Cream: This is what gives the cheesecake its light, airy, and whipped texture. It needs to be very cold to whip properly.
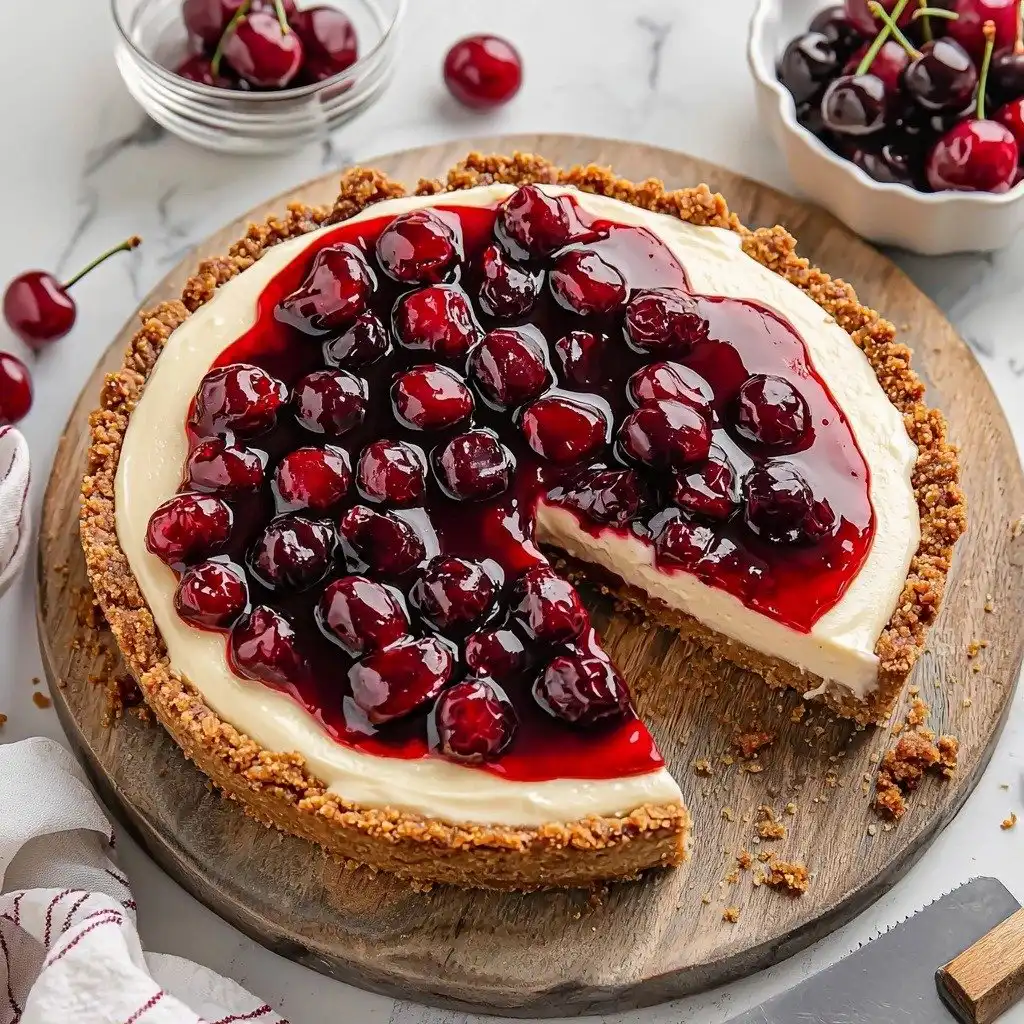
- Canned Pie Filling: This is your flavor playground! Cherry and blueberry are classics, but feel free to experiment with any flavor you love.
How to Make No-Bake Cheesecake Recipe Step by Step
First things first, let’s get that delicious crust ready. You’ll simply stir together your graham cracker crumbs and melted butter in a small bowl until they’re nicely moistened. Once that’s done, press this mixture firmly into an 8 or 9-inch glass pie plate. Don’t be shy here; really get in there and press it down to form an even base. Then, pop it into the fridge while you work on the filling.
Now for the star of the show: the creamy filling! In a large bowl, you’ll mix your softened cream cheese and granulated sugar until it’s super smooth and everything is well combined. Make sure to scrape down the sides of the bowl to catch any stray bits and mix again, ensuring there are absolutely no lumps. This is where the magic happens for a silky-smooth cheesecake! Stir in your vanilla extract next.
With your mixer on, gradually add the cold heavy cream in four separate increments. Let it whip into the cream cheese mixture after each addition. Continue whipping for about 1 minute until the mixture becomes thick and lovely and light. Again, scrape down the sides to make sure everything is evenly incorporated, and give it another quick whip if needed. Finally, pour this heavenly filling into your prepared pie shell and smooth the top. Cover it with plastic wrap and let it chill in the refrigerator for at least 2 hours, or even better, overnight, to really set up perfectly.
My Top Tips for Success
- I always make sure my cream cheese is truly at room temperature. It makes all the difference for a smooth, lump-free filling.
- In my experience, using a glass pie plate helps you see if the crust is evenly pressed.
- Don’t rush the chilling time! A minimum of 2 hours is good, but overnight gives the best texture and stability.
- Trust me on this one: use very cold heavy cream. It whips up better and creates a lighter filling.
- When pressing the crust, I use the bottom of a flat glass or measuring cup to get it really compact and even.
Common Mistakes to Avoid
- Not softening cream cheese: This leads to a lumpy filling. Always allow cream cheese to come to room temperature before mixing.
- Over-mixing the cream cheese and sugar: While you want it smooth, over-mixing can incorporate too much air and make the cheesecake less dense. Mix until just combined.
- Not chilling long enough: The cheesecake won’t set properly and will be too soft. Ensure it chills for at least 2 hours, preferably overnight.
- Not using cold heavy cream: Warm cream won’t whip to the desired thickness, resulting in a runny filling.
How to Store No-Bake Cheesecake Recipe
- Refrigerator: Store covered tightly with plastic wrap for up to 3-4 days.
- Freezer: For longer storage, freeze individual slices (without topping) wrapped tightly in plastic wrap, then foil, for up to 1 month. Thaw in the refrigerator before serving.
Frequently Asked Questions
What kind of pie plate should I use?
An 8 or 9-inch glass pie plate works perfectly for this recipe. Glass helps you see the crust and ensures even chilling.
Can I use a different type of cookie for the crust?
Absolutely! Vanilla wafers, shortbread cookies, or even chocolate cookies can be substituted for graham crackers. Just make sure the quantity of crumbs remains the same.
How do I know if my cream cheese is softened enough?
It should be soft enough to easily press with your finger without resistance. If it’s still cold, microwave it in 10-second intervals until softened, being careful not to melt it.
Can I make this ahead of time for a party?
Yes, this cheesecake is perfect for making ahead! It needs a minimum of 2 hours to chill, but it can be made a day in advance and stored in the refrigerator.
What if my heavy cream doesn’t whip up?
Ensure your heavy cream is very cold, and preferably use a chilled bowl and whisk. If it still won’t whip, it might not be heavy cream (e.g., half-and-half) or it could be past its prime.
I hope this No-Bake Cheesecake Recipe becomes a beloved dessert in your home, just like it is in mine. It’s truly a simple pleasure that delivers big on flavor and ease. Give it a try and let me know how it turns out – I can’t wait to hear about your delicious creations!
PrintNo-Bake Cheesecake Recipe

A wonderfully creamy and easy no-bake cheesecake with a buttery graham cracker crust, perfect for any occasion.
- Prep Time: 20
- Total Time: 140
- Yield: 8 servings
- Category: Dessert
- Method: No-Bake
- Cuisine: American
- Diet: Vegetarian
Ingredients
- 1 1/4 cups graham cracker crumbs
- 6 tablespoons butter melted
- 16 oz cream cheese softened (two 8 oz packages)
- 1/2 cup granulated sugar
- 2 teaspoons vanilla extract
- 1 cup heavy cream cold
- 1 cup canned pie filling cherry, blueberry, etc. (or topping of choice)
Instructions
- Stir graham cracker crumbs and melted butter together in a small bowl until moistened.
- Press the crumb mixture firmly into an 8 or 9-inch glass pie plate.
- Refrigerate the crust while preparing the filling.
- In a large bowl, mix softened cream cheese and granulated sugar together until smooth and well combined.
- Scrape the sides of the bowl and mix again to ensure there are no lumps.
- Stir in the vanilla extract.
- With the mixer on, add the cold heavy cream in four increments.
- Allow the cream to whip into the cream cheese mixture after each addition.
- Whip for 1 minute until the mixture is thick and light.
- Scrape the sides again to ensure even mixing and whip once more if needed.
- Pour the cheesecake filling into the prepared pie shell.
- Smooth the top of the filling.
- Cover the pie plate with plastic wrap.
- Refrigerate for 2 hours to overnight, until set.
- To serve, cut into pieces.
- Top each piece with two tablespoons of pie filling (or whipped cream) if desired.
Notes
Ensure cream cheese is at room temperature for a lump-free filling.
Use very cold heavy cream for best whipping results.
Chill for at least 2 hours, but overnight is ideal for firm setting.
Press the crust firmly into the pie plate for a sturdy base.


