
There’s just something magical about s’mores, isn’t there? That perfect combination of toasted marshmallow, melty chocolate, and crispy graham cracker takes me right back to summer campfires. But let’s be real, sometimes you just need that s’mores fix without the campfire, the sticky fingers, or the fuss. That’s exactly why these No Bake S’more Bars became a staple in my kitchen!
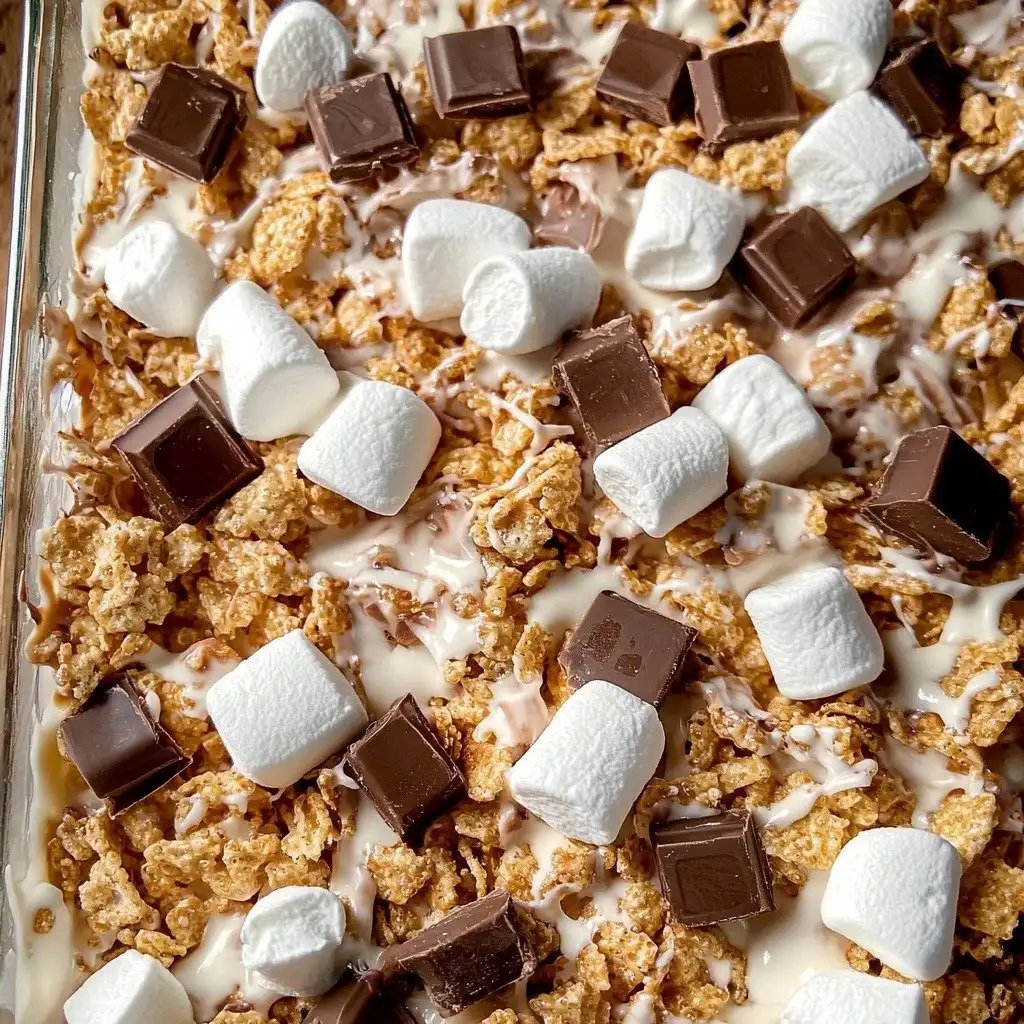
Why You’ll Love These No Bake S’more Bars
- They’re ridiculously easy to make – seriously, no oven needed!
- You get all those classic s’mores flavors in a neat, portable bar.
- The texture is amazing: chewy, gooey, and perfectly crunchy.
- They’re perfect for parties, potlucks, or just a treat anytime.
Ingredients You’ll Need
- Salted Butter: This adds a lovely richness and helps bind everything together. Don’t use unsalted butter unless you want to add a pinch of salt yourself.
- Mini Marshmallows: You’ll use these in two ways – melted to create that gooey base, and then some added in whole for extra pockets of chewiness.
- Golden Grahams Cereal: This is the secret ingredient that gives you that perfect graham cracker crunch and flavor without any crumbling.
- Chocolate Chips: Use your favorite kind! Semi-sweet or milk chocolate both work beautifully here.
How to Make No Bake S’more Bars Step by Step
First things first, grab your 13×9 inch pan and get it ready. A quick spray with cooking spray, then line it with parchment paper. Make sure to leave some extra paper hanging over the sides – trust me, this will be your best friend when it’s time to lift the bars out later!
Now, let’s get that butter going. Melt your salted butter in a pot over medium heat. Once it’s all liquidy and beautiful, turn the heat down to low. This is important so your marshmallows don’t burn. Next, set aside about a cup and a small handful of those mini marshmallows for later. Add the rest of the marshmallows to the pot.
Here’s where the magic happens: grab a mixing spoon and give it a quick spray with cooking spray. This little trick will save you from a sticky mess! Stir those marshmallows continuously until they’re completely melted and smooth. Once they’re a gooey cloud of deliciousness, take the pot off the heat. Stir in your Golden Grahams, then add those reserved mini marshmallows and the cup of chocolate chips. Give it one more good stir to combine everything, then press it gently and evenly into your prepared pan. Add those extra marshmallows and chocolate chips on top for a pretty finish. Pop it in the fridge for at least 30 minutes to set – longer is even better!
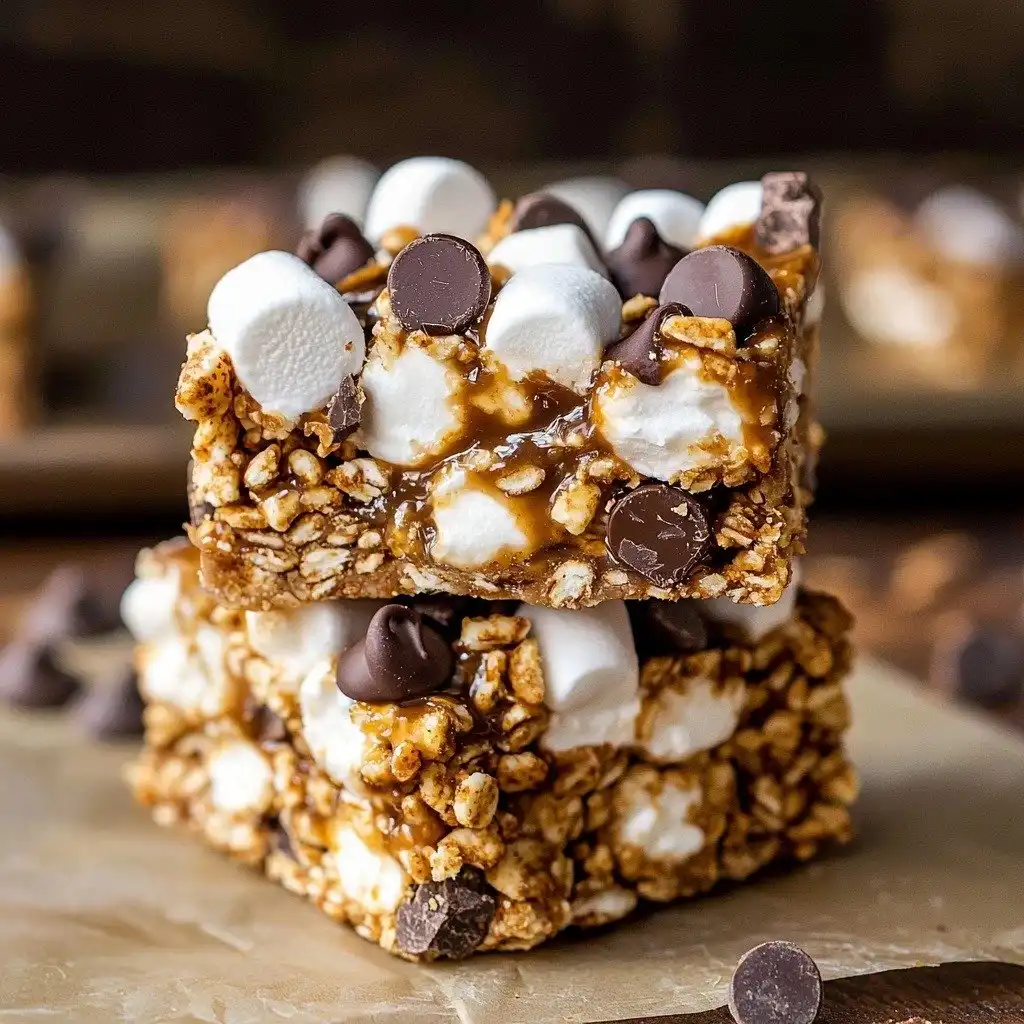
My Top Tips for Success
- I always make sure to spray my parchment paper and my mixing spoon – it makes clean-up so much easier!
- Don’t rush the melting of the marshmallows; low heat and constant stirring prevent burning.
- In my experience, pressing the mixture gently but firmly into the pan ensures a cohesive bar.
- Trust me on this one: chilling for at least an hour makes for much cleaner slices.
Common Mistakes to Avoid
- Burning the Marshmallows: This happens if the heat is too high. Keep it on low and stir constantly for perfectly melted marshmallows.
- Not Lining the Pan Properly: If you don’t leave parchment paper overhang, it’ll be tricky to remove the bars cleanly.
- Over-mixing After Adding Cereal: Mix just enough to combine everything; too much can crush the cereal.
- Cutting Before Fully Chilled: The bars will be too soft and fall apart. Always chill for at least 30 minutes, preferably longer.
How to Store No Bake S’more Bars
- Countertop: Up to 2-3 days in an airtight container at room temperature.
- Refrigerator: Up to 1 week in an airtight container.
Frequently Asked Questions
Can I use large marshmallows?
Yes, you can use large marshmallows, but you’ll need to cut them into smaller pieces first so they melt more evenly and quickly. The quantity will still be 10 ounces total.
Can I use a different type of cereal?
While Golden Grahams give that authentic graham cracker flavor, you could experiment with other crispy cereals. Just be aware the flavor profile will change.
Do these bars need to be refrigerated?
They need to be refrigerated to set initially. For storage, refrigeration helps them maintain their shape and chewiness, especially in warmer climates.
Can I make these ahead of time for a party?
Absolutely! These bars are perfect for making a day or two in advance. Store them in an airtight container in the refrigerator until ready to serve.
I hope these No Bake S’more Bars bring a little bit of campfire magic into your home, no matter the season! They’re so simple and so satisfying. If you give them a try, please let me know how they turn out!
PrintNo Bake S’more Bars
Chewy, gooey, and crunchy, these easy no-bake bars capture all the beloved flavors of s’mores without needing a campfire.
- Prep Time: 15
- Cook Time: 5
- Total Time: 50
- Yield: 12 servings
- Category: Dessert
- Method: No-Bake
- Cuisine: American
- Diet: Vegetarian
Ingredients
- 3 Tablespoons salted butter, melted
- 10 ounces mini marshmallows, divided
- 5 cups Golden Grahams cereal
- 1 cup chocolate chips
- 1 small handful mini marshmallows
- 1 small handful chocolate chips
Instructions
- Spray a 13 x 9 inch pan with cooking spray.
- Line the pan with parchment paper, leaving extra paper over the sides.
- Melt butter over medium heat in a pot.
- Reduce the heat to low once the butter is melted.
- Set aside 1 cup of mini marshmallows and 1 small handful of mini marshmallows from the 10 oz bag.
- Add the remaining marshmallows to the pot.
- Spray a mixing spoon with cooking spray.
- Continuously stir the marshmallows until they are fully melted.
- Remove the pot from the heat.
- Add the Golden Grahams to the pot.
- Stir well to combine the cereal with the melted marshmallows.
- Add the reserved 1 cup of mini marshmallows to the pot.
- Add the 1 cup of chocolate chips to the pot.
- Stir once more to combine all ingredients.
- Transfer the mixture into the prepared 13 x 9 inch pan.
- Gently press the mixture down into an even layer in the pan.
- Top with the reserved handfuls of extra marshmallows and chocolate chips.
- Let the bars set in the refrigerator for at least 30 minutes.
- Pull the bars out of the pan in one piece using the parchment paper.
- Slice the bars into desired serving sizes.
- Store in an airtight container and enjoy!
Notes
Always use a spoon sprayed with cooking spray to stir the marshmallows to prevent sticking.
Ensure the marshmallows are fully melted for the best chewy texture.
Don’t skip the chilling step; it’s crucial for clean slices.
Adjust the amount of extra toppings to your taste for a customized look.


