
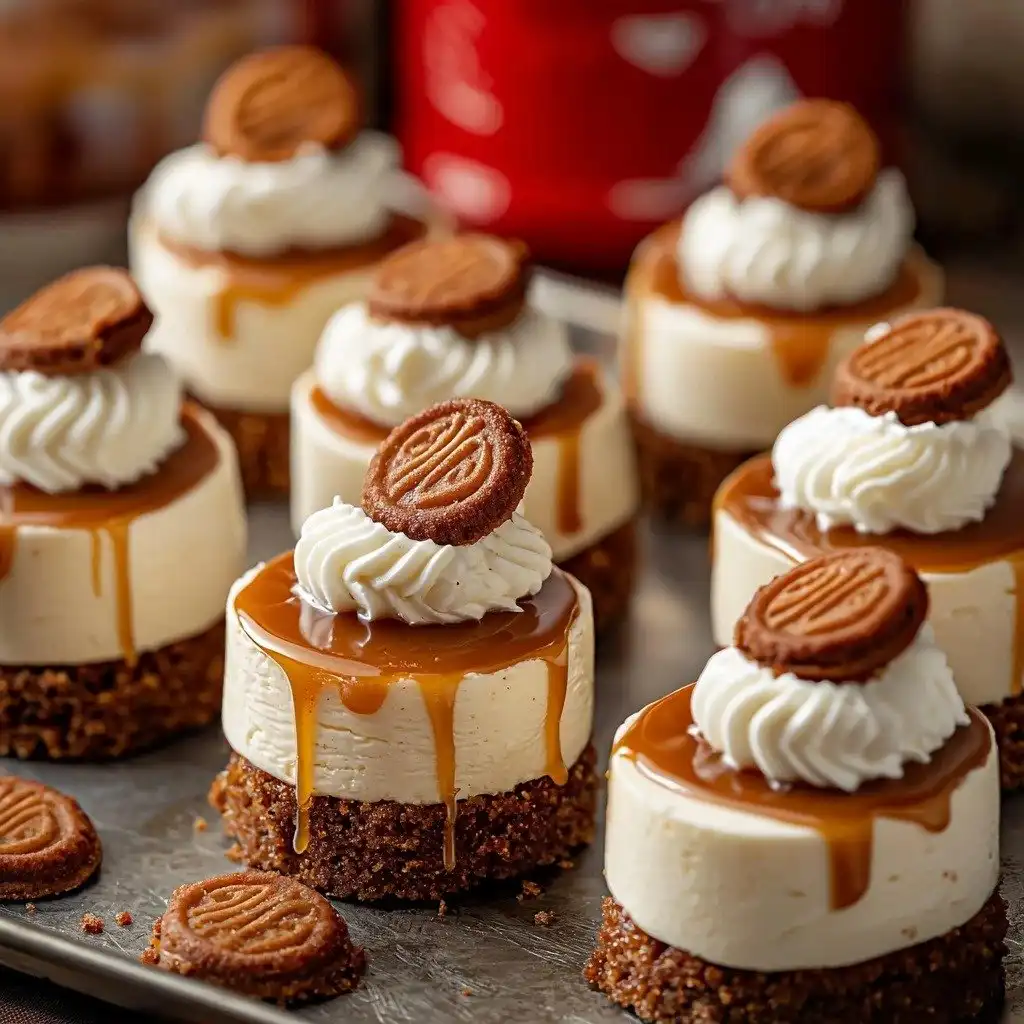
There’s just something about a no-bake dessert that feels like a little kitchen magic, isn’t there? Life gets busy, and sometimes you just need a sweet treat without turning on the oven. That’s exactly how these No Bake Mini Biscoff Cheesecakes came into my life. They’re my go-to when I want something impressive but easy, a little bit fancy but totally approachable. The spiced cookie flavor of Biscoff just sings, and in mini cheesecake form, they’re absolutely irresistible!
Why You’ll Love This No Bake Mini Biscoff Cheesecakes
- They are incredibly easy to make – no oven required!
- The creamy texture and spiced Biscoff flavor are out of this world.
- Mini cheesecakes are perfect for portion control and sharing at parties.
- They look super impressive, but are secretly a breeze to whip up.
Ingredients You’ll Need
- Biscoff cookies: These are the star! Don’t substitute with other cookies if you want that signature Biscoff flavor.
- Melted butter: Unsalted is best so you can control the saltiness. It binds the crust together.
- Heavy cream: Make sure it’s cold! This is crucial for whipping it into stiff peaks.
- Full-fat cream cheese: Softened to room temperature is key for a smooth, lump-free filling.
- Powdered sugar: Also known as confectioners’ sugar. It dissolves easily, giving a silky smooth texture.
- Creamy Biscoff cookie butter: This is what gives the cheesecake its incredible flavor. Make sure it’s creamy, not crunchy.
- Sour cream: Room temperature helps it blend smoothly and adds a lovely tang to balance the sweetness.
- Pure vanilla extract: A little bit goes a long way to enhance all those delicious flavors.
- Pinch of salt: Don’t skip this! It really brings out the sweetness and depth of flavor.
How to Make No Bake Mini Biscoff Cheesecakes Step by Step
First things first, let’s get that crust ready. Grab your Biscoff cookies and blitz them in a food processor until they’re super fine crumbs. Then, stream in that melted butter while the processor is running until everything is just combined. It should look sandy, but if you press a little between your fingers, it should hold together. This is where the magic starts!
Now, you’ll want to prepare your pans. I like to use mini cheesecake pans, but muffin pans with cupcake liners work perfectly too! Lightly spray them, then press about a tablespoon of those lovely crumbs into the bottom of each. Pop them in the freezer or fridge while we get the filling going – this helps them set up nicely.
Next, for the filling! In a chilled bowl, beat your cold heavy cream until you see those beautiful stiff peaks forming. Don’t overbeat it, or it can turn grainy. Gently set that aside in the fridge. In another bowl, combine your softened cream cheese, powdered sugar, Biscoff cookie butter, room temperature sour cream, vanilla, and that little pinch of salt. Beat it until everything is smooth and perfectly combined. Finally, gently fold in your whipped cream with a rubber spatula until there are no white streaks left. Spoon this creamy filling into a piping bag (a round tip makes it easy!) and pipe it onto your chilled crusts. Smooth the tops, and then it’s chill time! Six hours, or even better, overnight, will give you perfect, set cheesecakes.
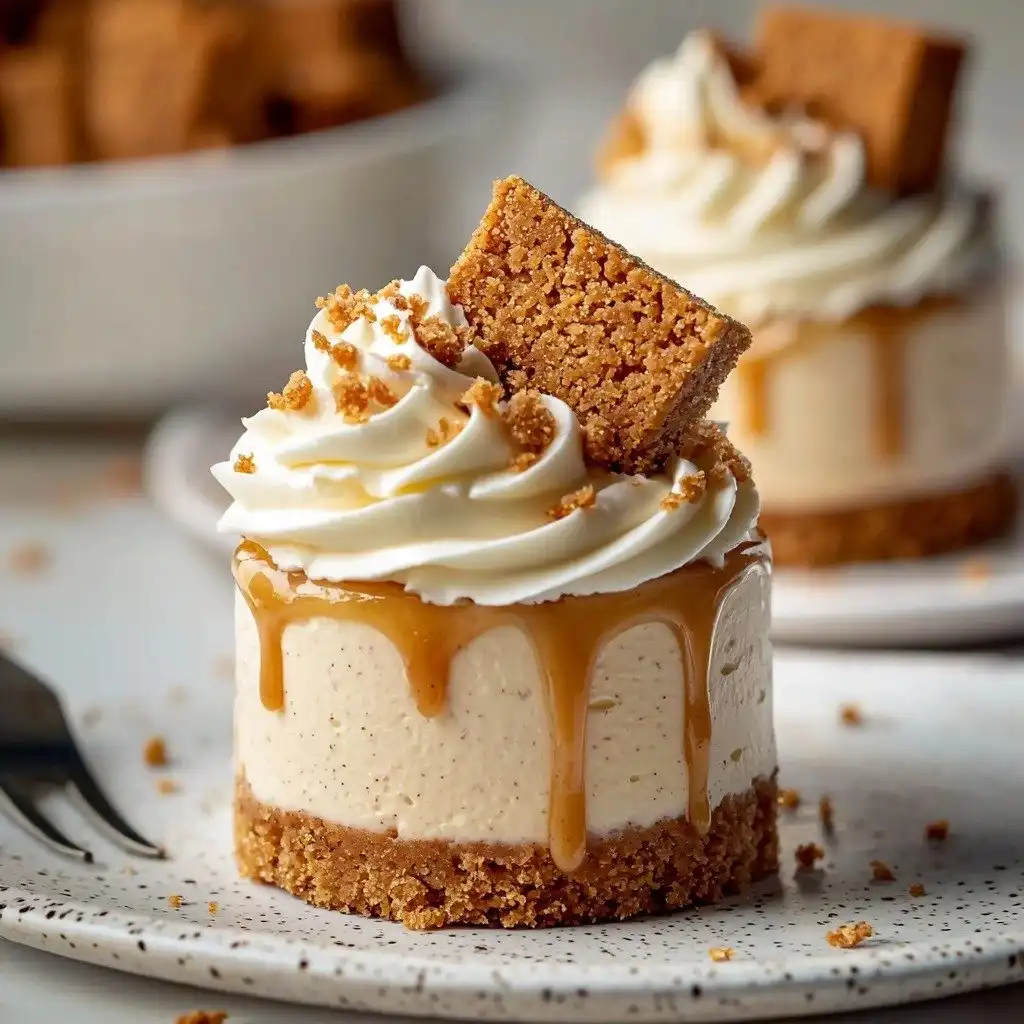
The last touch is the topping. Melt some Biscoff spread in the microwave for about 20-30 seconds until it’s nice and runny. Drizzle or spread it over the tops of your cheesecakes – don’t worry if it drips down the sides, it looks beautiful! Pop them back in the fridge for another 15-20 minutes to let that topping set. Then, you can garnish with extra Biscoff cookies or whipped cream. Serve and enjoy your delicious creations!
My Top Tips for Success
- I always make sure my cream cheese and sour cream are at room temperature. It makes for the smoothest filling!
- Trust me on this one: chill your mixing bowl and whisk attachment before whipping the heavy cream. It helps it whip up faster and firmer.
- Don’t be afraid to use a piping bag! It makes filling the mini cheesecakes so much neater and easier.
- For the best results, let these chill overnight. The flavors meld and the texture becomes perfect.
- When melting the Biscoff spread for the topping, microwave it in short bursts and stir in between to prevent overheating.
- If you don’t have mini cheesecake pans, cupcake liners in a muffin tin work like a charm!
Common Mistakes to Avoid
- Not softening cream cheese: This will lead to a lumpy filling. Always bring it to room temperature.
- Overbeating heavy cream: Whipped cream can turn grainy if beaten too long. Stop as soon as stiff peaks form.
- Not chilling long enough: The cheesecakes need time to set up firm. Rushing this step means a messy dessert.
- Skipping the salt: A pinch of salt enhances all the sweet flavors; without it, the cheesecake can taste flat.
How to Store No Bake Mini Biscoff Cheesecakes
- Refrigerator: Store in an airtight container for up to 3-4 days.
- Freezer: Place uncovered cheesecakes on a baking sheet in the freezer until firm (about 1-2 hours). Then, wrap individually in plastic wrap and store in an airtight freezer-safe container for up to 1-2 months. Thaw in the refrigerator before serving.
Frequently Asked Questions
Can I use crunchy Biscoff butter?
I recommend using creamy Biscoff cookie butter for the filling and topping. The crunchy version might alter the smooth texture of the cheesecake.
Do I have to use mini cheesecake pans?
No, you can absolutely use a 12-count muffin pan with cupcake liners. They work just as well for individual servings.
How do I know if my cream cheese is soft enough?
Your cream cheese is soft enough when you can easily press a finger into it without resistance. This usually takes about 30-60 minutes at room temperature.
Can I make these ahead of time for a party?
Absolutely! These cheesecakes are perfect for making ahead. They need at least 6 hours to chill, so making them the day before is ideal.
What if I don’t have a piping bag?
No problem! You can use a large zip-top bag with one corner snipped off, or simply spoon the filling into the crusts.
I hope these No Bake Mini Biscoff Cheesecakes bring a little extra joy and ease to your baking adventures. They’re truly a special treat that everyone will love. If you give them a try, please let me know how they turn out!
PrintNo Bake Mini Biscoff Cheesecakes
These individual no-bake cheesecakes feature a crunchy Biscoff crust, a creamy, spiced Biscoff cookie butter filling, and a decadent Biscoff topping.
- Prep Time: 30
- Total Time: 390
- Yield: 24 mini cheesecakes
- Category: Dessert
- Method: No-Bake
- Cuisine: American
- Diet: Vegetarian
Ingredients
- 1 (8.8 oz, 250g) package Biscoff cookies
- 1/2 cup melted butter, unsalted
- 1 cup heavy cream, cold
- 3 (8 oz. blocks) full-fat cream cheese, softened to room temperature
- 1 cup powdered sugar
- 1 cup creamy Biscoff cookie butter
- 1/3 cup sour cream, room temperature
- 2 tsp. pure vanilla extract
- pinch of salt
- 1/2 cup creamy Biscoff cookie butter (for topping)
- additional Biscoff cookies for garnish/whole or crushed
- whipped cream (for garnish)
Instructions
- Blitz the Biscoff cookies in a food processor until finely ground.
- Stream in the melted butter until combined.
- Spray 2 mini cheesecake pans with non-stick spray (or 2, 12-count muffin pans with cupcake liners).
- Press approximately 1 tablespoon of crumbs into each prepared pan.
- Freeze or refrigerate the crusts while you make the filling.
- Beat the cold heavy cream with a hand mixer or stand mixer until stiff peaks form (about 2 minutes).
- Carefully do not overbeat the cream.
- Place the whipped cream in the fridge while you prepare the rest of the cheesecake filling.
- In another medium-large mixing bowl, beat the cream cheese, powdered sugar, Biscoff cookie butter, sour cream, vanilla, and salt until smooth and fully combined.
- Fold the whipped cream into the cream cheese mixture gently using a rubber spatula until no white streaks remain.
- Spoon the filling into a piping bag fitted with a round 1A tip.
- Pipe the filling onto the chilled crusts.
- Smooth the tops of the cheesecakes into an even layer.
- Refrigerate for 6 hours or overnight (you can loosely cover them).
- Melt the 1/2 cup Biscoff spread in the microwave for about 20-30 seconds until melty.
- Spread the melted Biscoff topping on tops of cheesecakes.
- Place cheesecakes back in the fridge until the topping is set (about 15-20 minutes).
- Garnish with additional Biscoff cookies (whole or crushed) and/or whipped cream.
- Serve and enjoy!
Notes
Ensure all dairy ingredients are at room temperature (except heavy cream) for a smooth filling.
Chill your mixing bowl and whisk for faster, firmer whipped cream.
For best results, allow cheesecakes to chill overnight.
Microwave Biscoff topping in short bursts to prevent burning.


