
Oh, pita bread! It brings back so many happy memories of family dinners, scooping up hummus, or making little sandwiches. For the longest time, I thought delicious, fluffy pita was off-limits because of gluten. But then I cracked the code, and now I can’t wait to share my go-to recipe for Easy Gluten Free Pita Bread with you. It’s truly a game-changer!
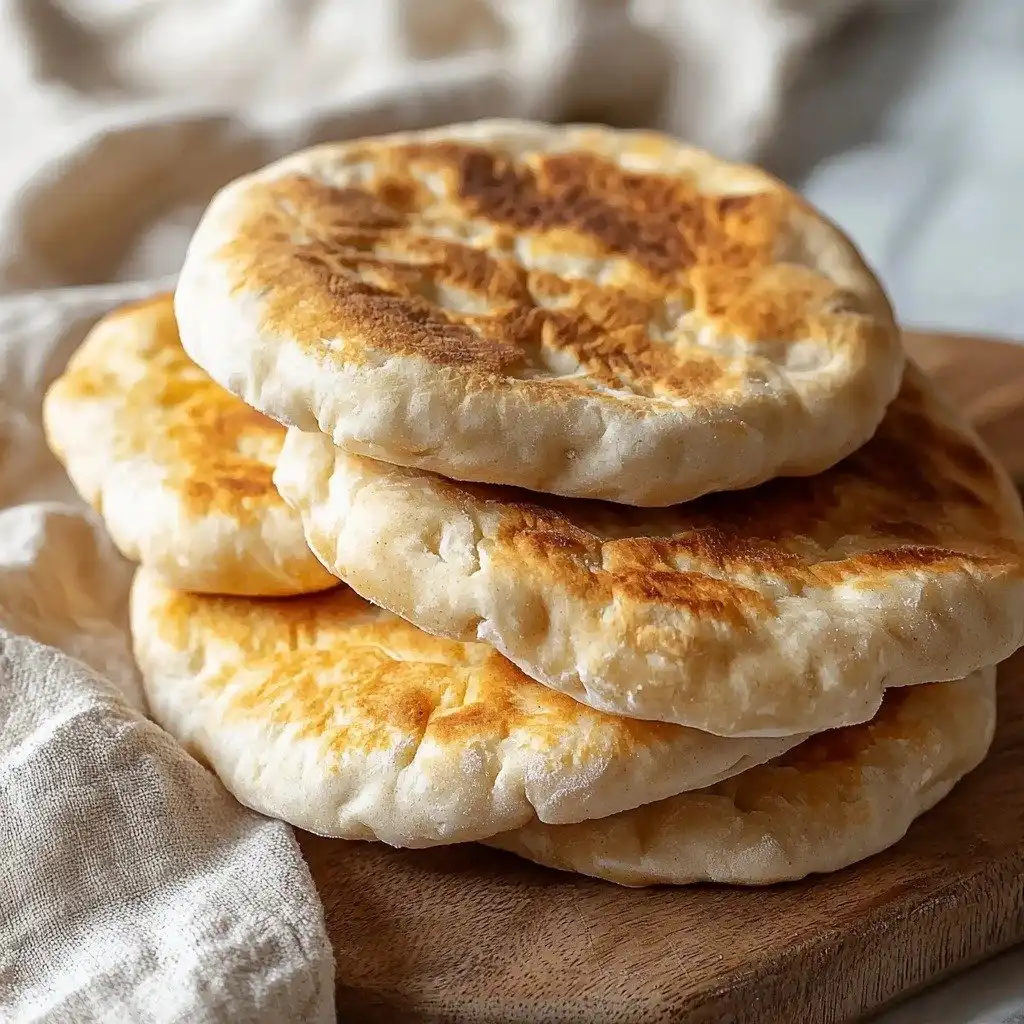
Why You’ll Love This Easy Gluten Free Pita Bread
- It’s incredibly soft and pliable, just like traditional pita.
- You can get that satisfying puff, whether you bake it or use a skillet.
- The flavor is wonderfully neutral, perfect for any filling or dip.
- It’s surprisingly simple to make, even for beginners!
Ingredients You’ll Need
- Psyllium Husk: This is a magical ingredient in gluten-free baking! It creates a gel that gives the dough elasticity, mimicking gluten. Make sure to use whole psyllium husk; if you only have powder, use slightly less.
- Millet Flour: My personal favorite for this recipe. It has a mild flavor and lovely texture. If you can’t find it, finely ground brown rice flour works too, but your pita might not puff quite as much.
- Tapioca Starch: This helps with chewiness and elasticity. Cornstarch, potato starch, or arrowroot starch are good substitutes.
- Caster/Superfine or Granulated Sugar: Just a touch to help activate the yeast and add a whisper of sweetness.
- Instant Yeast: Super convenient because you can mix it right in with your dry ingredients. If you have active dry yeast, you’ll just need to activate it first.
- Olive Oil: Adds richness and helps keep the pita tender. Any neutral oil like sunflower or vegetable oil will work too.
How to Make Easy Gluten Free Pita Bread Step by Step
First things first, if you’re planning to bake your pita in the oven, go ahead and preheat it to a super hot 475ºF (250ºC). Pop a baking steel or heavy-duty baking tray right in there. A really hot oven is key for that amazing puff!
Now, let’s get to the dough! In one bowl, stir together your psyllium husk and lukewarm water. Don’t worry if it looks like a thick, jelly-like substance – that’s exactly what we want! In another, larger bowl, whisk together your millet flour, tapioca starch, sugar, instant yeast, and salt. Once your psyllium gel is ready, whisk in the olive oil, then add this mixture to your dry ingredients. Knead everything together until you have a smooth, supple dough that’s not too sticky. You can do this by hand or with a stand mixer.
Once your dough is ready, turn it out onto a lightly floured surface. Divide it into six equal portions – I like to use a scale for accuracy, but eyeballing it is fine too. Shape each portion into a ball, then cover them with a clean dish towel while you work. Roll out each ball into a round, about 6 inches across and a little under ¼ inch thick. If you’re baking them, rolling them on parchment paper squares makes transferring them a breeze. Let them rest for about 15 minutes, covered, to proof.
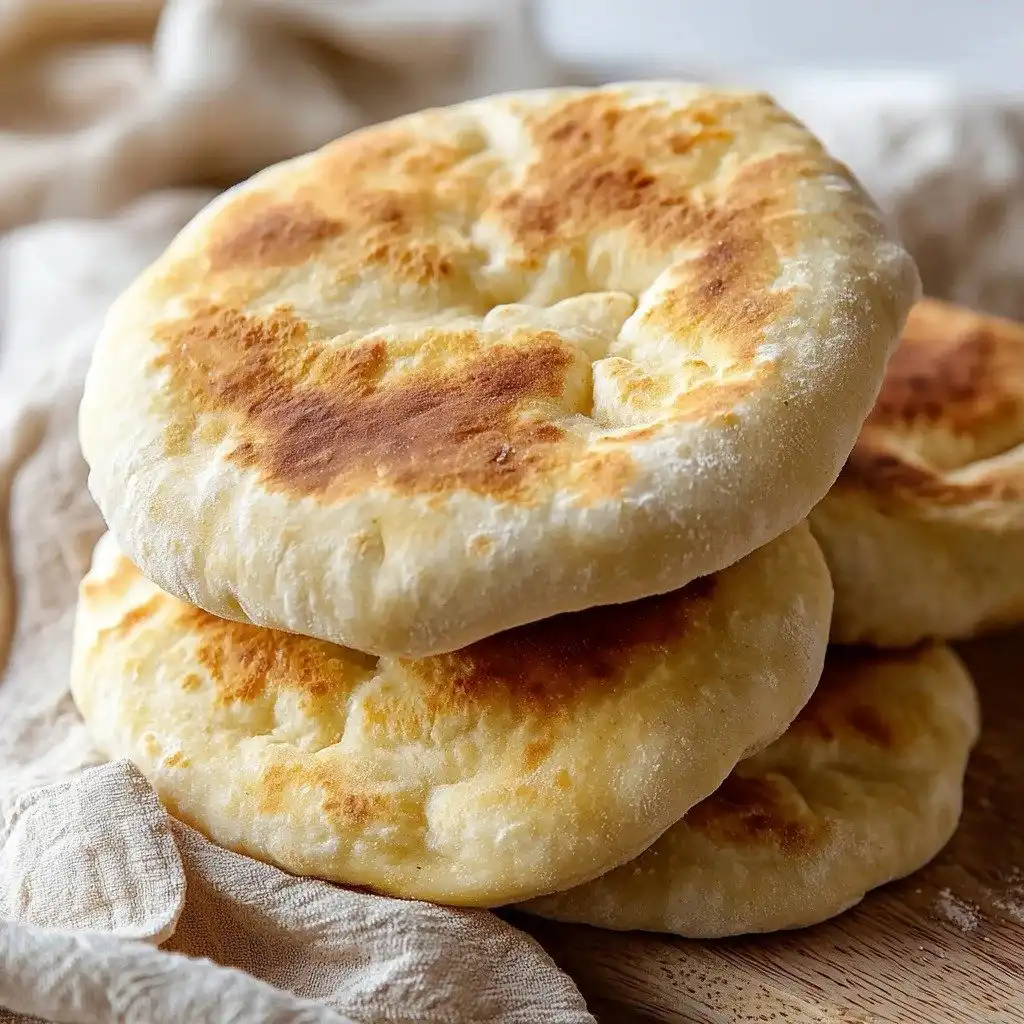
My Top Tips for Success
- I always make sure my oven or skillet is screaming hot before cooking. This is crucial for the pita to puff up!
- In my experience, using a kitchen scale for the psyllium husk and flours gives the most consistent results.
- Trust me on this one: don’t skip the proofing step after rolling. It helps with the texture and puff.
- If you’re using the stovetop, don’t be afraid to adjust the heat as you go. Every stove is a little different!
- When baking, wrapping the pita in a dish towel right out of the oven keeps them super soft.
Common Mistakes to Avoid
- Not preheating enough: If your oven or skillet isn’t hot enough, your pita won’t puff up properly. Ensure it’s fully preheated before cooking.
- Dough too sticky or dry: This can happen if your psyllium gel isn’t consistent or if you’ve mismeasured. The dough should be smooth and supple, not overly wet or crumbly.
- Over-rolling the dough: Rolling the pita too thin can make it tear and prevent it from puffing. Aim for just under ¼ inch thick.
- Skipping the proofing after rolling: This rest allows the yeast to work its magic and helps the pita become pliable and airy.
- Overcooking: Pita cooks quickly! Overcooking can make it dry and stiff. Keep a close eye on it and remove it once golden brown.
How to Store Easy Gluten Free Pita Bread
- Room Temperature: 2-3 days in a closed air-tight container.
- Freezer: Up to 3 months in a freezer-safe bag. Thaw at room temperature before reheating.
Frequently Asked Questions
What if my pita doesn’t puff?
The most common reasons are not enough heat (oven/skillet not hot enough) or the dough being rolled too thin. Make sure your cooking surface is very hot and your pita is about 5mm thick.
Can I make this dough ahead of time?
It’s best to cook these pita breads fresh. The psyllium gel works best when used relatively soon after mixing for optimal texture and puff.
What can I substitute for millet flour?
Finely ground brown rice flour can be used as an equal weight substitute, but the pita might not puff as effectively.
Can I use active dry yeast instead of instant yeast?
Yes, but you’ll need to activate it first. Mix it with a small portion of the water and sugar, let it froth, then add it to the other wet ingredients.
How do I reheat leftover pita bread?
You can reheat it in the microwave for 30-45 seconds, or on the stovetop in a covered pan with a light spray of water for 45-60 seconds per side.
I genuinely hope you give this Easy Gluten Free Pita Bread a try! It’s such a rewarding recipe, and having freshly made pita that’s gluten-free is pure joy. Let me know how it turns out for you – I can’t wait to hear about your pita adventures!
PrintEasy Gluten Free Pita Bread
Fluffy, pliable, and perfectly puffed gluten-free pita bread that’s easy to make at home, perfect for dipping or stuffing.
- Prep Time: 25
- Cook Time: 8
- Total Time: 33
- Yield: 6 pita breads
- Category: Bread
- Method: Baking, Stovetop
- Cuisine: Mediterranean
- Diet: Gluten-Free, Vegetarian
Ingredients
- 12 g (2½ tbsp) whole psyllium husk
- 240 g (1 cup) lukewarm water
- 135 g (1 cup) millet flour, plus extra for flouring the surface
- 75 g (⅔ cup) tapioca starch
- 10 g (2 tsp) caster/superfine or granulated sugar
- 4 g (1 tsp) instant yeast
- 4 g (¾ tsp) salt
- 15 g (1 tbsp) olive oil
Instructions
- Preheat the oven to 475ºF (250ºC) with a baking steel, baking stone, or heavy-duty baking tray on the middle or lower middle rack, if using the oven method.
- In a bowl, mix together the psyllium husk and lukewarm water.
- Allow the mixture to sit for 30-45 seconds until a gel forms.
- In a separate large bowl (or stand mixer bowl), whisk together the millet flour, tapioca starch, sugar, instant yeast, and salt.
- Add the olive oil to the psyllium gel and mix well to combine.
- Add the psyllium gel and olive oil mixture to the dry ingredients.
- Knead everything together until you have a smooth, supple dough that comes away from the sides of the bowl.
- Scrape the sides and bottom of the bowl as necessary to ensure all ingredients are incorporated.
- Turn the dough out onto a lightly floured surface.
- Divide the dough into 6 equal portions (about 82g each).
- Shape each portion of dough into a ball.
- Cover the dough balls with a clean dish towel to prevent them from drying out.
- On a lightly floured surface, roll out each dough ball into a round about 6 inches (15cm) in diameter and just under ¼ inch (about 5mm) thick.
- Roll out pita breads on squares of parchment paper if you intend to cook them in the oven.
- Arrange the rolled-out pita breads on the counter.
- Cover the rolled-out pita breads with a clean dish towel.
- Allow them to proof at room temperature for about 15 minutes.
- Stovetop Method:
- Pre-heat a large pan or skillet over medium-high to high heat until a droplet of water sizzles.
- Place a pita bread on the hot pan or skillet.
- Cook for about 30 seconds until it starts bubbling and dark brown spots appear underneath.
- Flip the pita bread over.
- Cook for a further 30 seconds until golden brown underneath.
- Flip it again; the pita bread should now fully puff up.
- Cook for about 45-60 seconds longer on both sides until deep golden brown and slightly charred.
- Transfer the cooked pita bread to a plate or platter lined with paper towels or a dish towel to absorb condensation.
- Repeat for remaining pita breads, adjusting heat as needed.
- Oven Method:
- Place 2-3 pita breads onto the pre-heated baking steel, baking stone, or heavy-duty baking tray.
- Bake at 475ºF (250ºC) for about 7-8 minutes until puffed up and golden brown.
- Note: They should fully puff up after about 2-3 minutes in the oven.
- Flip the pita breads after about 5-6 minutes for even browning, if desired.
- Immediately wrap the cooked pita breads in a clean dish towel out of the oven to keep them soft and pliable.
Notes
Ensure your oven or skillet is very hot before cooking for the best puff.
Measure ingredients, especially psyllium husk, with a kitchen scale for accuracy.
Don’t skip the 15-minute proofing step after rolling the pita dough.
For the stovetop method, adjust the heat as needed to prevent burning or undercooking.


